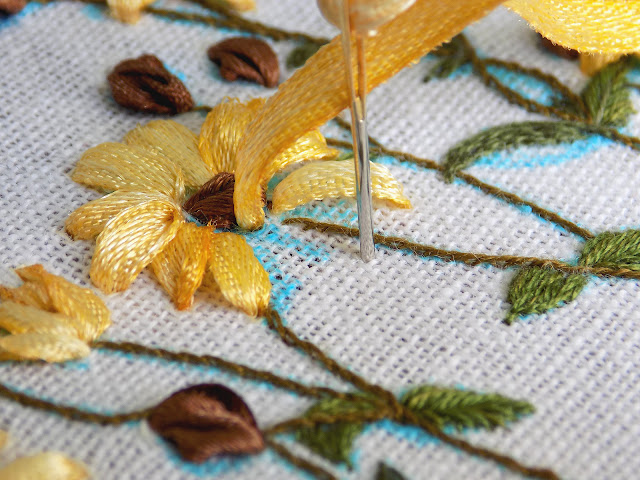
After finishing with the lower part of the plant, it was the turn of the flowers and their buds. I decided to include ribbon embroidery in this piece because I wanted to achieve more realism in the final look of the work.
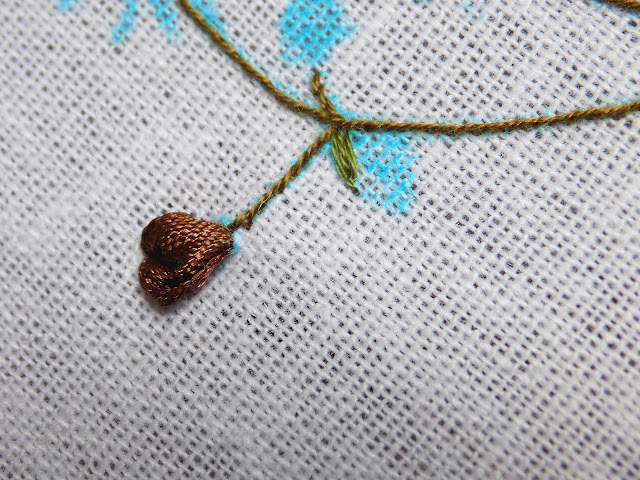
Frankly speaking, I am far from being a specialist in botany, so I'm not sure how to call the “brownish” parts of the flower. These are not exactly buds, but the flower discs – apparently, sometimes marigold flowers can lack the petals altogether? But for convenience, I will call them buds.
They have brownish color but complicated structure, so I ended up adding a couple of extra hues with the help of floss.
A single stitch with ribbon in the needle.
Few running stitches of two shades right on top of the ribbon stitch.
And the sepal is embroidered with simple daisy stitches.
Here's the final result:
As for the flowers, I used satin ribbon for embroidering the petals. It was actually white, but I colored in in yellow (prior to using it) and, thanks to dyeing, the shades slightly vary, which again adds the realism that I was striving for so much. The flowers discs are stitched the same way as the “buds”. Some flowers have a barely visible disc, so I used only thread there.
That's all, this wild herb embroidery is complete! It was a true delight stitching it, and it didn't take much time. I really adore all the botanical arts and prints out there, so trying my hand at embroidering was indeed exciting!
I already washed it and ironed, now I only need to frame the piece. I will keep you updated, so look forward to seeing the final result!








No comments
Write what you think! ❤
Note: Only a member of this blog may post a comment.