
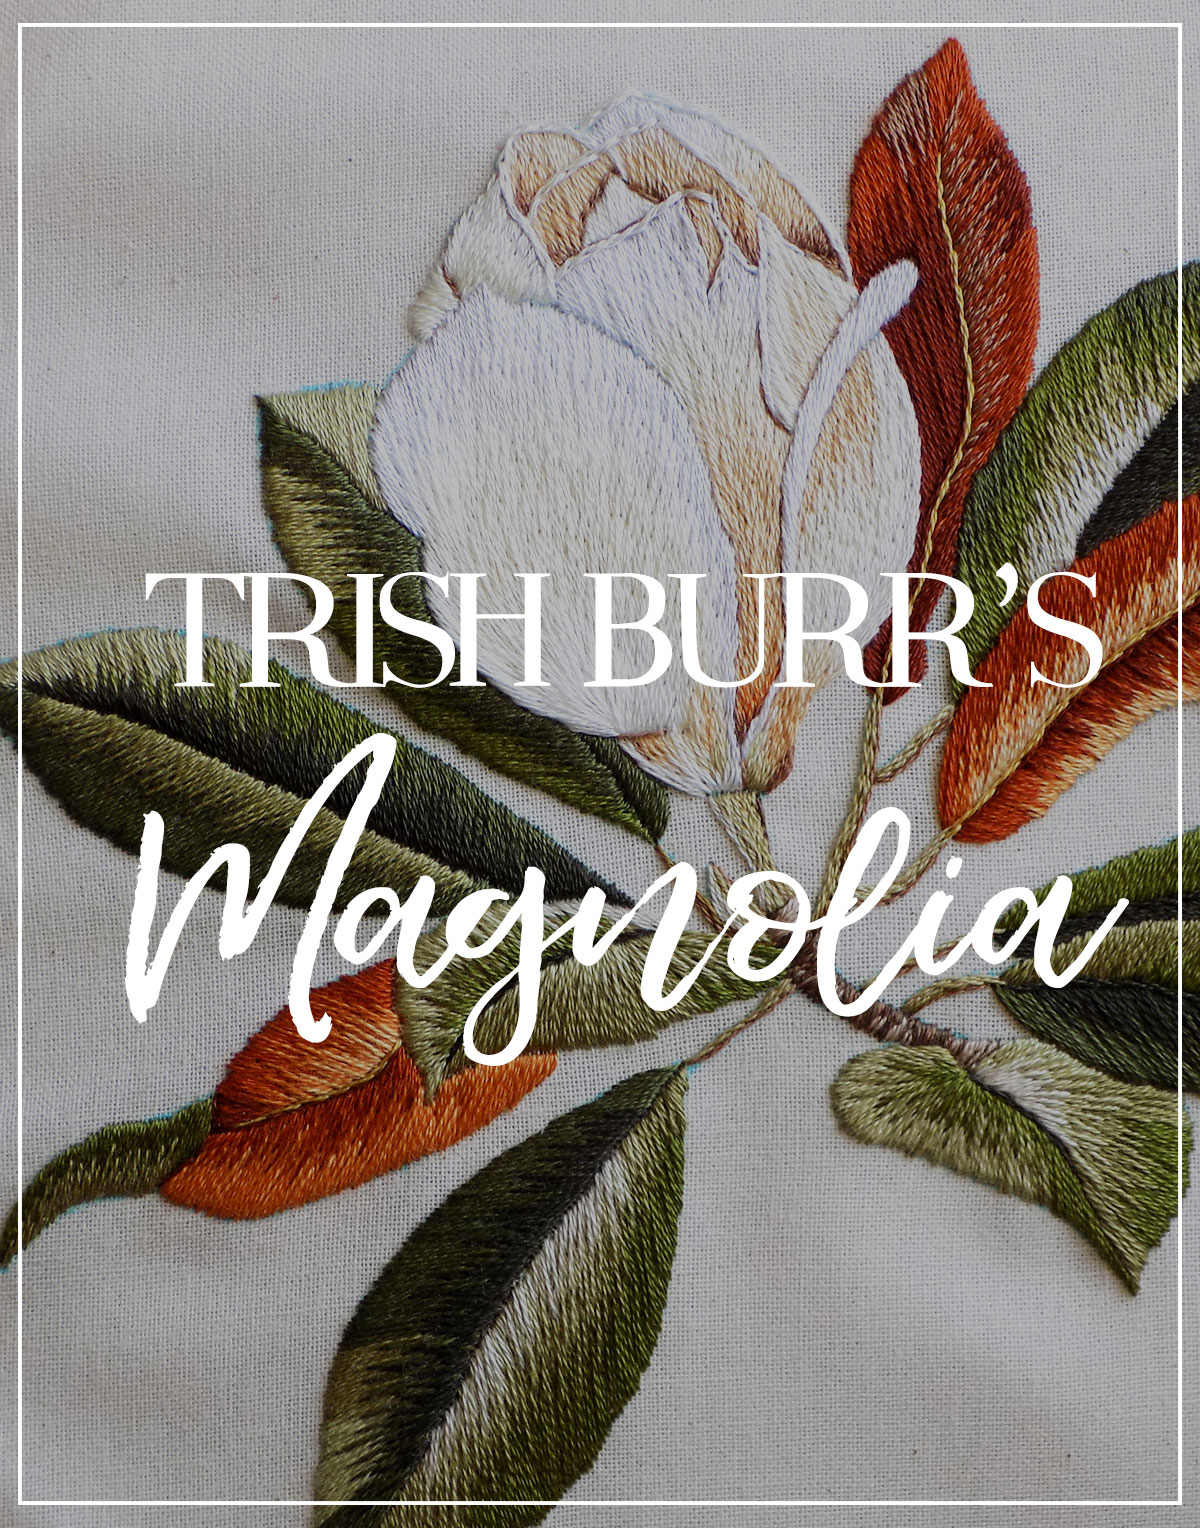
Long time no see! Sorry the third part took a while – life happened!
Anyway, let's continue from where we left, shall we? :)
Today's part is not hard, and shouldn't take too much time. However, please be attentive to color switches and transitions (unless you prefer to freestyle with your colors, of course, which is also great!).
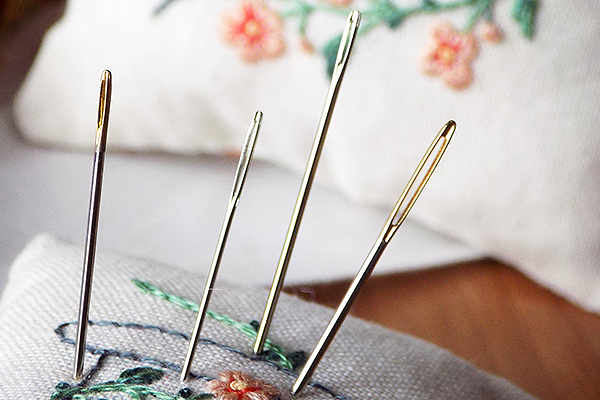
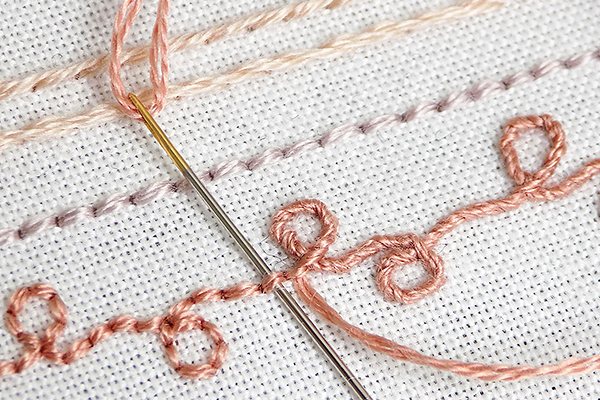
The stitches we will need today: outline stitch, lazy daisy stitch, long and short stitch, and French knots. Find all the stitches in the Library.
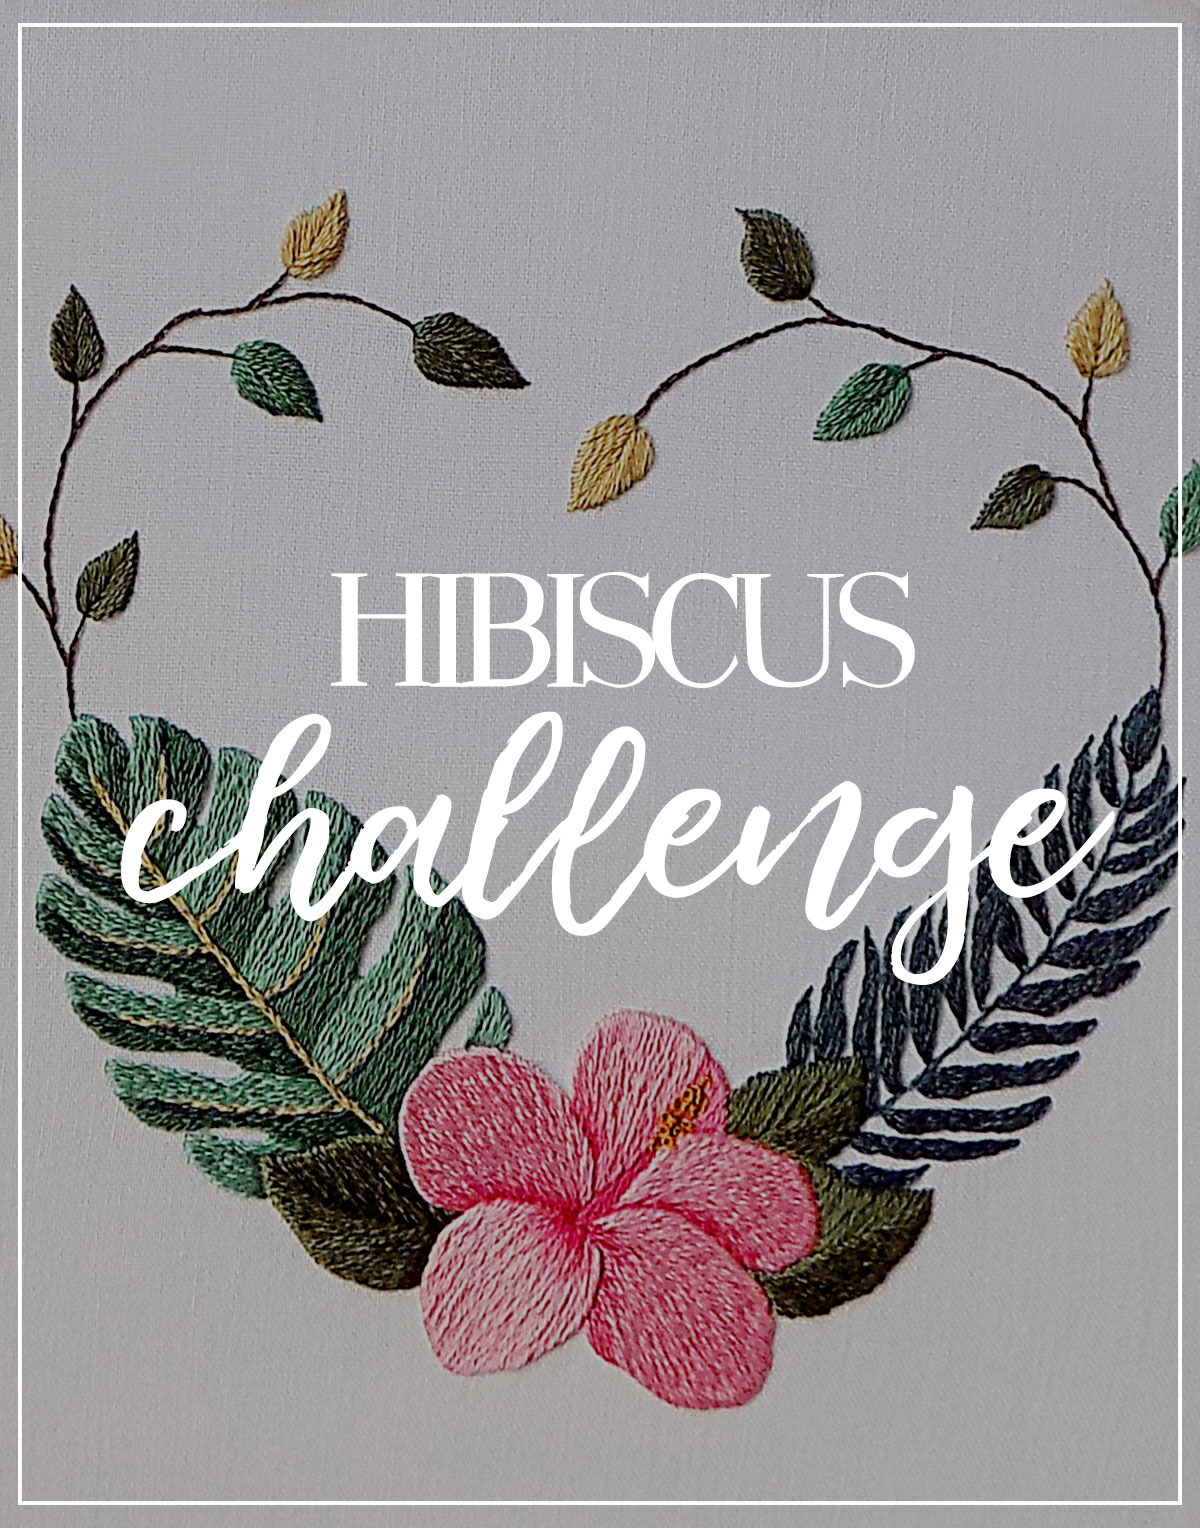
Basically, today we're going to complete the foliage part of the design, and have only the last flower left to stitch.
See the previous parts here:

1. Let's begin by stitching the stems at the bottom. They are supposed to be a bit thicker, so it'd be nice to work a couple of rows in outline stitch for each of them. Use 1 strand of thread H, and add lazy daisy stitches where the pattern requires.
2. The stem continues, branching out into 2 buds. Let's play with colors here a little, giving the left bud a stem in color I, while the right bud's stem is in the same H color. We're still using 1 strand of thread and outline stitch.
3. When you're done with the stems, work the buds themselves the same way as we did in Part 1of the Stitch Along.
4. Now, let's have fun with the leaf to the right of the stem. Take thread H and work only the bottom of the leaf first. What I find convenient in such cases is to work the outline in outline stitch, then add long and short stitches to fill the area inside.
5,6. Take thread K and add a couple of rows in the outline stitch at the top of the leaf. Then, take thread I and fill the rest of the leaf (once again, you might find it more convenient if you work an outline first).
7. I apologize for the bluish colors in the next two pictures – I didn't notice how the sun already was setting (I usually prefer natural lighting when I take pictures). These two leaves are sitting at the top of the bottom flower. The one on the left is worked in 1 strand of thread, long and short stitching technique with colors K, J, and H from the top to the bottom respectively. Please notice that color K envelopes the outline to the bottom. The other two colors are inside of that outline.
8. The leaf on the right is worked fully in thread H, long and short stitching technique.

9. Now, the last branch of leaves situated on the left side of the design. Start the branch from its root in 1 strand of thread H, outline stitch. Come to the middle of the stem.
10. Let's work on the leftmost leaf. First, prepare the outline, then fill it with long and short stitching using colors K, J, I from the top to the bottom respectively.
11. Take color I and continue the stem, connecting with the other side.
12, 13. The upper leaf, then, is worked in a similar manner but using colors J and H. I didn't use the outline because was pretty confident I can do without it. But you may do the outline as long as it makes you more comfortable.
14. The last leaf is worked fully in thread H (notice that it is hanging upside down on the branch, In such cases, I usually rotate the hoop in my hands to work an element from the top to the bottom). Don't forget to add a couple of French knots in thread E to complete the branch!
That's all for today's part! Only the last flower is left and this pattern is done! :)


No comments
Write what you think! ❤
Note: Only a member of this blog may post a comment.