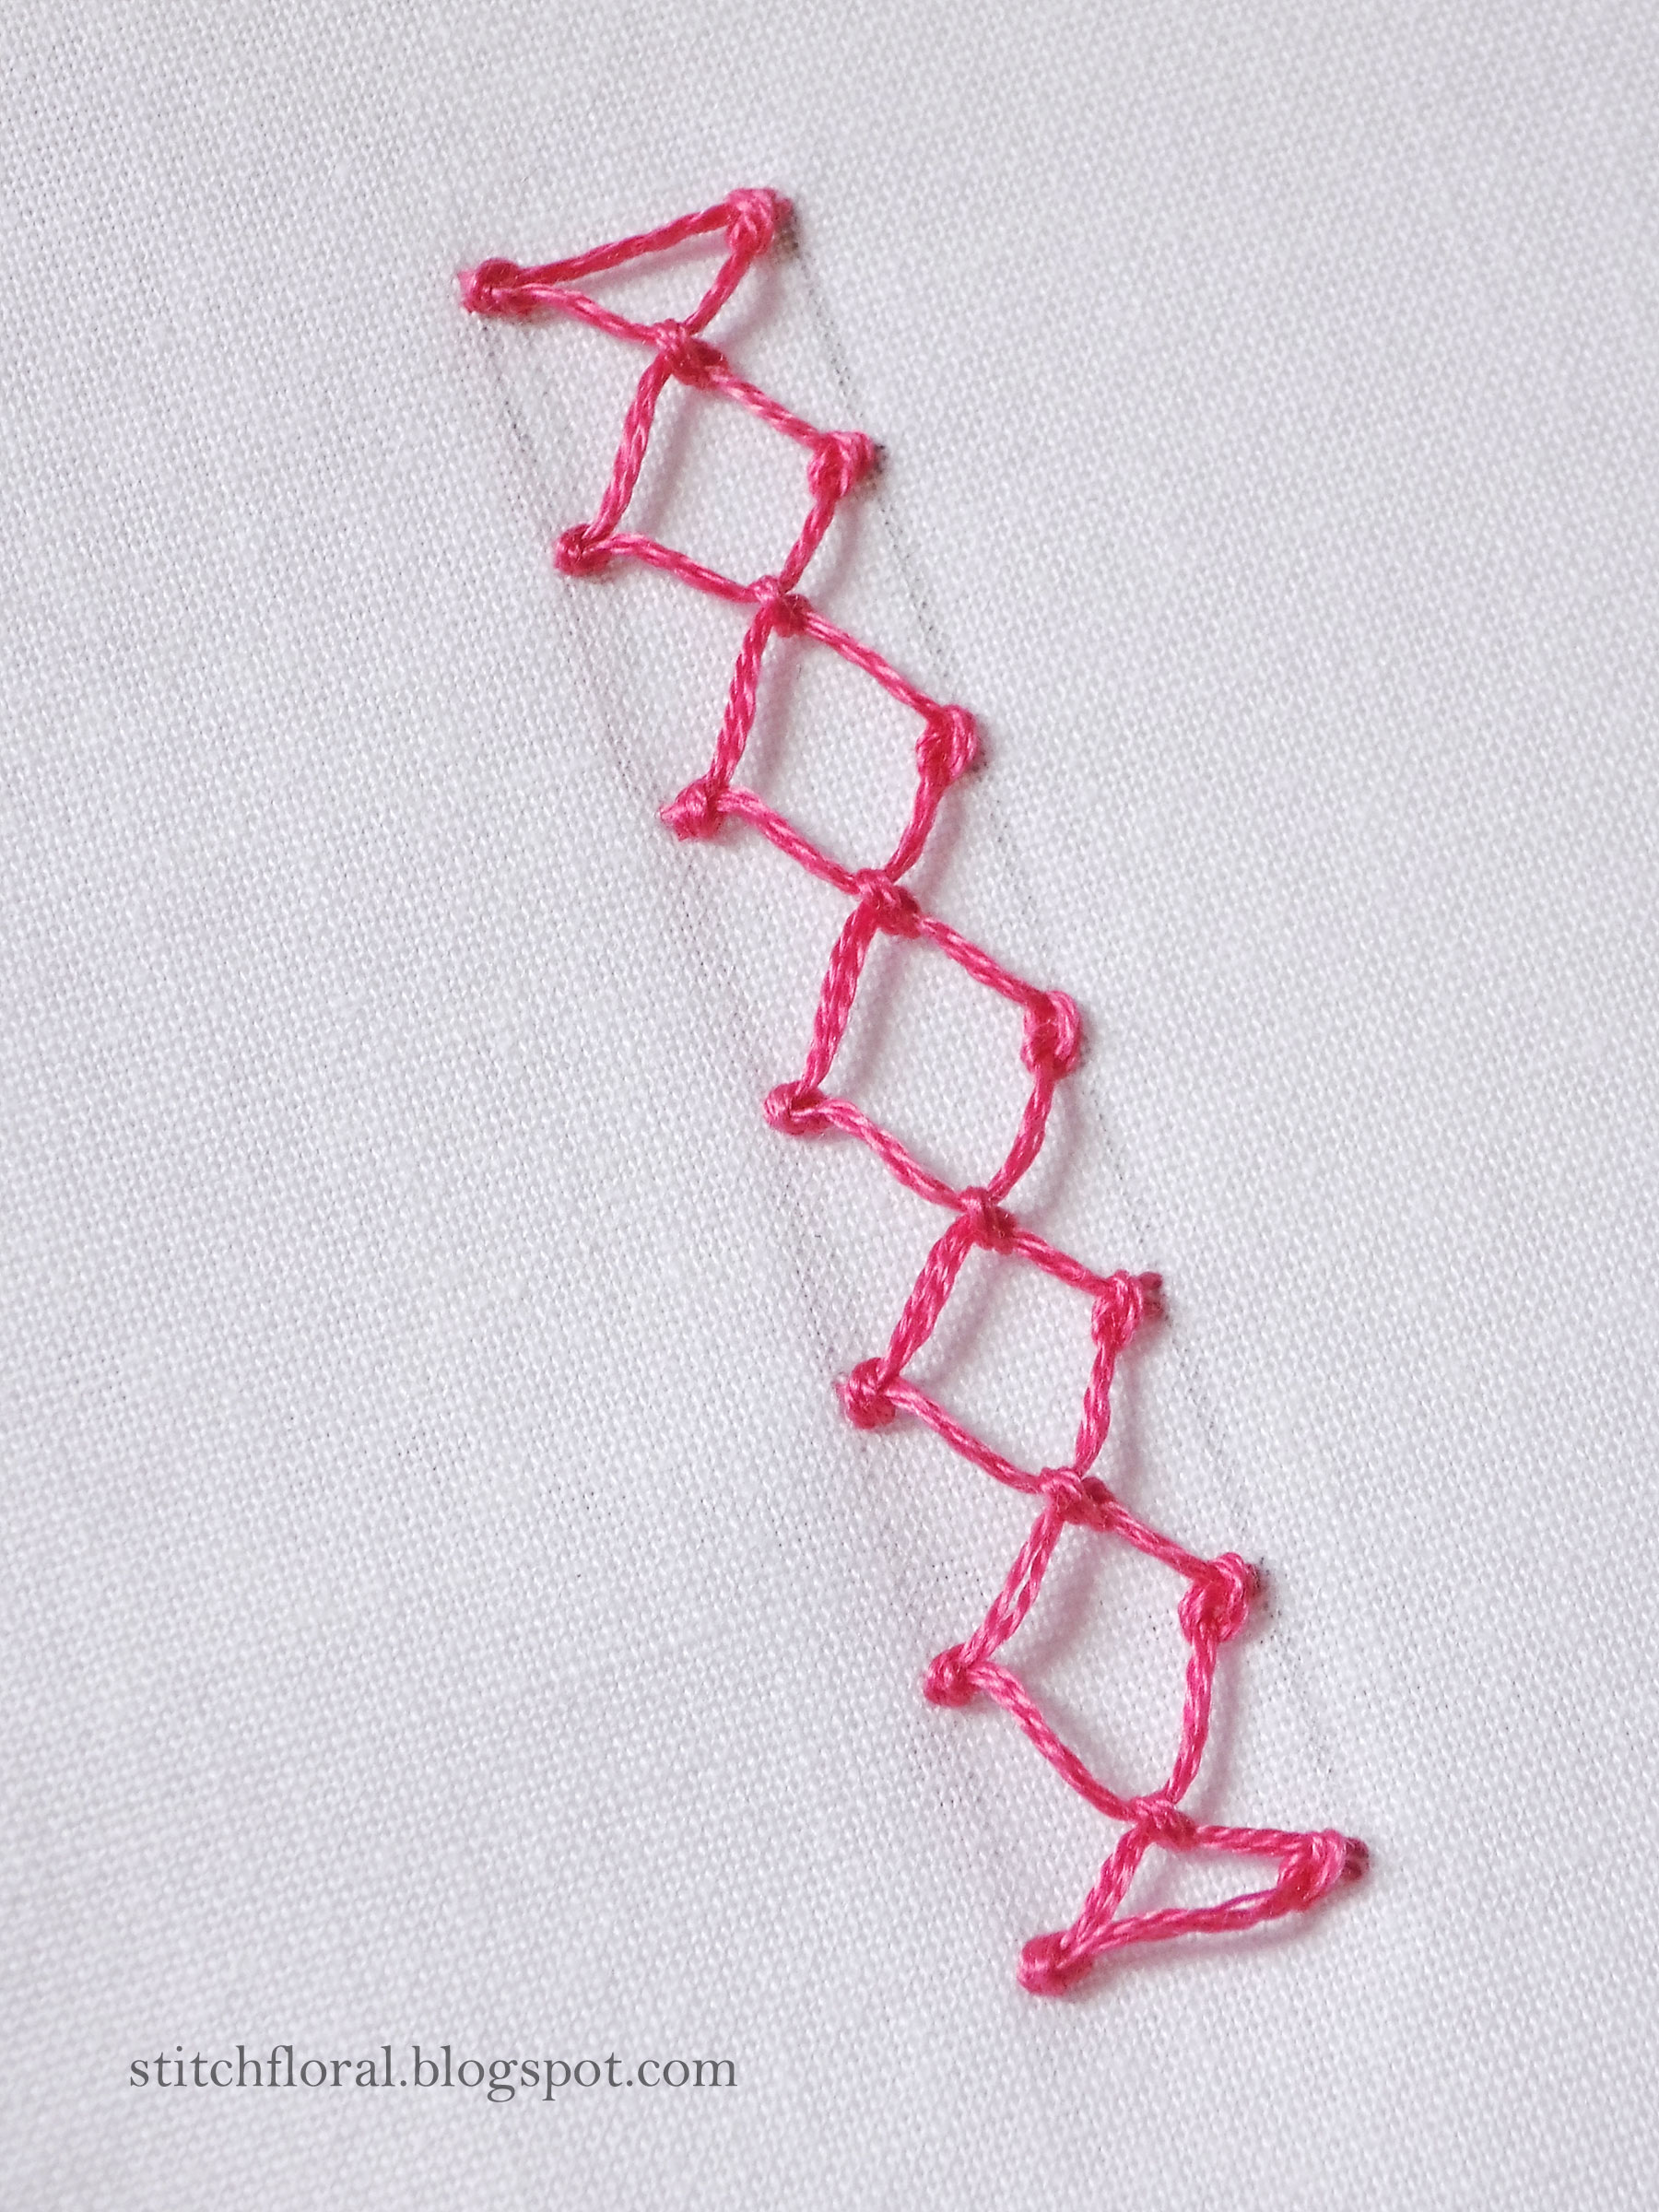
Here's a fun new stitch tutorial!
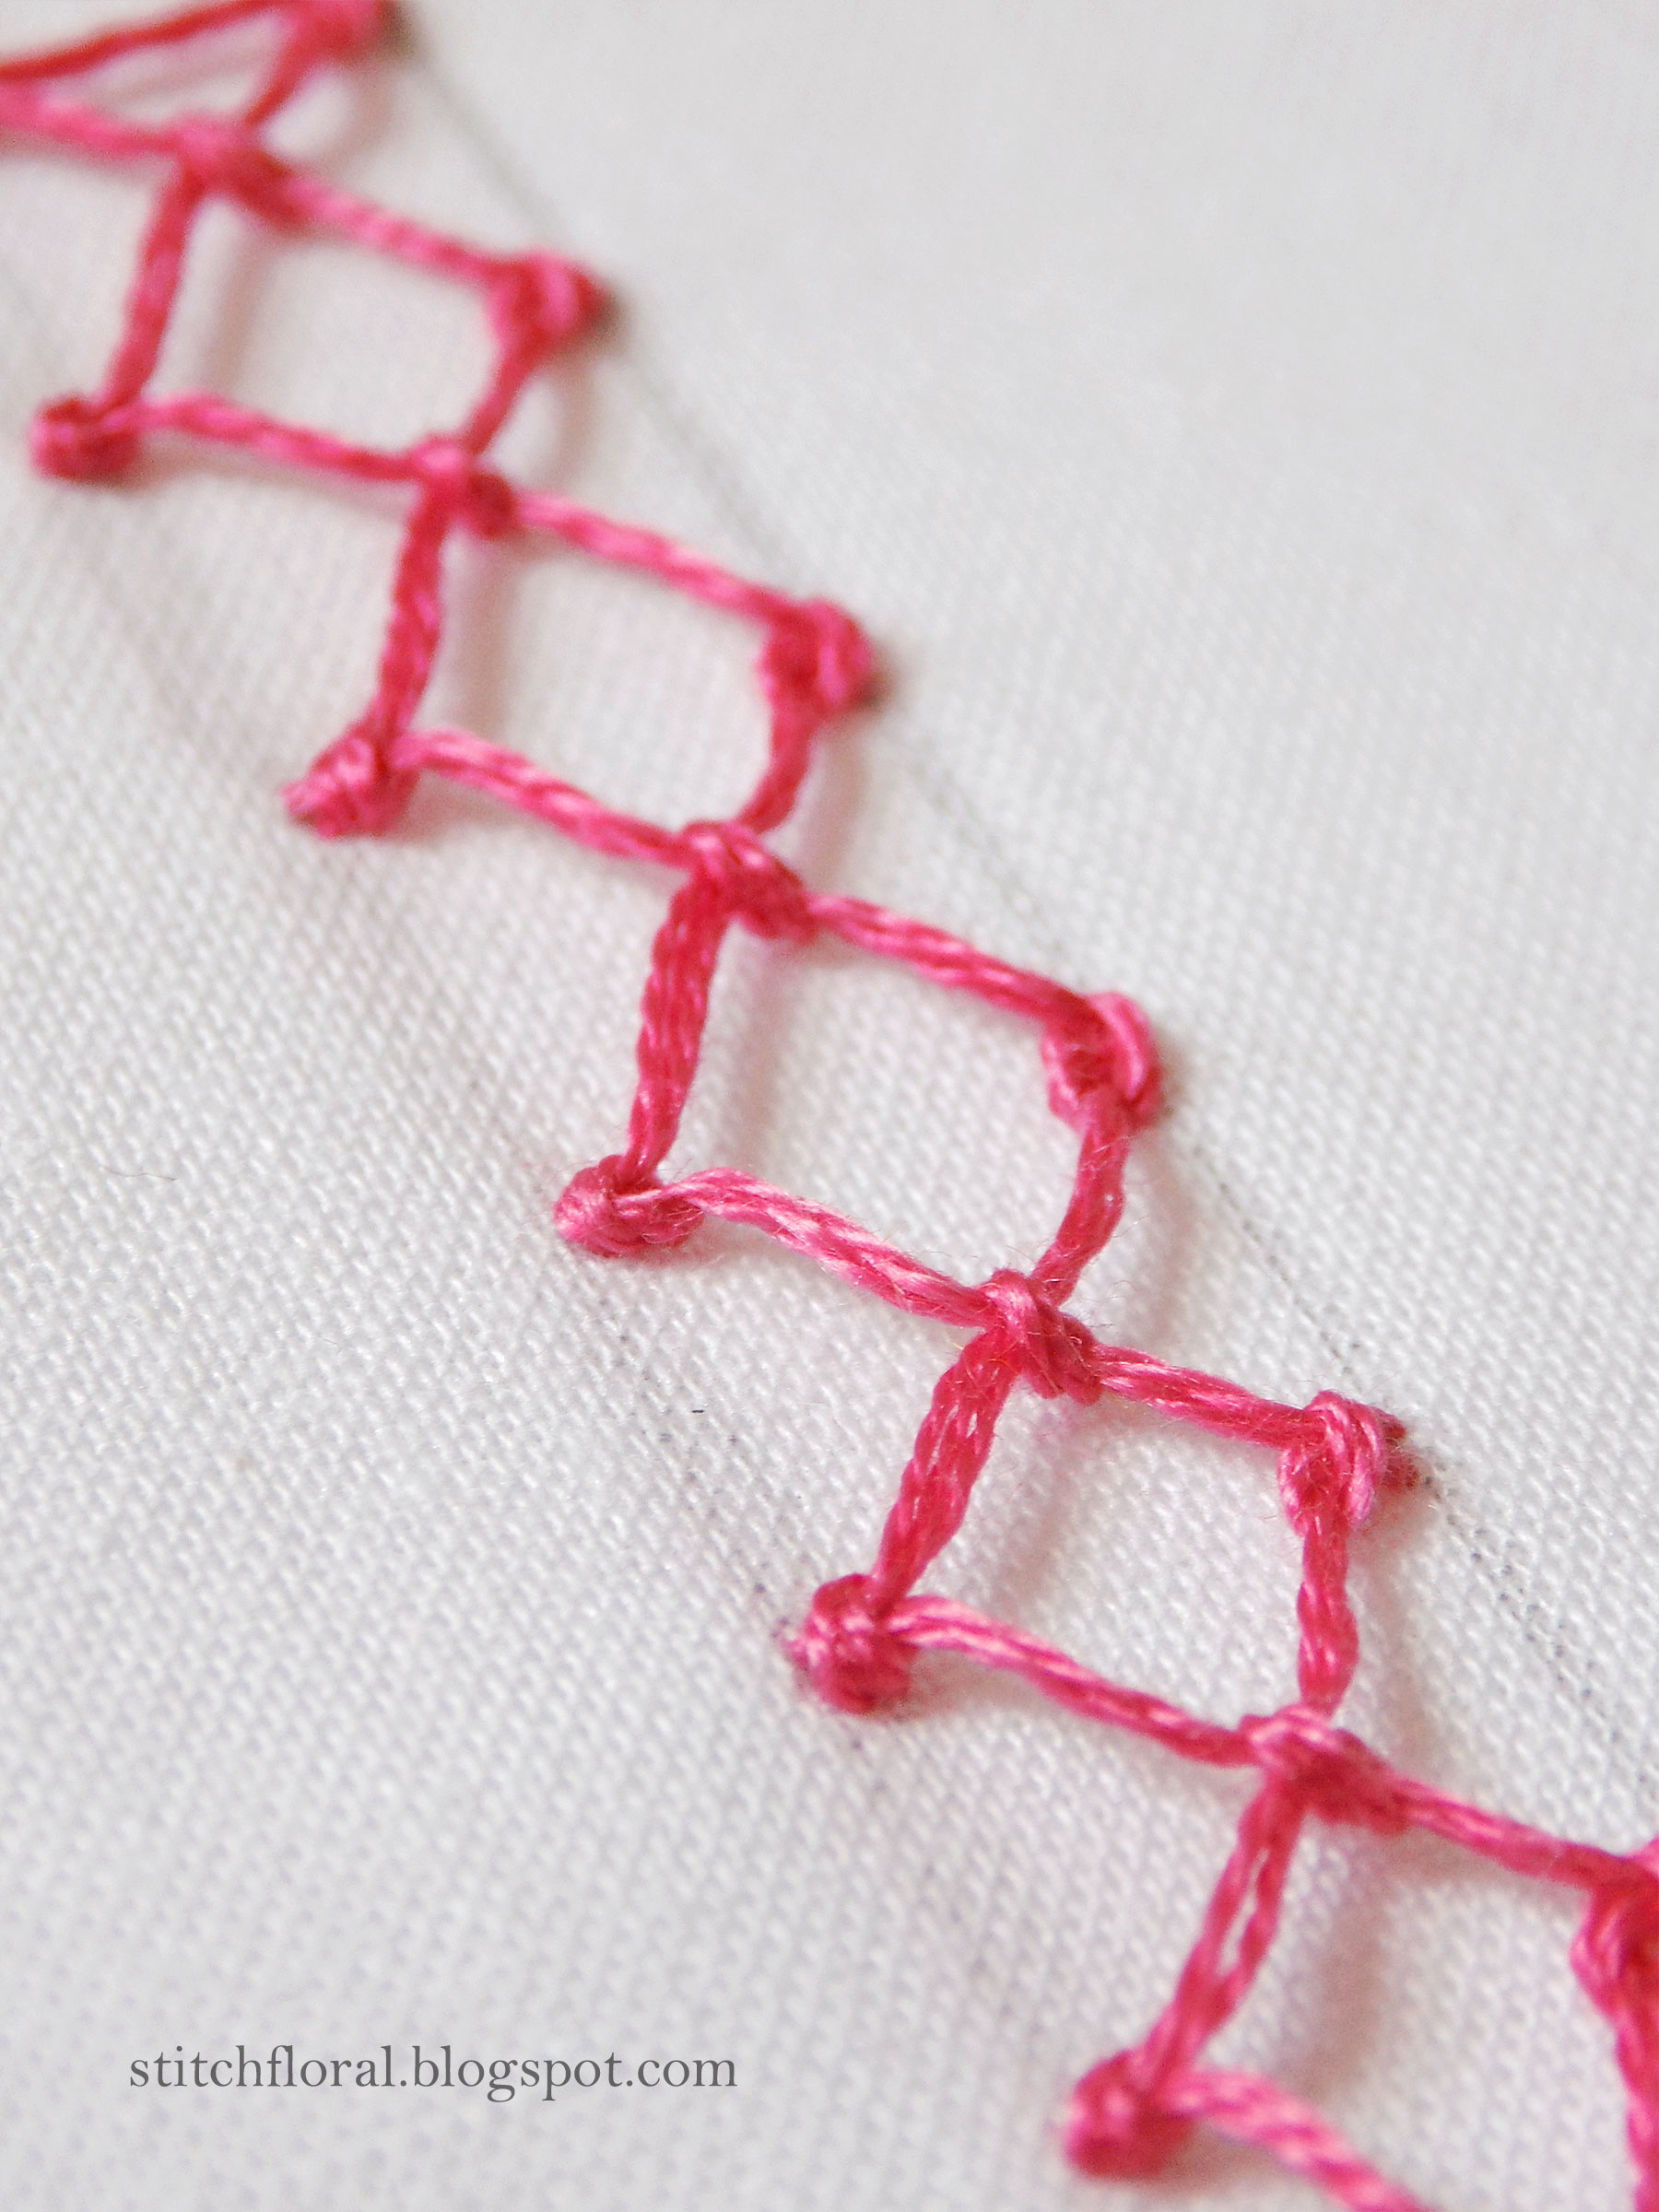
Knotted diamond stitch is commonly used for borders and has a lovely, “lacey” appearance.
Personally, I also think that it's especially pretty when you mark the points of the stitches and make it symmetrical. But when you mark it on the fabric you have to remember that in its initial form, knotted diamond stitch is open from the top and the bottom.
You'll be able to see pencil marks in my case. And it's fine if you're using a water-erasable marker, but if it something permanent, then either be careful to mark only the dots for the points at the top, or add some horizontal stitched in the end to complete the border (you'll see an example at the end of the post).
Knotted diamond stitch tutorial:
1). First, if you want to make the border symmetrical, make sure to mark dots on two horizontal lines one above the other, placing them in even distance from each other. Then come up through the fabric at the furtherst bottom point and insert the needle on the line above, making a vertical stitch.
2). Bring the needle up again right next to previous point.
3). Slide the needle under the first stitch and put the thread over it. The working thread should form a loop around the needle so that when you pull it through, it forms a knot. If you can't get a knot, then after putting thread over the needle, tuck it underneath.
4). Pull the needle through.
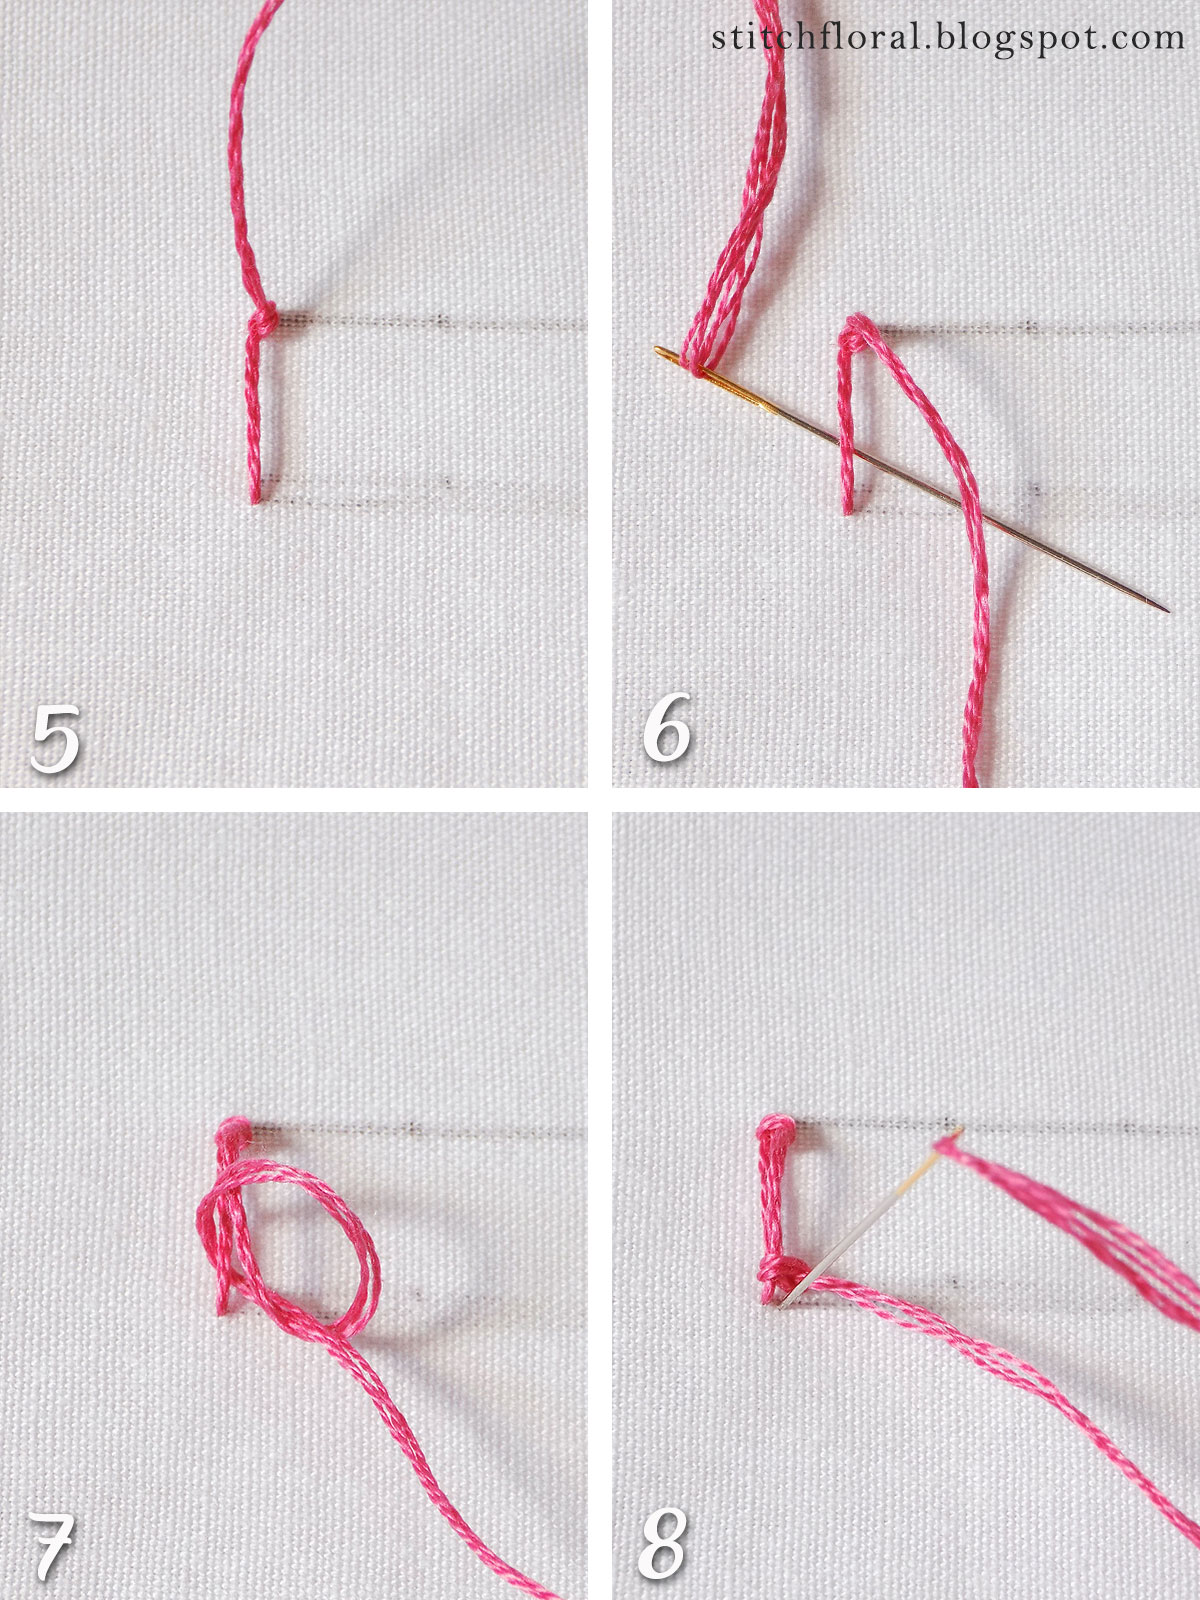
5). After you pulled through, you will get a knot.
6). Now, slide the needle again under the first stitch, putting the thread over the needle and if necessary tucking it under its shaft.
7). Pull the needle through to get a knot.
8). And anchor it by inserting the needle at the point next to it.
9). Now bring the needle up further down the lower horizontal line, and slide the needle under the last “bridge”. Put the thread over the needle again, and if necessary tuck it under its shaft (this time you will notice that the direction of tucking the thread under the needle will be different).
10). Slowly pull the thread until the knot forms in the middle of the “bridge”.
11). Then insert the needle at the point of the upper horizontal line, right opposite the one where the needle last emerged.
12). Now make knots as in the steps 3-8, sliding the needle under the previous stitch and putting the thread over it.
13). And then sliding the needle under the lower part of the stitch and putting the thread over it.
14). And anchoring the knot.
Basically, that's the whole routine. Repeat the steps while working the border.
I believe, apart from measuring the distances between the stitches carefully, one more “success factor” would be correct tension of thread. In my case, it wasn't really perfect :D But that comes with practice!
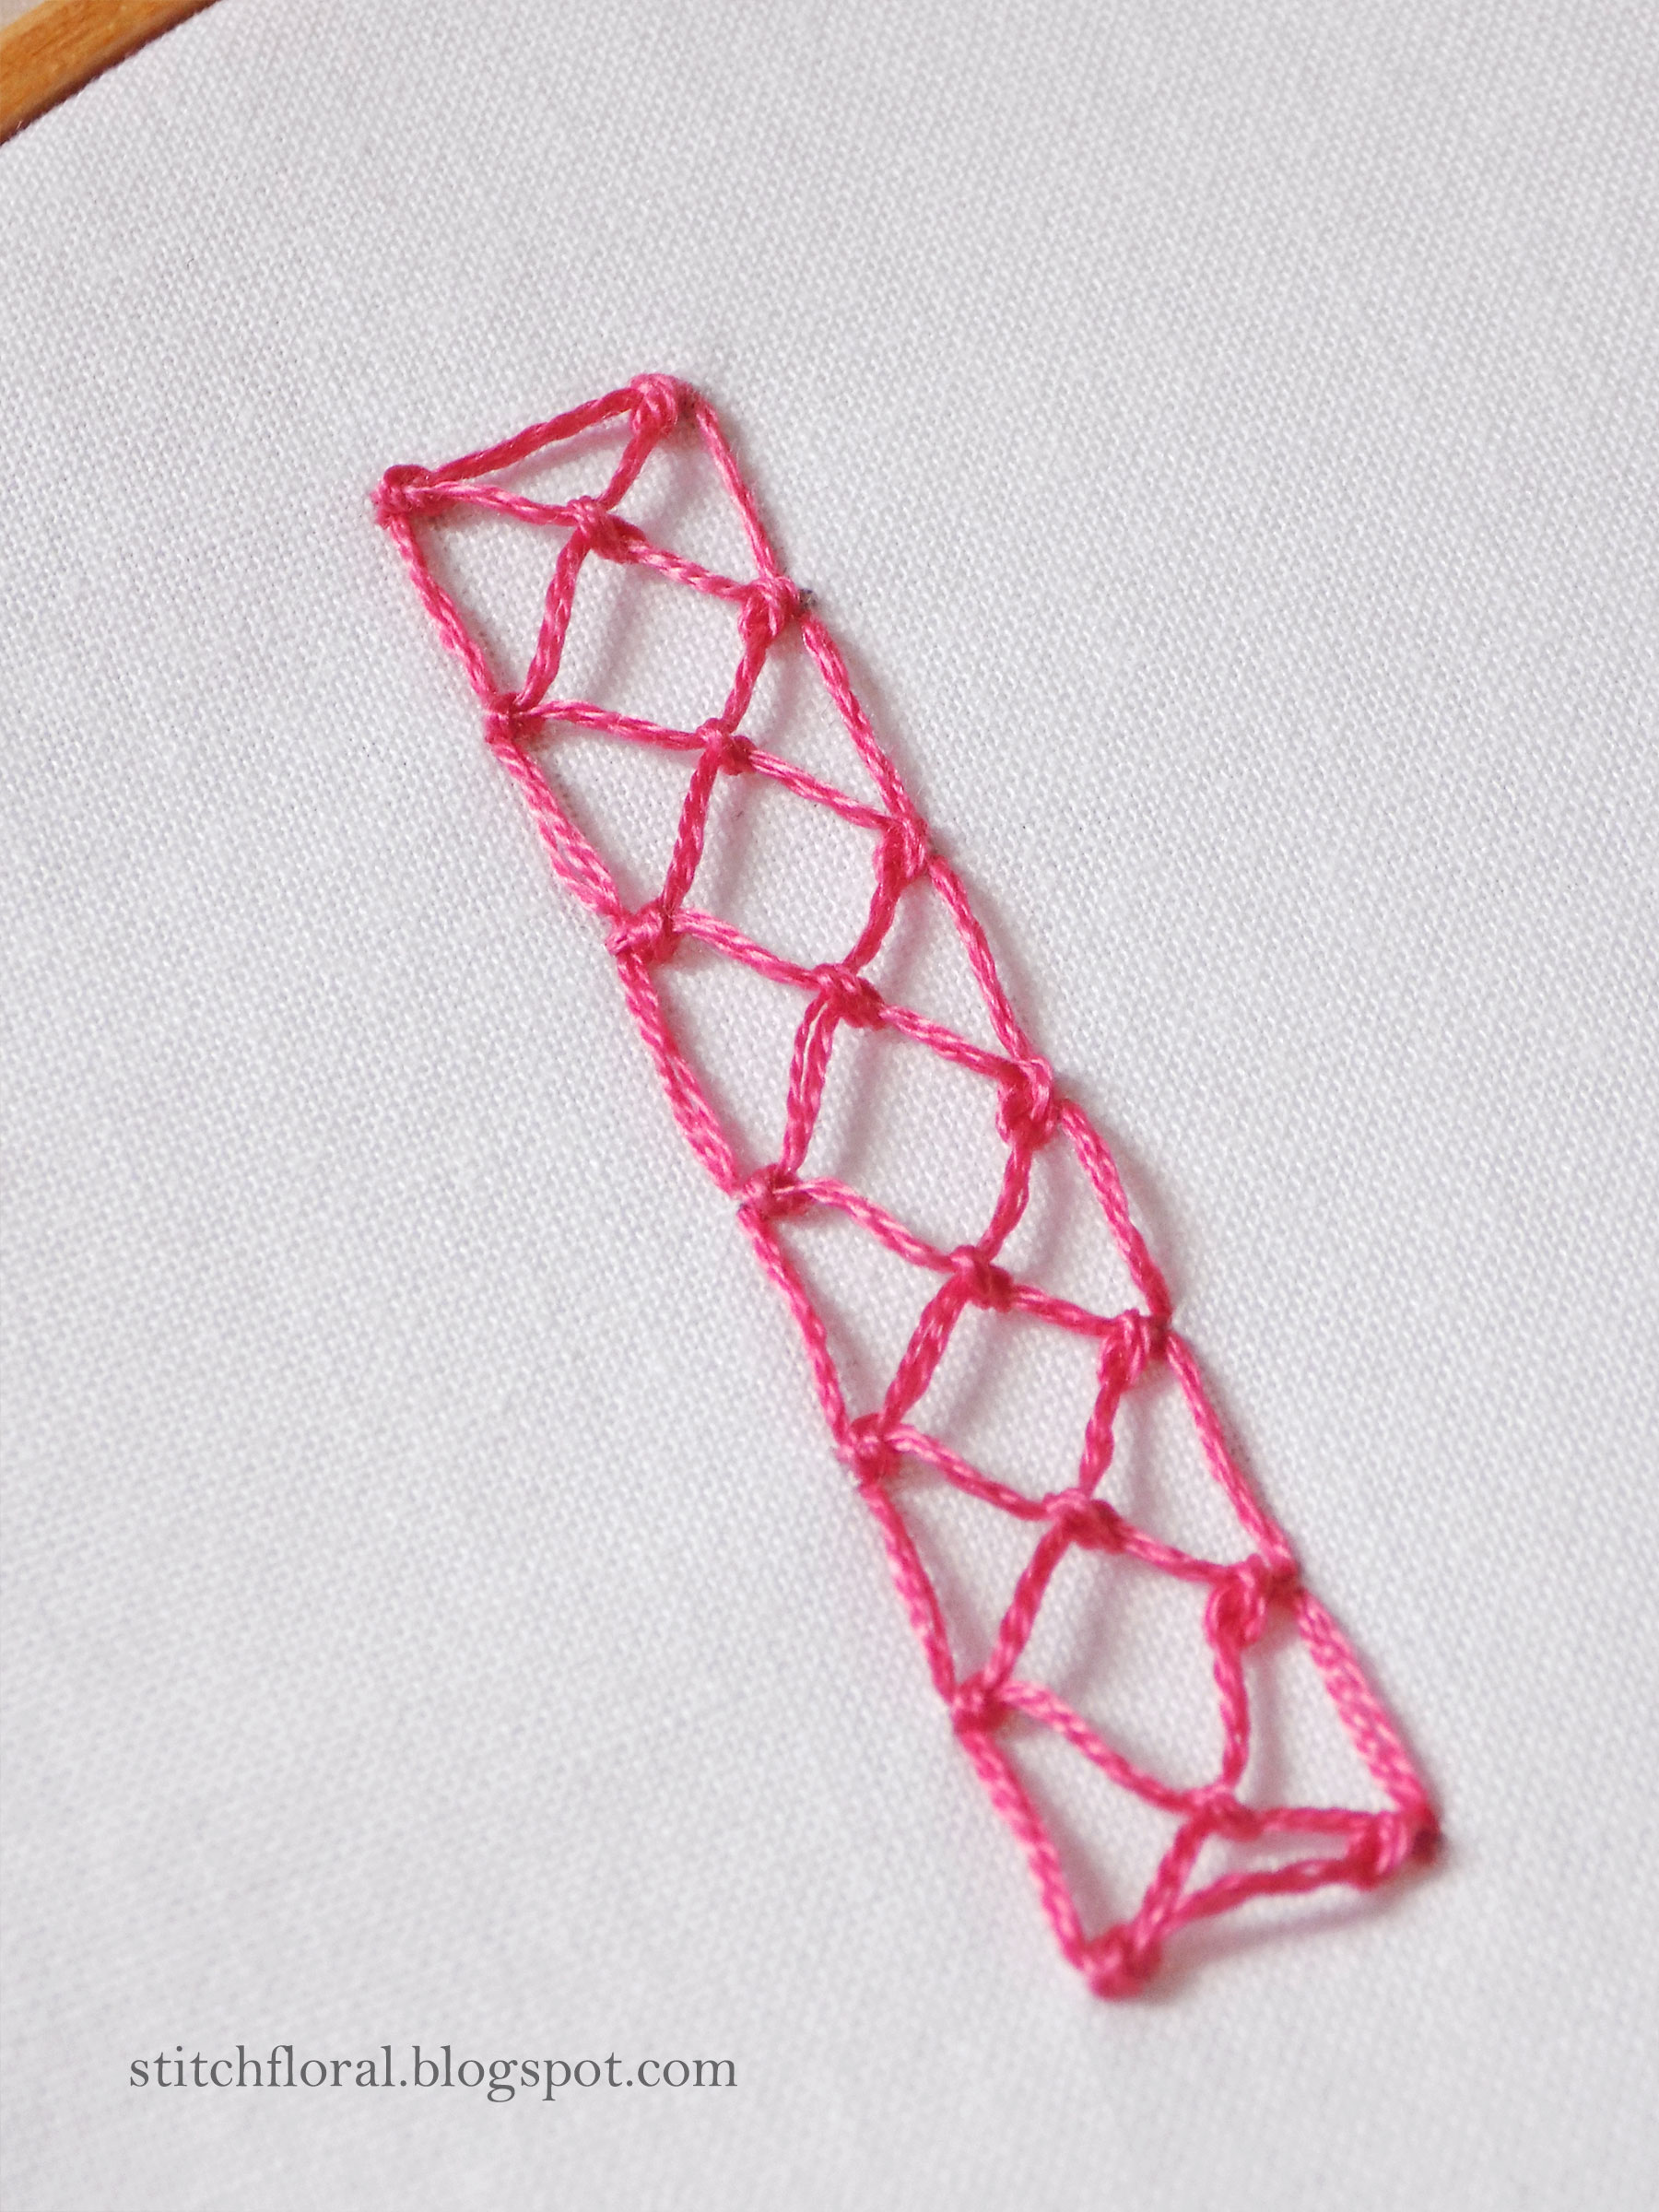
Also, you may try the “vertical” way of working this stitch as follows:
And if you want to complete the border from above and below, then just place straight stitches in between the top points.
That's all! Hope you have some fun with it :)


No comments
Write what you think! ❤
Note: Only a member of this blog may post a comment.