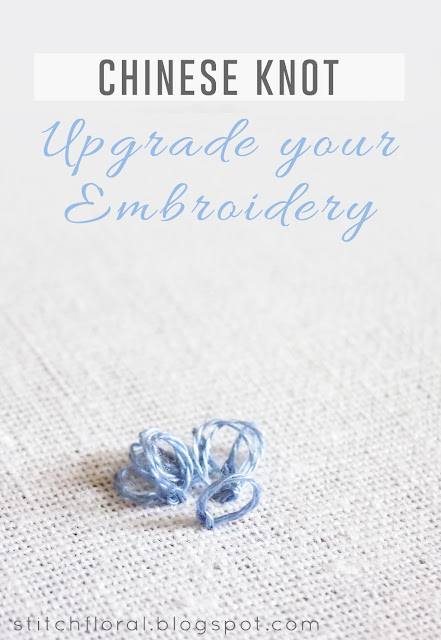
This month I've been covering hand embroidery knot stitches on StitchFloral. And although initially, I was going to talk only about basics, in the end, I couldn't stop myself from telling about the Chinese knot. Yeah, this mysterious guy which is often referred to as “Forbidden stitch”;)
Actually, it is not that complicated to stitch. But as it's hardly ever included in the list of basic stitches and you can barely find it in stitch encyclopedias, I decided to make it the first one in the series “Upgrade your embroidery”.
Chinese knot has many other names, among which Forbidden stitch and Peking knot are probably the most popular.
I remember the moment I stumbled upon the name “Forbidden stitch” and being instantly attracted to it – the Chinese knew how to “sell” their special embroidery technique ;)
It took me a while to find more information on it and learn how to work it. Neither of diagrams that I found on the web helped me personally, so in my case, I had to figure it out myself by trial and error. However, this stitch is really fun, so I feel like it would be a waste not to share it here!
Let's see how to stitch Chinese knot.
First, bring your needle up on the top of the fabric. Then you need to make a loop. This is a bit tricky, so please pay attention to the position of thread on the pictures below.
Put the thread on top of your index finger and make one wrap by pulling the thread under the finger. Next, as you turn your finger to the left side and put on fabric, you leave a loop on its surface.
You might be able to make this loop without the help of a finger, but I find this method easier.
When the loop is ready, insert the needle at the same point where it first emerged from the backside, so that it is inside of the loop.
Now, here's where the options are available and you can decide on which look you want your Chinese knot to have.
If you tighten the twist a little by pulling the free tail of the thread and then pull the needle down through the fabric, you might get a knot like this.
It is a closed, compact knot which resembles french and colonial knots from the distance, except that it is flatter.
Or you can leave the loop a bit loose and in this case, your knot might actually take a form of a ring. The shape and size of the ring depend on how loose the loop is before you anchor it with a stitch.
If you look up ancient Chinese embroideries with the Forbidden stitch, you might notice that it is used there as rings quite often. Needle workers used this stitch as a filling to cover certain areas of their embroideries. Worked closely to each other, Chinese knots in the form of rings give a fascinating, textured surface to embroidery.
However, it is quite difficult to master the consistency of the “ring” shape. That's why currently this stitch is more often used in the following manner:
When you work Chinese knots with 2-3 strands of thread in the needle and make the loops loose enough, it has a fun “fluffy” look. And the great news is that you don't have to make it exactly the same. Slight variety only makes it more fun!
This simplified version of Chinese knot can be used for embroidering foliage on trees, plants with a great number of tiny flowers, birds feathering, fur and so on. It can look especially nice when worked with variegated thread!


Intriguing since I just learned the French knot in the colonial night now I got me another night this one looks pretty
ReplyDelete