French knot is, undoubtedly, the most popular knot stitch out there. But it has a “twin” - colonial knot. Jump in to explore the similarities and differences between the two!
So, how do you stitch colonial knot? Many people fear it because it seems tricky. Me too, for a long time I used french knots exclusively and didn't even want to try the colonial one because it just seems difficult. But I was wrong! Once you “crack” the process, stitching colonial knots will go smoothly and fast.
The most challenging in learning how to make colonial knots is understanding how the twists work. The principle of stitching it is the same as with french knots: you wrap the thread around the needle and pull the needle through the twists. But the twists work differently in the colonial knot.
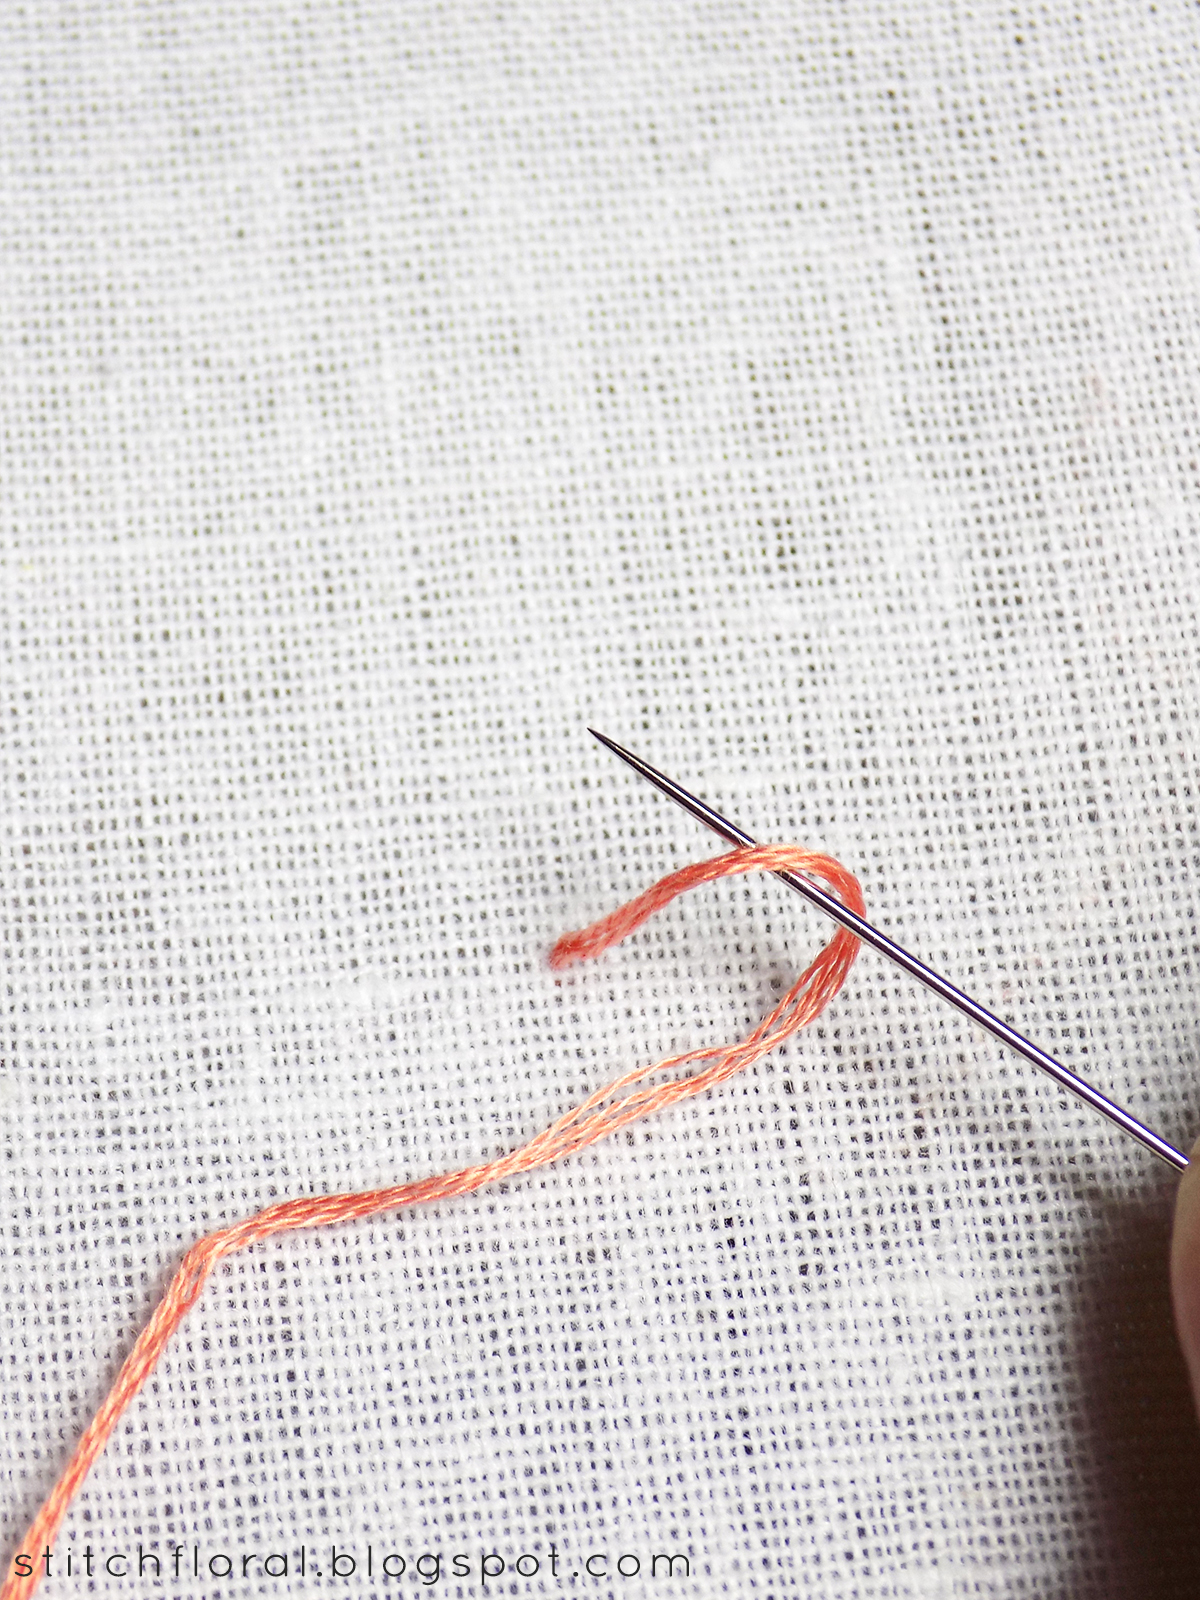
So, for the first step you need to bring the threaded needle up through the fabric. Then make a slight loop of the thread on the right side of where it emerged from the backside. And move your needle inside that loop. Note the placement of thread and the needle. It can be only like this, no options.
Now, we pick the end of the thread and put it over the needle. Over the needle. My main problem when I learned colonial knot was that in this step I pulled the thread under the needle – it is a mistake. The thread must be basically lying on top of the needle with the free end of thread hanging on the right side. So, with these manipulations, you form an “8” with the thread, and the needle is inside the loops.
Next, insert the needle into the point next to the place where it emerged on top of the fabric. And gently pull the longer end of the thread to tighten the twists a little. This is crucial! Always tighten the twists so that the knot has a nice shape (but don't overdo it, or it will difficult to pull the needle through).
Then pull your needle through to the backside of the fabric.
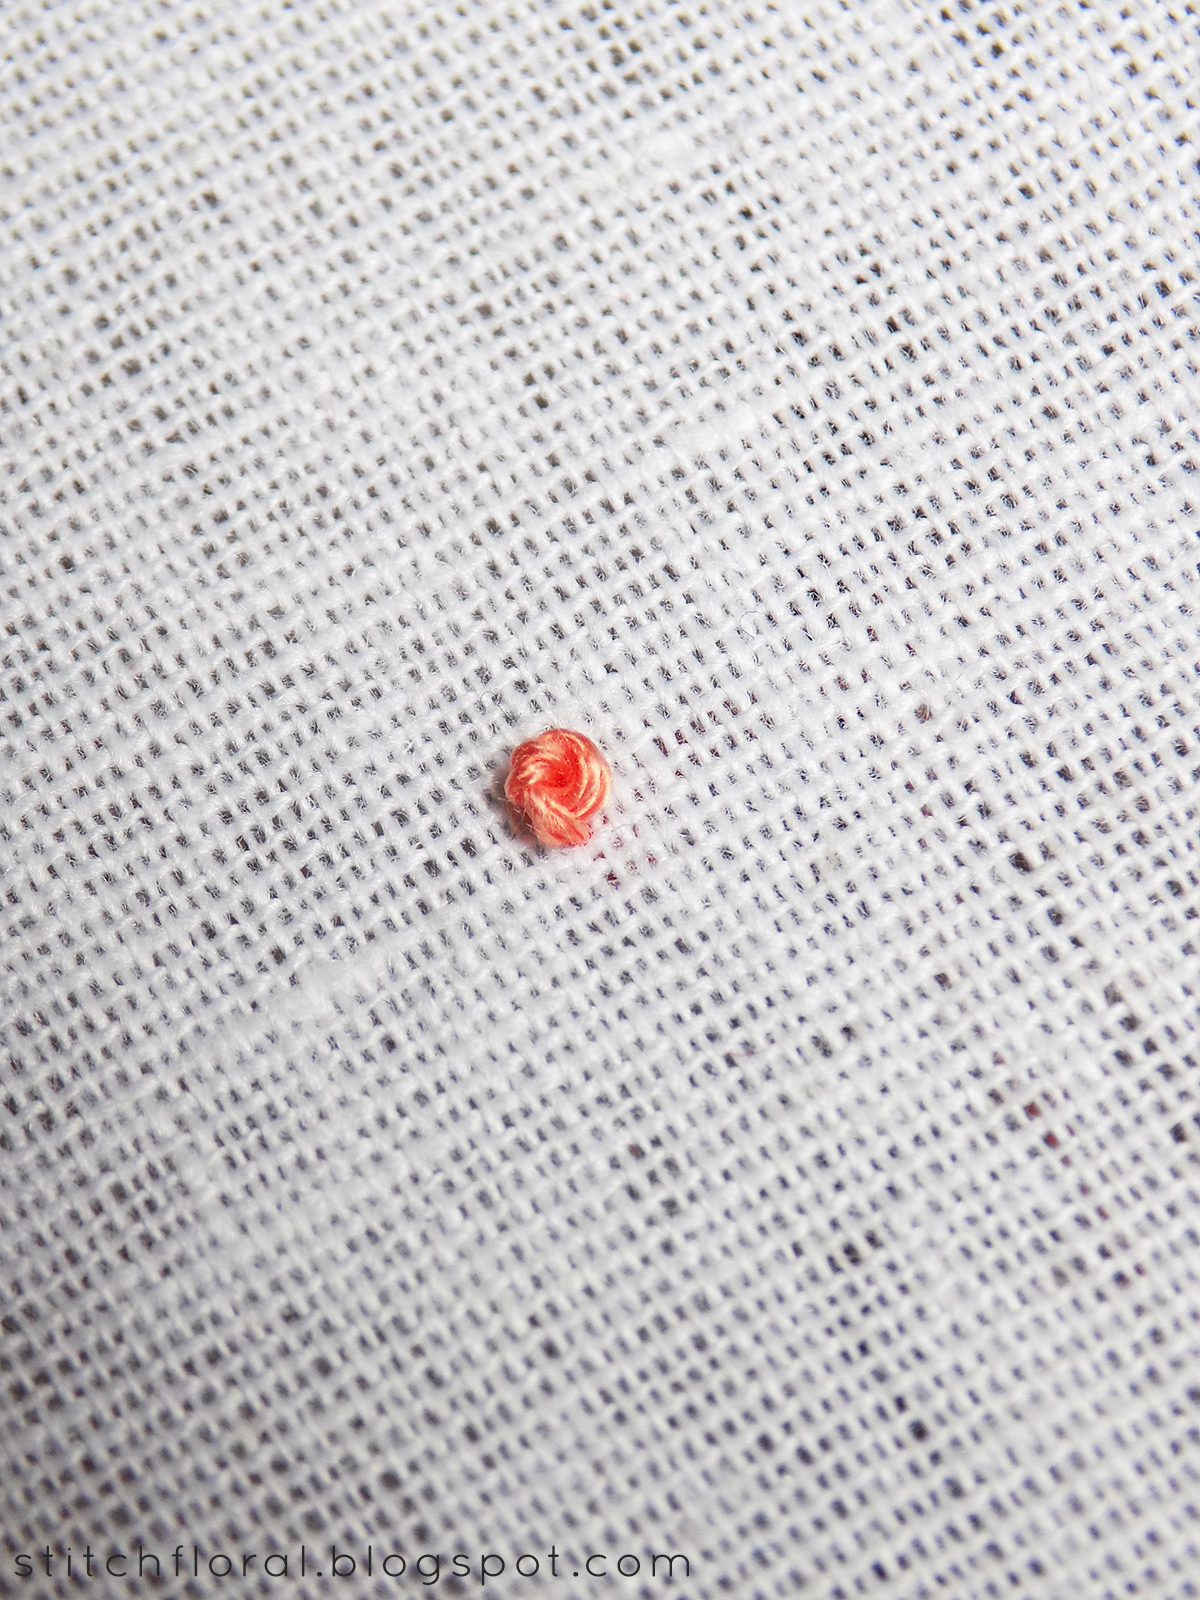
The resulting knot will look like this.
French knot or colonial knot?
Some call colonial knot a substitute for the french one. Although this term is not that clear to me because it's not like colonial knot can be used in some cases where the french one doesn't fit. Nor does it have any particular drawbacks where colonial knot, on the contrary, would shine.
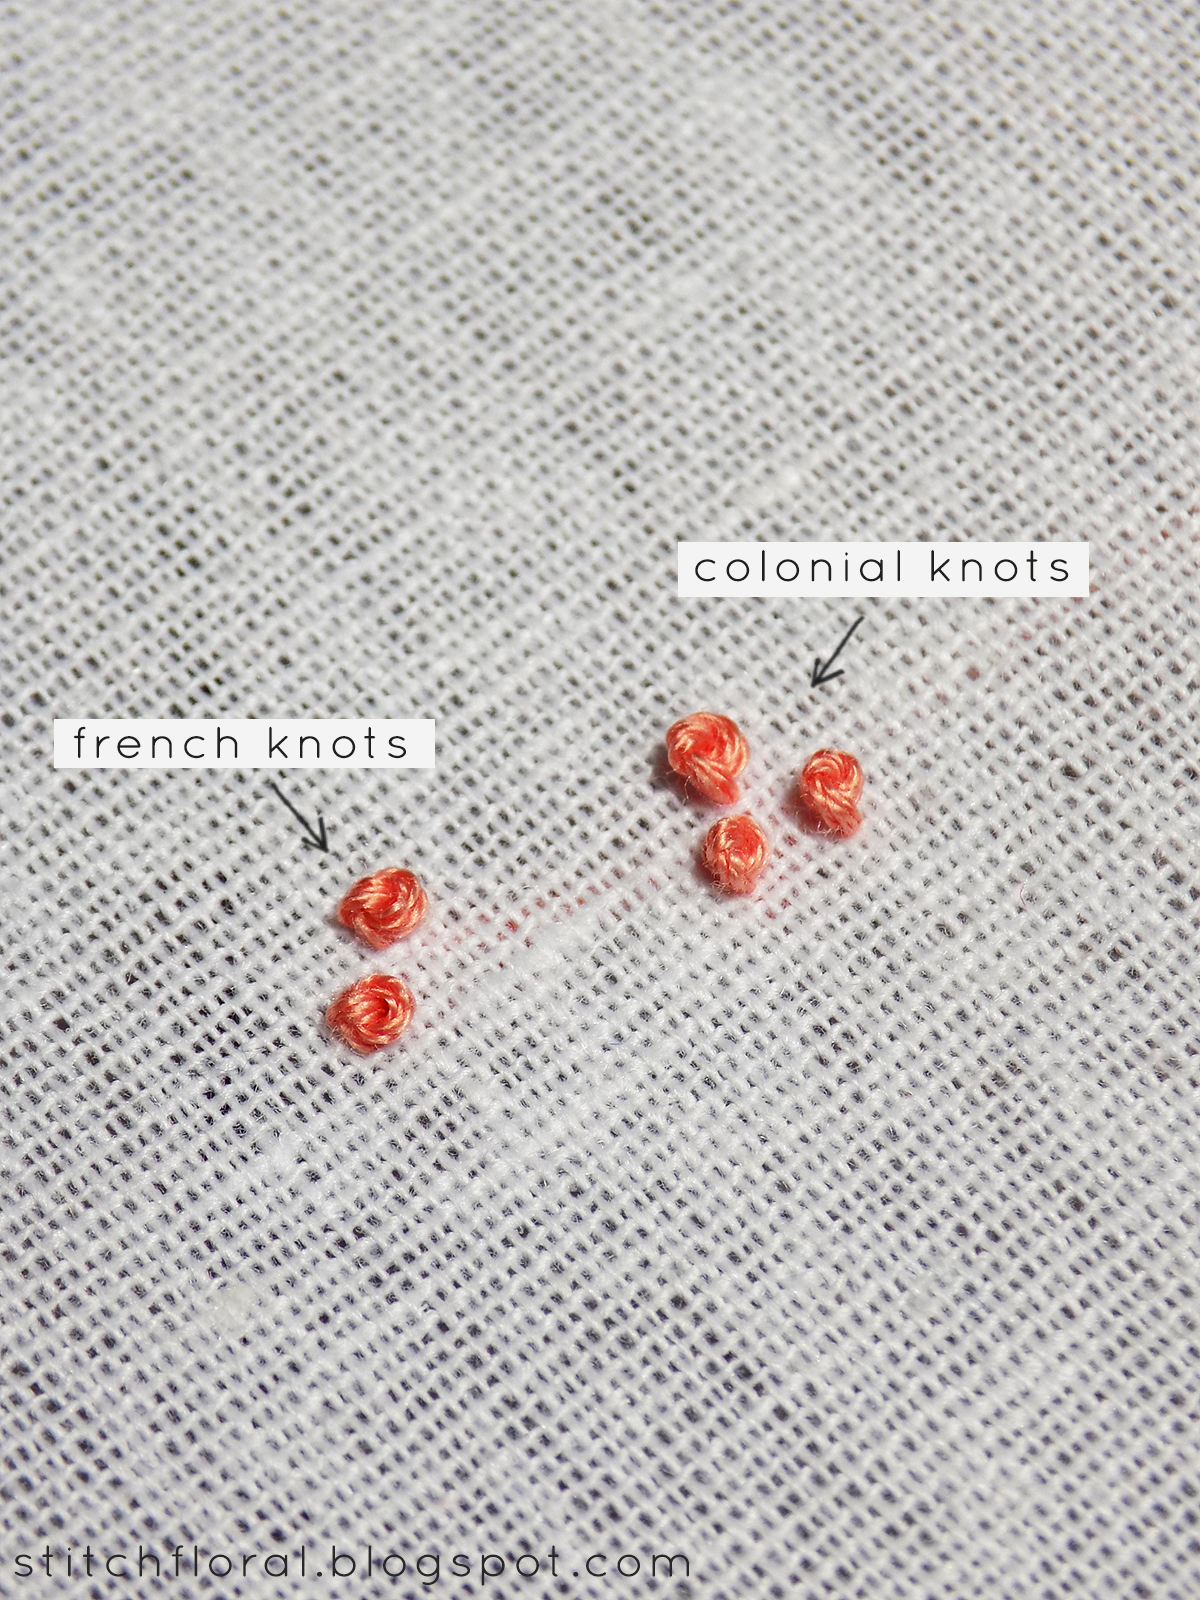
These two stitches are basically the twins. The difference in their appearance is barely visible in a close-up and if you look at them from a distance, they will look absolutely the same way. They also function the same way: they can be used as isolated dots or to fill in the shapes or as a quirky background. They are interchangeable.
So, what's the difference?
- The technique. For some stitchers the way the colonial knot is worked is more attractive and easier.
- Appearance. The difference is really hardly noticeable, but I dare say that french knots are a bit “flatter”, while colonial knots are sturdier and stand more upright.
- It is highly subjective, but I find colonial knots easier to undo. Yes, sometimes, when I stitch the knots and I don't like the shape, I want to undo it. And if it is a french knot... well, I either put up with it, or desperately try to undo it while almost ruining the thread, or I cut it off, secure the thread on the backside and start again. While, when it comes to the colonial knot, I always can undo the knot pretty easily, with no harm to the thread.
To sum it up:
It's up to you to add colonial knot to your “stitches dictionary” or not, but I would recommend at least to try it out. It's worth a shot and it's not that difficult as it might seem at the first glance. Now that you know how to make a colonial knot, try it, maybe it will become your favorite!


Thank you for a good explanation pf colonial stich, even as this is my first floralstich ever. Easy!
ReplyDeleteYou're welcome!
DeleteReally nice! Thank you for your welcome explanation!
ReplyDeleteMy pleasure :)
DeleteI had no idea that this knot existed! Thank you!
ReplyDeleteNo problem :)
DeleteThank you for sharing your explanation of this knot it is alot easier to understand than most of the others that i have tried.
ReplyDeleteI'm happy it came in handy!
DeleteThanks so much. Your directions and photos were so easy to follow.
ReplyDeleteI used to do different types of embroidery, but never had heard of the colonial knot that I recently read about. Thank you for the clear instructions and photos! As they say, a photo is worth a thousand words, but in this case, your instructions and close ups are equal!
ReplyDeleteI use the Colonial Knot to create the wool on my Sheep when I embroider them ... It's quick & easy, works so well, and is stable (no pun intended 🐑) with no pop ups or pull outs, each stitch stays in place, every time, and over time!!!
ReplyDelete