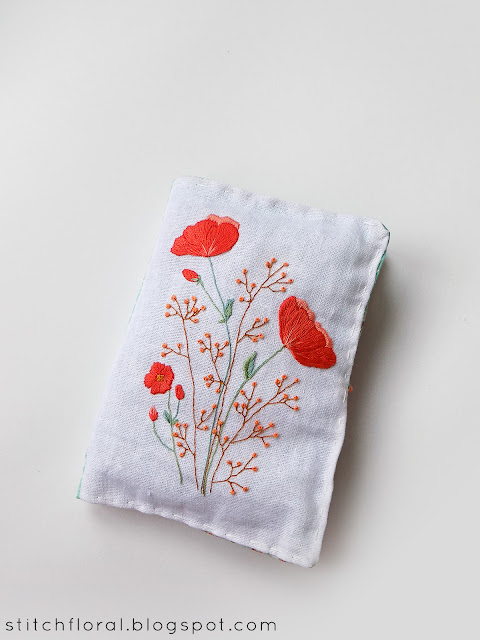
It's tough to be a clumsy perfectionist. When I planned it, the needlebook was supposed to be much neater and tidier – but my sewing skills let me down. But you know what.. I like it as it is. Clumsy, a little awkward, but still a lovely sweetheart :)
You can read the first part here. There's also a tutorial on how to embroider quick feather stitch twigs!
The book has only a cover and a couple of felt pages. Everything is pretty simple. Or, it was supposed to be very simple, until I started assembling it. Actually, the problems arose on the very early stage when I tried to make a patchwork grid for the back cover. It didn't go that well, with the stitched lines traveling up and down and some of the blocks not fitting each other's corners. After starting over a couple of times I gave up and decided to just let it be. Maybe that was my mistake because after that almost all of the stitching went wrong! I'm especially “fond of” the stitching line in the center of the book, which paints a very nice wave. I'm not even going to show it ;)
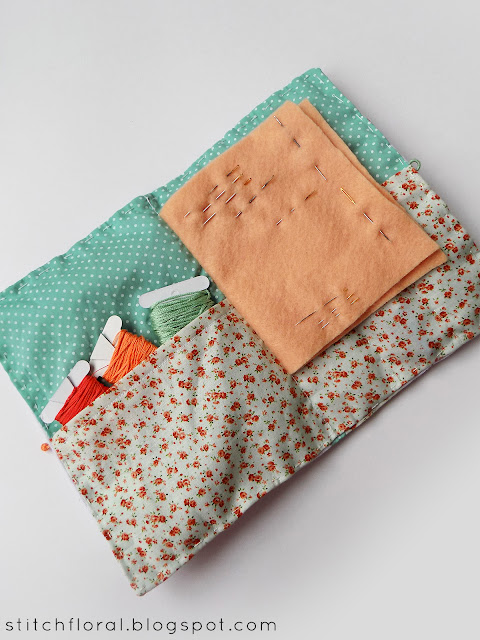
But to be honest, although the book is a bit clumsy, it is still darling and my tools already accommodated themselves cozily there. There is a nice spacious pocket on the left, which is able to store a LOT of floss bobbins and skeins. I already tested it. I also plan to keep there printed versions of designs – sometimes I make notes on them about what kind of stitches I want to use and which thread. So, the pocket is surely very handy.
On the right side of the pocket, there is a place for scissors and two markers. One is a permanent black marker – I use it to write down the number of floss on new bobbins or to reinforce the printed design outlining if the original one is too thin. Another one is my water soluble marker for transferring designs on fabric.
The funny story with this pocket is that I actually sewed it down to the backside at first! When I tried to open the pocket, I was a little surprised that I couldn't do that. Disaster, complete disaster.
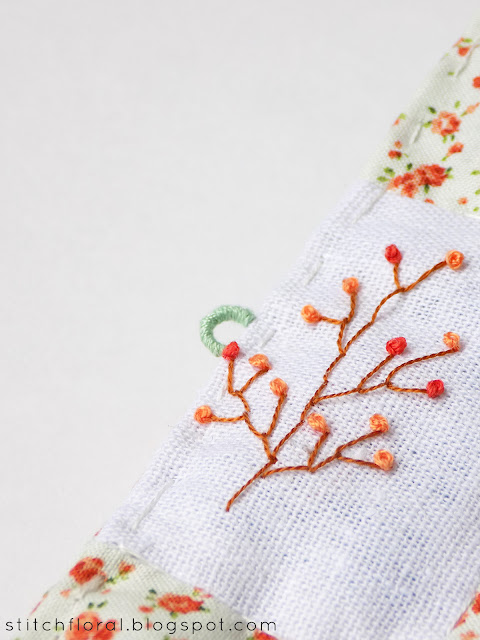
By the way, I also forgot that the book is supposed to have some “closing mechanism”. A button and a loop or ribbons on either side. Right now these variants seem more practical to me, but back then what came to my mind was a bullion stitch. So that's what I did. It made a nice loop, although a bit too tiny - I had difficulties with finding a fitting button and ended up using a bead. Maybe the bead will be replaced later with a fitting button if I find it.
My favorite part of the book, of course, are the embroidered flowers on its front cover. Actually, I decided on fabrics first and then picked matching colors from among DMC floss (they are listed in the first project report). I think it worked very well, the embroidery doesn't stick out too much, but instead is a natural element of the whole concept of the book. I also added some hand stitching to quilt the batting fabric.
This project was part of my challenge "Exhaust the fabric stock", aimed at getting rid of the pile of the fabric that is still stored in my drawers. The first result of the challenge was this baggy (you can spot bullion stitches there too).
I can't say my challenge is progressing that much, to be honest, because the stock of fabric didn't reduce drastically. However, there is another purpose for this challenge - to hone by sewing skills. There's not much progress on this side either, but I'm not willing to give up until some day I'm able to call the sewing machine my best friend!


No comments
Write what you think! ❤
Note: Only a member of this blog may post a comment.