Fellow stitchers, confess! Is there anything you started collecting after falling in love with this craft? Cute bobbins? Scissors? Thread? Well, I guess collecting thread is a common habit. But as for the “accessories”... personally, I'm becoming more and more of a pincushion lover.
The funny thing is that I don't even have that many needles or pins to store in the pincushions. More like, I just like the process of making them, you know? And when I have these pretties at my workplace, it just creates that kind of cozy atmosphere! So, today we are going to learn to make one of such pincushions which goes by the name “Biscornu”.
What is biscornu?
I'm not really informed of the origin of this pincushion (tell me if you know!), to be honest, although the name is definitely derived from a French word meaning “quirky”, “crooked”, which describes the shape of this ornament perfectly.
Actually, it is super popular among cross stitch, hardanger and blackwork enthusiasts, because they tend to use Aida fabric which is a bit coarse and suits this kind of project really well. However, doesn't mean that the same pincushion can't be made of simple cotton or linen.
Biscornu is constructed using two fabric squares of matching size: one for the top, the other for the bottom. The top one is often embellished with embroidery, beads or appliqué, while the bottom one can be plain, or made of a nice cotton piece, but is rarely decorated with stitching.
Now, you might think: if a biscornu consists of two matching squares, how come it has this quirky zigzag shape??
Well, here's the thing. Usually, when we sew a simple square pincushion we match the pieces evenly corner to corner, right? But here, we are doing it differently. We match a corner to the center and a center to the corner. It might be hard to understand it now, but you'll grasp it once we start!
You will need:
- 2 squares of fabric of the same size;
- matching thread;
- needle;
- stuffing;
- buttons/beads;
- scissors
Instructions
1. Prepare the top and bottom fabric squares. Note: you need to cut squares of a bigger size to include seam allowances to each side! I cut a square of necessary size from a cardboard (usual cereal package) and then I put the cardboard square on the back of the fabric and press the folds down. These folds are the future sewing lines. Also, you need to mark the center of each side for one or both squares. It works for me even if I mark just one, but you can mark both if you feel like doing so.
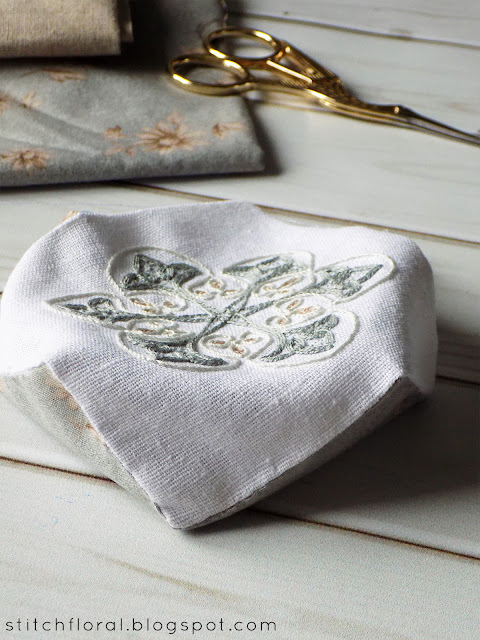
2. Now, put the two squares with their backs to each other (faces outside) and match them so that the corner of one of the squares is facing the center of the other one. Look at the picture above for a reference. Remember: corner of one to the center of the other one.
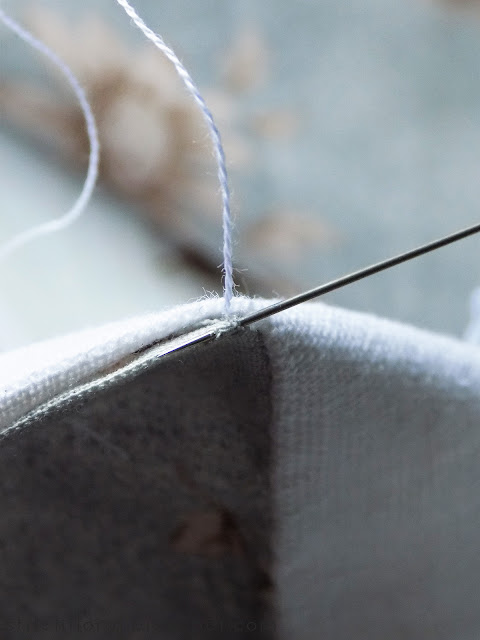
3. Now, we start sewing the squares together using the hidden seam. Thread your needle with thread of a matching color. You can use a sewing thread or a strand of cotton floss. Make a knot at the end of the thread and bring the needle up from below the folds. The knot will stay hidden.
Keep sewing until you reach the center of one of them and the corner of the other one.
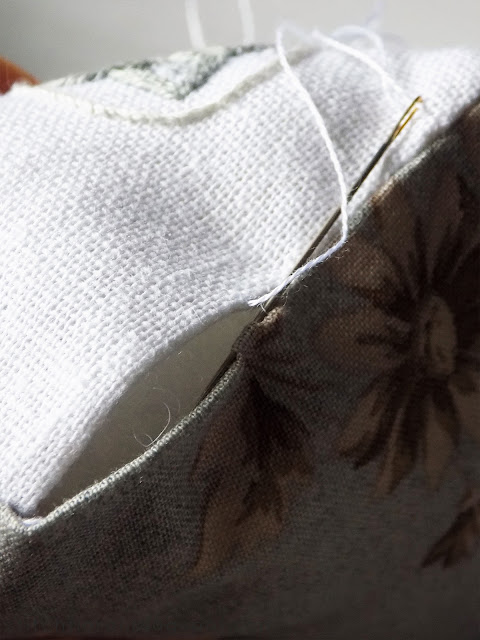
4. When you arrive here...
...bring the needle up and rotate one of the squares, matching them in the same fashion: a corner to a center and a center to a corner.
After stitching together two sides that's what you should end up with.
Continue the same way with every side.
And after a while, your pincushion will gain the quirky zigzag shape.
5. When only one side is left it's time to stuff it up! Make sure to push some stuffing to the corners to not leave them empty.
6. And close the opening with the same old hidden seam.
7. If you read the lesson until the end, you remember how we end the invisible seam: making a tiny loop and moving the needle inside.
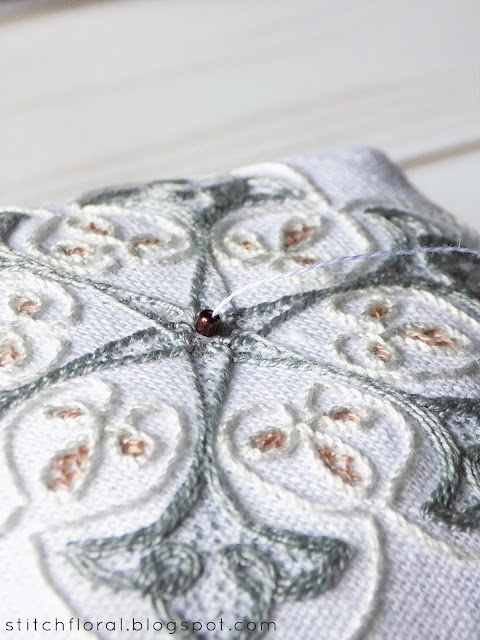
8. You thought the pincushion is complete? Not so fast! We now need to add a bead or a button to add pressure to the center and sort of “squeeze” it from both sides.
For this, thread your needle again, with a knot at the end. Bring the needle down in the center of the bottom part of the biscornu and push the needle through so that it emerges at the center of the top part (you will need to squeeze and crample the pincushion a bit to help your needle pierce it through).
Put a bead or a button to the center and pierce the biscornu through one more time, bringing the needle up at the center of the bottom. Add a bead or a button here as well to hide the knot.
9. And your biscornu is ready! If we skip the embroidery part, the construction of biscornu itself will take about one-two hours depending on how used you are to such projects. So, the process is fairly quick!
You should definitely treat yourself with at least one pretty biscornu... and fall into the trap of making a dozen more! Joking, joking. Well, not really, haha. Also, a biscornu is a popular present among stitchers and sewing enthusiasts, so if you know someone who's into these types of craft and you're still mulling over a present for them, this is the perfect solution!


This is awesome !
ReplyDeleteThank youu! ❤
DeleteCảm ơn bạn vì đã chỉ dạy rất chi tiết, cảm ơn bài viết của bạn Tẩy trắng răng và các thông tin liên quan ?
ReplyDeleteMuy buen tutorial, y el biscornu hermoso.
ReplyDeleteFelicitaciones y muchas gracias 😊👌