Apart from framing your embroidery results, there are a plethora of other ways to utilize it. Some of such options include making ornaments, stuffed toys, hand-constructed garments and accessories like pouches and so on. But all of these projects are united by one requirement: being able to use the hidden seam to stitch close the openings. And today we will learn how to work this stitch!
The hidden seam actually has a lot of other names: invisible seam, blind stitch and ladder stitch. All of these names mean the same thing – the hand-sewn seam used for closing the openings. And the good news is: it is relatively easy to execute once you understand the steps!
Now, without further ado, let's get right to the business and learn how to stitch an invisible seam!
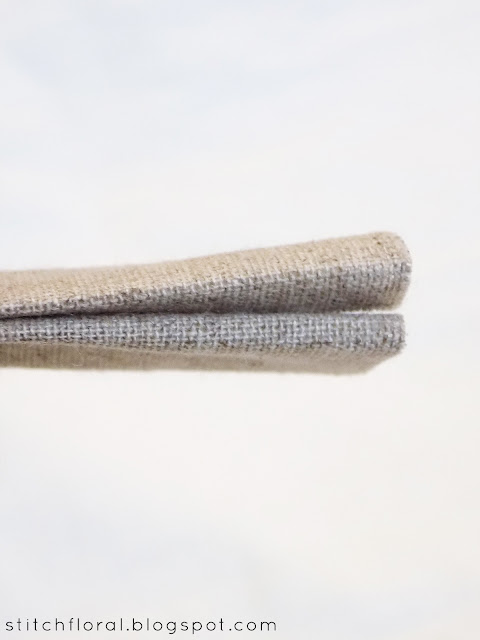
Here are the two sides of imaginary “something” that you could be sewing and now you need to stitch these sides together and make it as unnoticeable as possible.
Don't forget to leave seam allowance on both of the sides. I pressed the folds with an iron to make them crisper.
After threading the needle and making a knot at one end, pierce one of the folds from underneath. This way the needle should come out on the surface of the fold, but the knot will stay hidden inside.
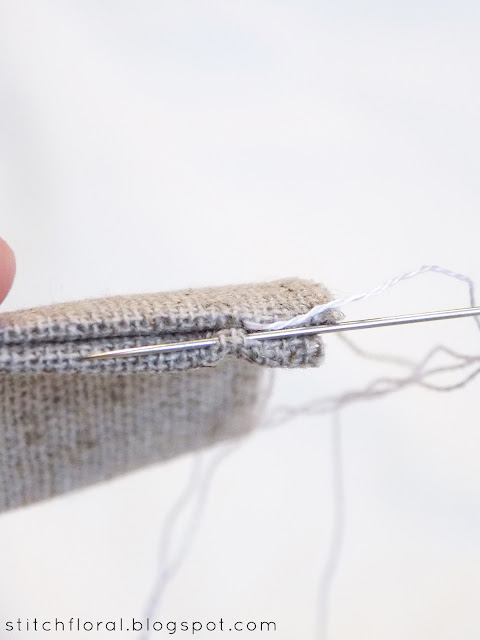
The next thing you do is bring the needle down on the opposite fold – right across from the point where it emerged on the top fold. Grab a bit of fabric and pull the needle through. Let's call it making a step to the left.
Now, find the point on the top fold right across the one where the needle last emerged from, bring the needle down there and grab another bit of fabric. We're making one more step to the left. Note that we always pierce the fabric at the points directly across from each other.
Keep repeating these steps. After every stitch (or, at least, every 2-3 stitches) pull your thread tight enough.
When you do that, you will notice how the stitches hide completely between the two folds. I used a white cotton floss thread for this piece of natural linen, but even so, you can't really find the stitches, right? Ha, that's invisible seam for you!
Well, the last couple of stitches are visible in the picture above, yes. But after pulling them tight, they will disappear as well. By the way, don't overdo in pulling the thread, we don't need the fabric to crample.
Suppose you came to the finishing point of the opening. How to end the invisible seam? With your needle grab a tiny bit of fabric in the opposite fold of where your needle emerged and don't pull the thread completely leaving a bit of a loop on the surface.
Move your needle inside of this loop and now pull the thread tight.
You will end up with a tiny knot. If the thing you're going to make will be used in a mild way - just as a hanging decoration, for example, one knot is enough. Alternatively, to secure the thread even better, you might want to make a second knot the same way.
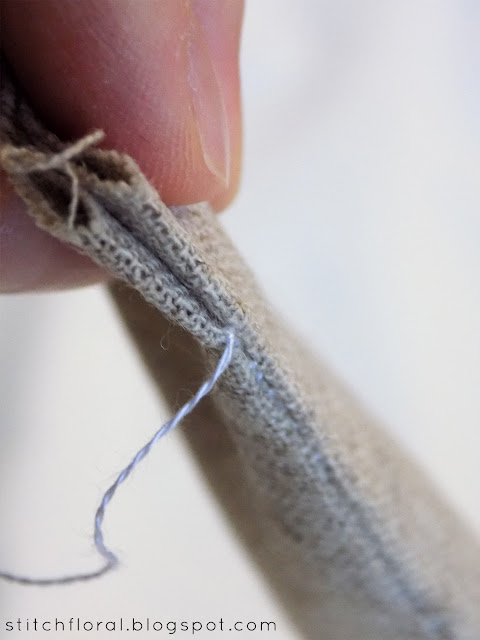
Now, we need to hide the knot as well. To do that, pierce the opposite fold again and push the needle somewhere far away from the seam.
Don't be scared to pull the needle through and leave the thread hanging there in an “inappropriate” place. What we need to do now is simply pull the thread a bit until the fabric squeezes and then snip the thread. This way it will stay inside your stuffed toy or ornament.
While the opening will be effectively stitched closed by an invisible seam. Pick the thread of the matching color with the fabric and it will be even more invisible if that's even possible!
Now you're fully equipped to explore the vast possibilities of making hand-sewn stuffed toys and decorations.
Actually, *a little spoiler* look forward to a new tutorial where you'll have to use this seam! We're gonna make some cute pincushions! Yay!


No comments
Write what you think! ❤
Note: Only a member of this blog may post a comment.