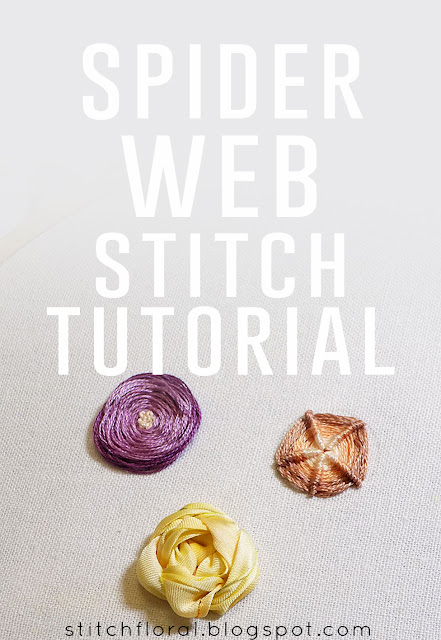
This is that time of the month on Stitch Floral! Here are some new stitches for our library.
This week I would like to go through some easy stitches that would allow you to embroider a nice bouquet of flowers. Most of them are quite dimensional and will fit the Stumpwork (“raised work”) category of hand embroidery.
For starters, how about a simple spider web stitch?
To clarify, I'm being not very academically accurate in this post by attributing “spider web” stitch to both of the techniques you will see.
The first one is usually referred to as “woven spider wheel rose” and the second one is called “ribbed spider web stitch”. But they have the very same foundation – a number of spikes placed in a circle, and there are just minor differences in how they are worked which lead to a different appearance.
And as someone who hates the pile-up of terms for similar things and as the advocate for simplifying whatever can be simplified... yeah, I decided to combine these two techniques in one post and unite by a similar name.
Woven spider wheel rose
This stitch has been extremely popular lately!
It doesn't really surprise me, as these days there's been an influx of new stitchers and, from what I noticed, the majority prefers bold look for their works. And what can be better for a new stitcher than an easy and fast technique that grants a complete and flashy flower in, like, a couple of minutes? That's why this stitch is definitely a “must know” for beginners.
Let's see how to work the woven rose:
1. For the foundation, we need an uneven number of spikes that start in one center and end on the edge of a circle shape. Please remember that the number of spikes should be uneven! Usually, 5-7 will do. This is really important because if they are in even number, the trick won't work, haha.
I usually work the spikes with 2 strands of floss in the needle. As for the rest of the flower, I use 4-6 strands of floss for better volume.
2. Bring the needle up through the fabric next to the center of the flower and right by one of the spikes. Then, skip one spike and slide the needle underneath the next one.
3. Once again, skip one spike and slide the needle underneath the other one.
4. And so you continue working the rose. Basically, the thread goes over one spike and goes under the next one, then again over one and under the next one.
5. If you want, you can decorate your flower a little by adding french knots to the center and maybe even switching colors.
6. The final look. You can vary the appearance by changing the size of the circle and the thickness of thread. I wouldn't recommend using 1-3 strands of floss, though: first of all, it would be too tedious, and secondly, the “wavy” effect will be smoothed out too much.
This is what we usually call “spider wheel rose”, or “woven rose”. There are many variations of names for this stitch.
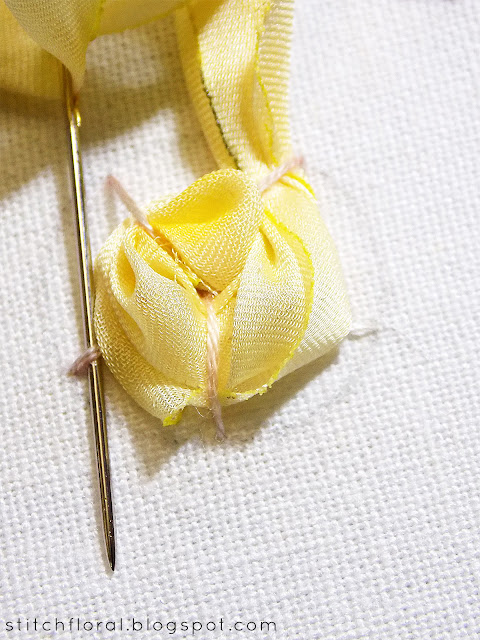
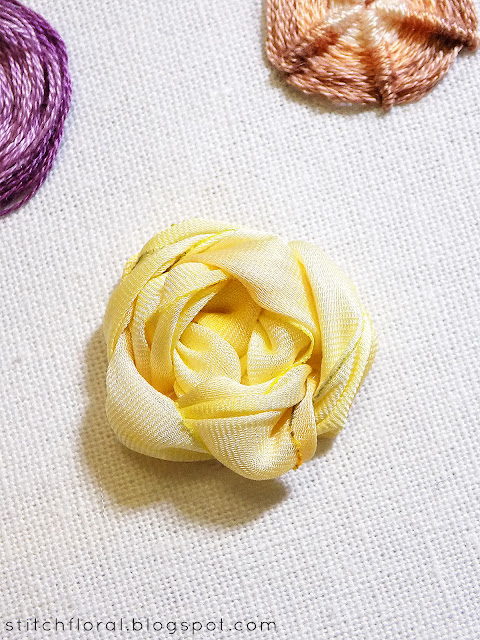
You can actually make one using ribbons too!
The order of work is exactly the same, except that it will be even faster to work because of the ribbons' volume.
This rose took about just 3 rounds of “over and under” motions.
Ribbed spider web stitch
This stitch is also often used to work pretty embroidered flowers, or it can function as a composing part of them. For example, I used it as a center of the smaller flowers in this design.
You can also work it not only in circle shapes, but half circles, flattened circles, ovals, and, actually, pretty much any shape out there since the ribbed spider web is fit to play a role of filler stitch. A lot of possibilities to explore!
How to work ribbed spider web stitch:
1. Just like for the woven rose, at first, pay a foundation of spikes. But here you can actually use any number of spikes – even or uneven, it won't affect the technique of working it. It will only decide how many ribs your web has.
So, work the spikes and bring the needle up near the center, next to one of the spikes. I usually move counterclockwise in circles, so I bring the needle on the right side of the spike. If you're going to move clockwise, better to bring the needle up to the left side of the spike and mirror the next movements. Effectively, it doesn't change how the outcome will look one bit, it's just about the direction you prefer to take.
2. Now we need to wrap the spike. Because the thread is already on the right, we just need to bring it back and slide under underneath the spike again.
3. It creates a loop around the spike stitch. The same way we will arp every single spike one by one as we move around.
4. Slide the needle underneath the next spike, bring it back and slide under it once more, creating a loop.
5. Keep wrapping the thread around the spikes. If you want, you can add new colors bringing the needle next to one of the spikes again.
6. Here is the final look. I believe this technique has a richer reserve of possibilities to decorate and tweak it. Starting from varying the size, the number of spikes, switching the colors, adding french knots to the center or bullion knots to the edges.
So here are some new stitches for you to explore and practice! Next time we will learn another technique for a dimensional flower, stay tuned!


No comments
Write what you think! ❤
Note: Only a member of this blog may post a comment.