This week I was supposed to post the part 2 of the “Fall wedding” process, but alas! I'm WAY behind my own schedule, haha. Sorry, guys. Instead, catch a tutorial on how to fill a shape with beads, in case you feel experimental :)
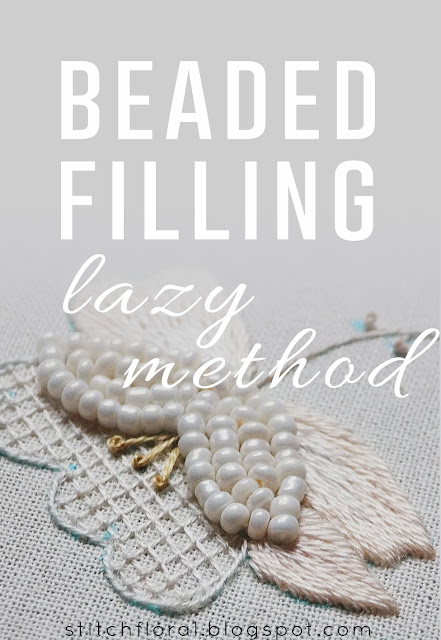
You can go to Part 1 to see more clearly how beaded filling can look like when finished. Obviously, it will look neater if you use high-quality beads. As I already explained in my previous post, I'm trying to use my old stack of cheap ones, so they are a bit inconsistent in shape and size, but I'm bravely accepting this as a quirky charm of my piece, haha.
Actually, the method of beaded filling that I'm going to show, is for lazies like me. Lazies, I see you, you're not alone!
Before we learn the process of beaded filling step by step, check the post for the basic couching stitch. Because that's the technique we are going to use.
Beaded filling tutorial
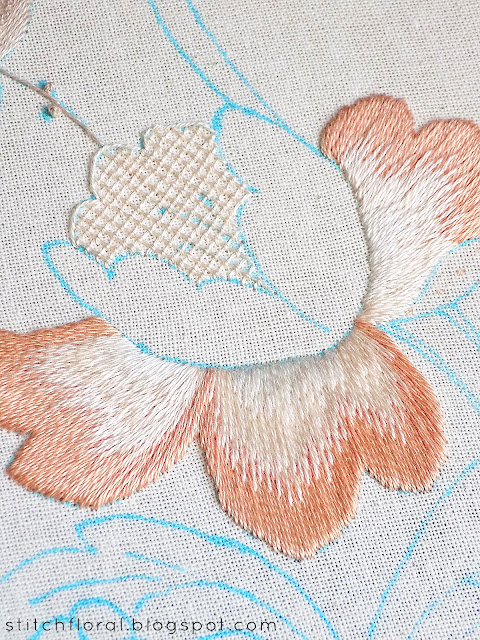
1. Here is the space we are going to fill. You can do that in vertical parallel rows, moving like you do when you long and short stitch. In my case, I decided to go along the outline, moving inside the shape with the next rows.
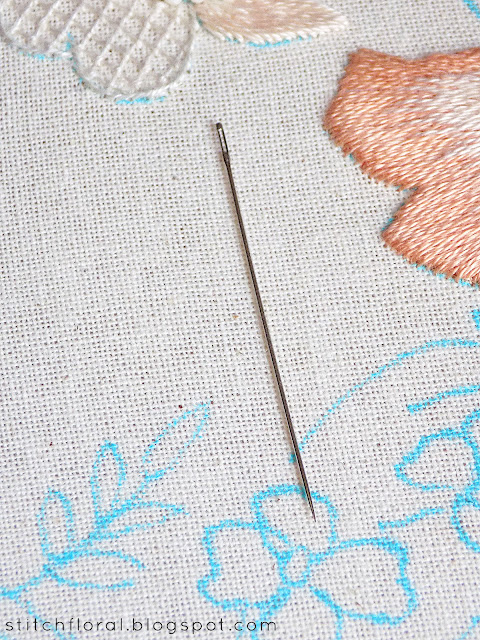
2. Beadwork requires a needle with a thin shaft and narrow eye. Usually, they sell specialty beading needles at craft stores and embroidery stores, so it's unlikely that you have problems with finding one. But, in fact, I sometimes use my finer sharps (reminder: the higher the number of the needle the finer it is) and they fit. Just try passing a bead down the shaft of your needle and if it slides smoothly you can use it.
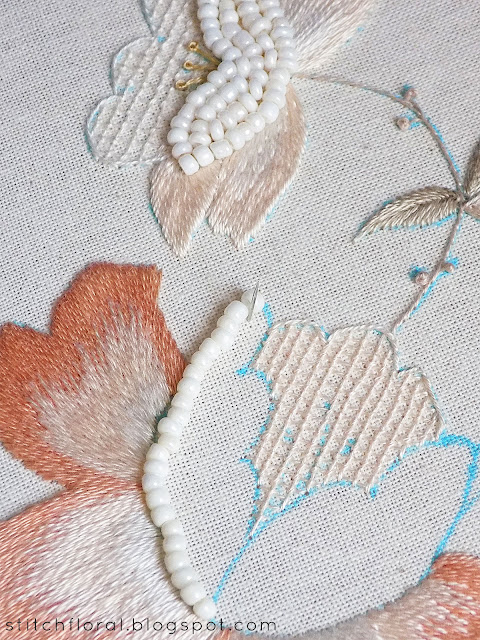
3. Thread the needle with 1 strand of embroidery floss of a color similar to the colors of the beads. Bring the threaded needle up at the base of the shape and start sliding the beads down the needle and thread.
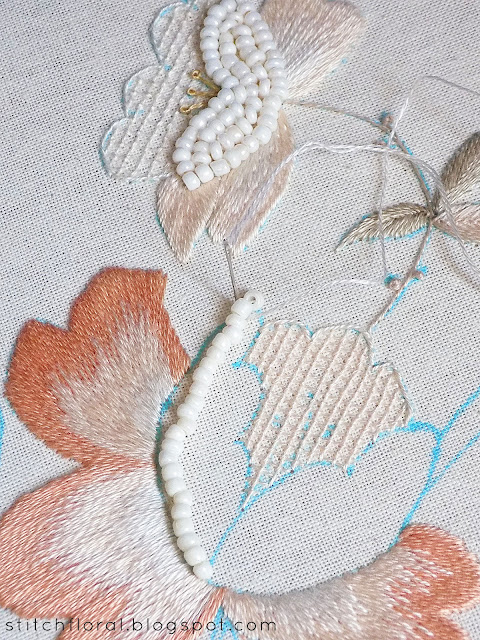
4. As you put more and more beads down the thread, check if they're enough to reach the tip of the shape.
5. When you estimate that there're enough beads, insert the needle into the fabric at the point where the beaded chain is supposed to end.
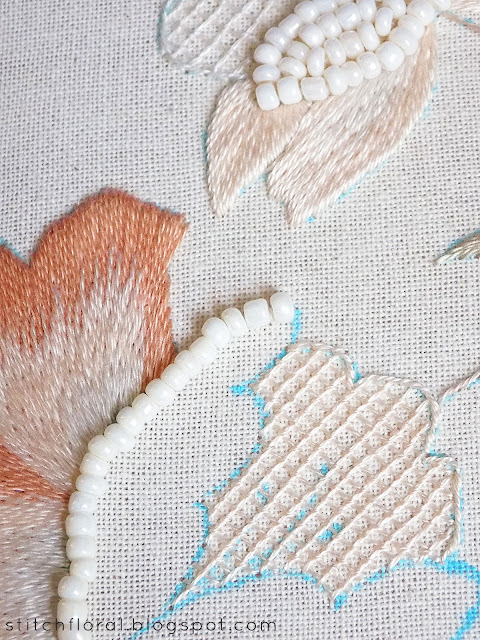
6. Now we start couching the beads to keep them at place. The needle emerges from one side of the beaded chain, at a point between the two beads...
7. ...and goes down on the other side of the chain, also between the two beads. As a result, you should have a short straight stitch, dividing the two beads. Except that it doesn't just divide – it keeps the beads at their place. Couching!
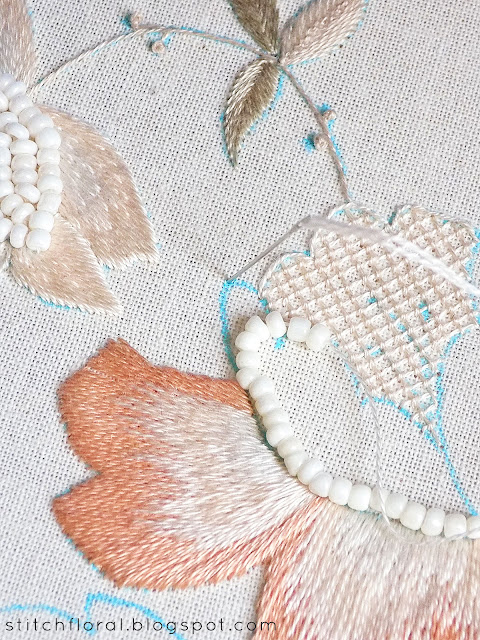
8. Here the first 4 beads at the tip of the shape are already couched, and you can see how they follow the gentle curve nicely, sitting firmly each at their place. While the rest of the beads still hang there loosely.
So, there we are. Nothing too difficult, right?
You can use this technique for your next project, adding a beautiful accent :)
Lastly, I really hope next time I post my progress with this piece there will be much more to show, haha.
Have a nice weekend, everyone! Look forward to the new needlepainting tips!




No comments
Write what you think! ❤
Note: Only a member of this blog may post a comment.