Hi! Here's the last new stitch for this month but it coincidentally starts a whole other section of stitches, hehe. Let's take a look!
So, previously we talked about seed stitch and arrowhead stitch as the 2 examples of techniques for open filling (the type of filling a shape with stitching so that the background shows through). They can also be used in a powdering technique – when you scatter individual stitches around in random order. Other stitches you can use for powdering are french knots, and lazy daisies, and any small individual stitches for that matter.
As for chevron stitch that we will learn today, it can't be scattered – it can be worked only in a line. But it is still quite fitting as a filler :)
First, let's see how to work chevron stitch.
How to chevron stitch
Chevron stitch is worked on 2 horizontal lines. You don't want to mark them though, because they aren't going to be covered completely. So either follow the holes or mark the exact places for stitches. Or follow your intuition like me, although it's not going to be 100% neat, haha.
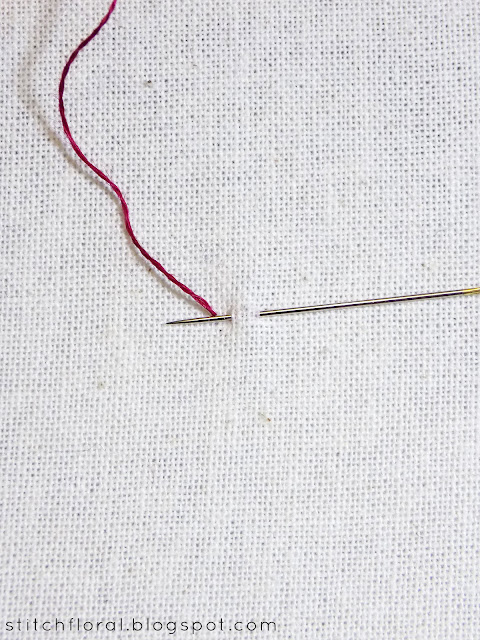
Come up through the fabric, insert the needle in a little distance to the right and bring it back again in the middle between the 2 points. The working thread stays over the needle.
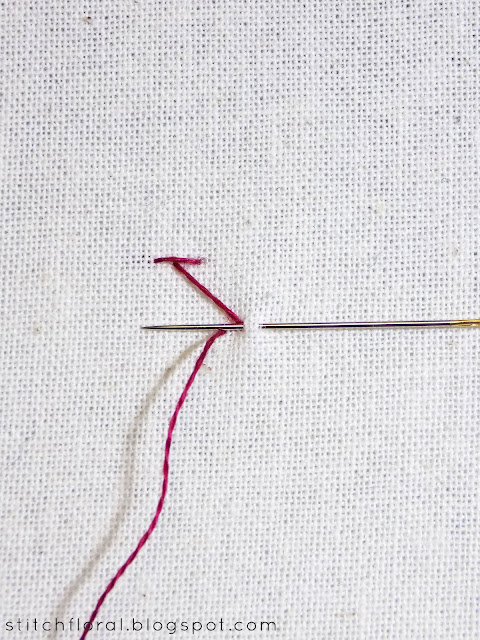
After you pull the needle through you get a straight stitch and your thread is now coming from under it. Now think of zigzag and insert the needle on the bottom line at the place where the corner is supposed to be. Bring the needle back up a little to the left, staying on the line.
Now make a straight stitch to the right and return the needle in the place where the corner is supposed to be.
Go back to the top line and insert the needle where another corner is going to be. Bring the needle out a bit to the left.
Make a straight stitch to the right and bring the needle out at the point where the corner is formed.
Repeat the steps.
As you see, every time you switch between the top and the bottom lines, you always place the needle at the point where the corner will be formed. Then you make a straight stitch on top of it.
When you finish the line, just insert the needle after making one of the straight stitches along the line, and secure your thread on the backside.
So, here is the finished line.
Filler
But the magic doesn't stop here. You can actually work this stitch in multiple rows!
Here I flipped my hoop upside down and worked another row of chevron stitch underneath the previous one.
You don't really have to flip it, I just felt like doing it because I only wanted to make 2 rows here and it was faster to work it the usual way from left to right.
But when you need to make a lot of rows, like when you want to fill a whole shape, then working from left to right and then from right to left is actually more convenient. Also, as you see in the picture above when my chevron gets smaller, I prefer to work it using the stabbing method rather than sewing.
Because the shape is a bit peculiar (it is a flower petal, not a tooth!), I started filling it closer to the middle. Like I would do with satin stitch. After you filled in half of the shape, you can finish the rest of it.
And here is your result.
I personally really like how it looks!
And if you add this little detail in another color, it will create a whole different look.
Like little jewels :)
So, yes, this is chevron filling! Because I didn't mark anything but rather followed by gut feeling while working it, it has its imperfections. But for me, it only adds to the charm, hehe.
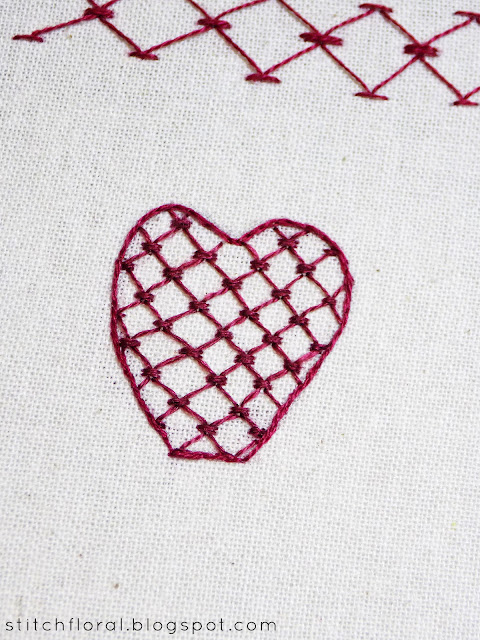
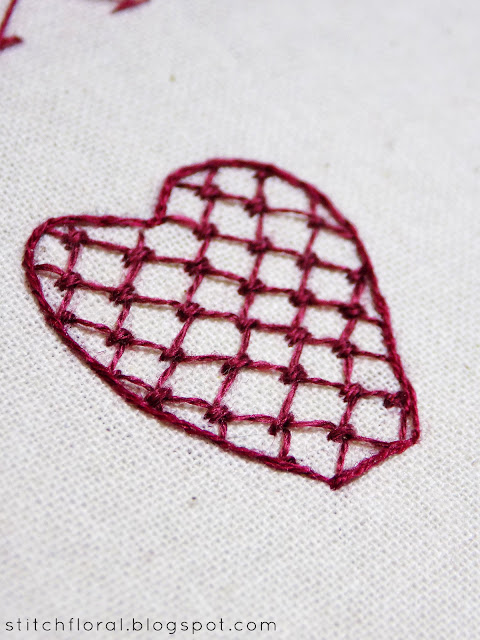
This kind of lacey open filling is the last stitch we learn this month. But it is quite similar to another technique called Lattice which we are going to explore next month :) Oof, that's one of my favorite ones, very common in crewel embroidery. We are going to have some fun!


No comments
Write what you think! ❤
Note: Only a member of this blog may post a comment.