Today's post is about how
to be lazy and still get something done in your embroidery work :D
Also, today's moral is “A
good stitcher is not always the one who stitches perfectly. A good
stitcher is also the one who knows how to cover up their mistakes”.
Well, on the more serious
note... Before I give any “lazy” advises, let me remind you that stitching done neatly from the beginning will always stand out more
than the one that has lots of covered up mistakes in it.
Yes, there are situations
where covering up your mistakes rather than redoing the whole thing
is more justified. However, if you have the opportunity and powers
and strong enough will, usually it is better to redo :)
The idea of this post came
to me when I was working on my new embroidery design. As you see, it
has this whimsical motif going on on top of the petals' borders that
are already covered in long and short stitch.
The fact that the motif is
worked on top of the other stitching makes it a bit difficult to redo
stitches when they fail. Because dragging the thread out through
another layer of stitches does not only wear down the thread more, it
also wears down the first layer of stitches.
You know what I mean?
So, I had to adjust myself
and if I did some mistakes I mostly covered them up rather than
reworking that bit.
There might be some other
situations where covering up some blunders is more preferable than
redoing the stitches. However, in the majority of cases, it is still
better to redo if there is nothing that prevents you from that.
Deal? :)
Okay, now back to our tips
for bad girls, haha.
Let's
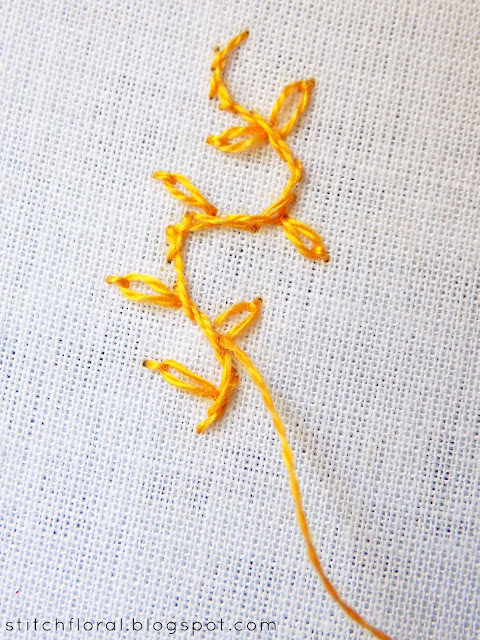
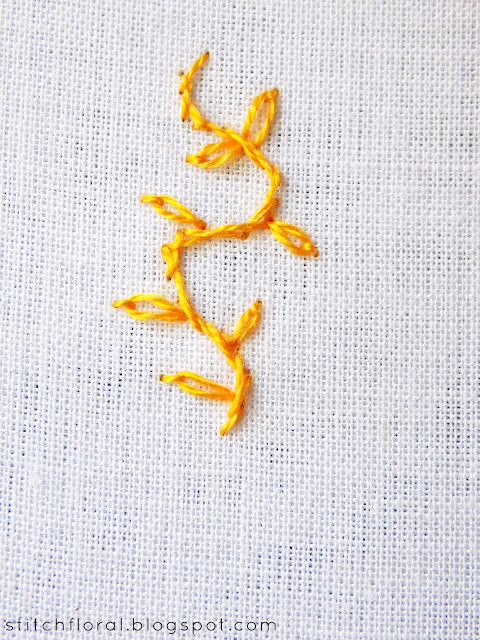
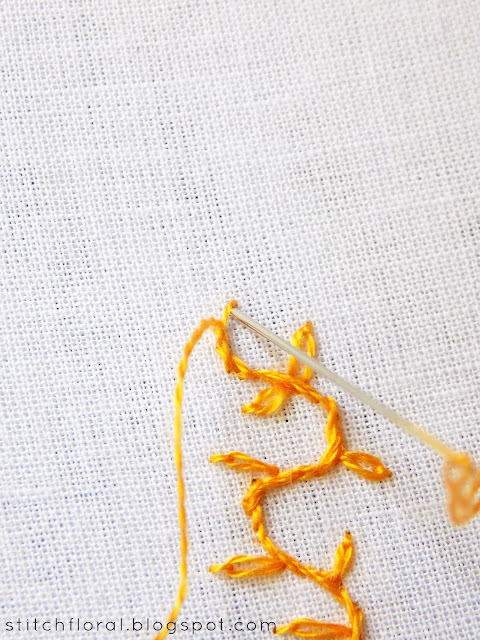
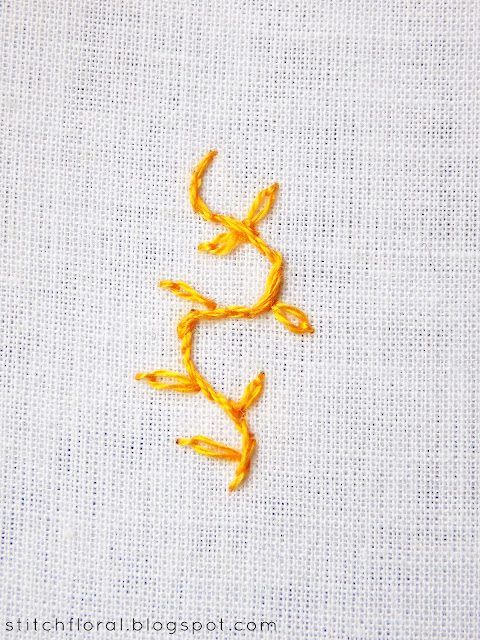
look at the before and after pictures of our example.
You can try to identify the “blunders” from the picture on the
left and see how they were fixed in the picture on the right.
Today
we are going to fix the parts of stem stitch where the curve
is extruding outwards and lazy daisy stitches that have too
wide of a base.
Fixing lazy daisy stitches
When
a lazy daisy stitch has a base that is too wide is gets a more
rectangular shape which is not always pretty.
And
the thing is, sometimes you notice this mistake only after you
complete the whole stitch, which means that to redo it you will have
to drag out the thread from the small anchoring stitch first and then
from the base loop stitch.
Nevertheless,
if you can, of course, it is better to redo. If you are in some
limited/restricted conditions, then you can cover it up the following
way.
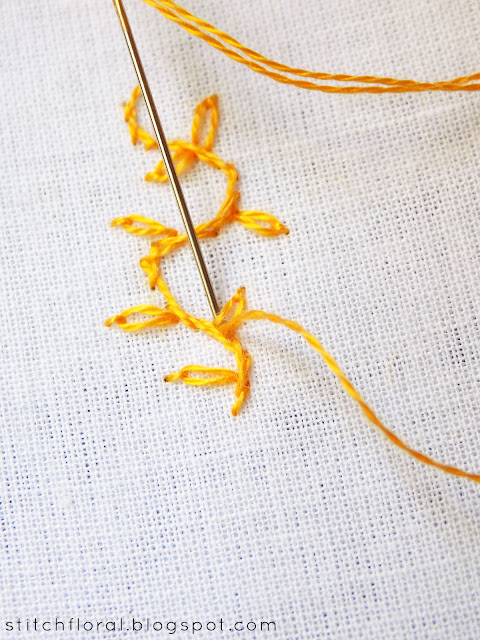
Bring
your needle up at one of the base points of the lazy daisy stitch.
Insert
it at the same point but only after sliding the needle under the
other side of the stitch. When you pull the thread through your
fixing stitch becomes like sort of a belt, bringing the two sides
closer together.
Be
mindful of the tension of the thread, though!
Fixing stem stitching
If
you read the crash course in stem stitch, you know why these
blunders exist in this example and why the curves look so bony.
However,
even if you know how to avoid a mistake, sometimes you can still make
one, right? Especially when you are in a hurry or get distracted by
something.
Once
again, let me remind you that redoing a bit of curve like this will
be better for its appearance. So if nothing prevents you from doing
that, drag these stitches out and redo the whole thing. Read the last part of the crash course to know how to manage the tight
curves in stem stitch.
But
since we allegedly are in some restricted conditions, let's see how to
cover these blunders up.
And
it's actually pretty easy. Just add a couple of stitches in between
the existing ones (since the reason that the curve is bony is exactly
because the stitches are too long and don't have neat conjunction).
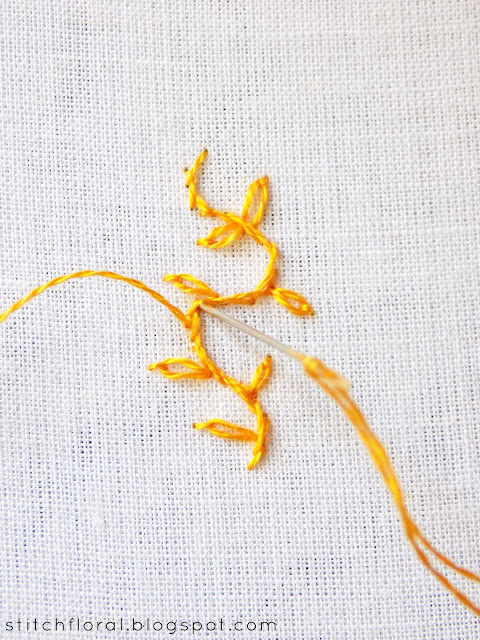
Bring
your needle upwards to the left of (or above, if the line is
horizontal) the stitch.
Insert
the needle to the right of (or below, if the line is horizontal) the
stitch.
Looks
better, doesn't it?
Now
we can repeat it with some other parts of the curve.
Also,
let's fix the tip because it is not smooth enough.
Bring
the needle up to the left of the stitch and insert it under the last
stith, closer to its end.
So
this is the fixed version.
Looks
a bit smoother than the original, but of course, stitching it right
from the start would look much better :)






No comments
Write what you think! ❤
Note: Only a member of this blog may post a comment.