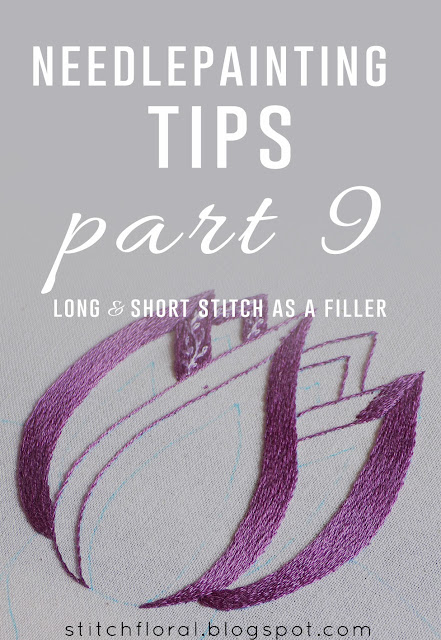
This topic is something
I've wanted to cover for a while now. It is especially beneficial for
beginner embroiderers who are currently exploring long and short
stitching and needlepainting.
So, today's topic is
actually not just “using long and short stitch as a filler”. I
mean, we all know that it can be used as one, right? And we all know
the main “how's” of using it as a filler: outline the shape and
fill with long and short stitches.
In fact, the main point
that I wanted to speak about today is using long and short stitching
to fill a curvy/wavy shape.
Or, in other words, a
shape where the direction of your stitches has to change slightly.
This wording, however, is
a bit too heavy for a headline and I just don't know how to phrase it
better, haha.
Anyway. Why is this topic
important?
The main problem here is
that long and short stitching consists of straight stitches. And one
of the characteristics of stitches is that you can't really bend or
curl them. Most of the time, it is a straight line between point A
and point B that we use in a lot of various ways. It is not a brush
stroke that you can lay in any curvy or wavy way you want.
So how can you use these
straight stitches to not only fill a shape but keep the “flow” of
that shape?
Actually, the main trick
here is the same as with stem stitch. If you go to the Stem StitchCrash Course and take a look at the last point, you will see there
what I said about using it for curves. Stem stitch is a straight
line, so that's why the secret is the same.
Make your stitches
shorter!
You can start with guiding
stitches, as usual, keeping their direction aligned with the shape's
outline.
After filling the empty
space between the stitches, you can start with the second row of
stitches.
Now, if I'm completely
honest, I lose the sense of which stitch is short and which one is
long, quite soon after that. So I just vary the length of my stitches
and vary the place where they come out from the previous row. If one
stitch started lower, I start the other stitch higher, and so on.
This is the longest that I
allow myself to make the stitches in such cases. The shape didn't
reach the main curve yet and is still pretty straight, so I can slack
off a little bit and make the stitches longer.
Also, don't forget to keep
your stitching dense. Currently, there are definitely more stitches here
than there were at the beginning point.
As you reach the curve,
make your stitches shorter. Look carefully at my stitches here and
imagine that they are continued longer and longer. If you do that,
you will realize that they actually would bump into the outline.
That's why we make them shorter. The other rows of stitches will
soften the “straightness” and will create an illusion of bending
stitches.
We are on a finishing line
here. The shape is narrowing down and the number of stitches we use
to fill it at this part is decreasing, but we still need to maintain
the same density.
And so, this is the
final result.
By the way, this is a new
design I'm currently working on! It is going to feature a lot of long
and short stitch and color blending so it is going to be a GREAT
practice for you! :)
Hope this post was helpful! Check out the other Needlepainting tips to master it better :)


Hello Amina, I have not been able to read any of your posts in so long, until today. My Mom has been really sick and needs my help. I am so thrilled to have taken the time to have read your tutorial today, because I learned a lot. I will save it and make sure I read your other tutorials on thread painting with long and short stitches. Thank you for sharing and have a great day!
ReplyDeleteIt's been a while, Brenda! Glad you popped in! Hope your Mom gets better soon, and how nice of you to be there for her! May God bless you :)
DeleteAmina, As I was going through and briefly glancing at each of the 9 tutorials you have written on this beautiful stitch, I knew with just looking at the photos that I was going to be learning a lot of new techniques while reading each of these 9 posts/tutorials. Which made me very excited and also made me think that it would be a great subject to discuss on my own blog. Well the blog that I am very slowly starting to try and get going once again. LOL. At this time, life and my lack of devotion has not been giving very much at all for any reader to want to come back for. LOL. At some point, would you give me your permission to link to these 9 tutorial/posts of yours? I am always wanting to improve my hand embroidery and have always learned a lot from you. Thank you again for sharing!!
ReplyDeleteMaintaining a blog is a tough job, I sometimes fail at consistency too, haha. Sure, you can give the links and I'm happy you liked the tutorials :)
DeleteThank you so much for this tutorial. It will allow me to finish the tragedy mask's tear for my grandson taking Theater Arts at Emerson College.
ReplyDelete