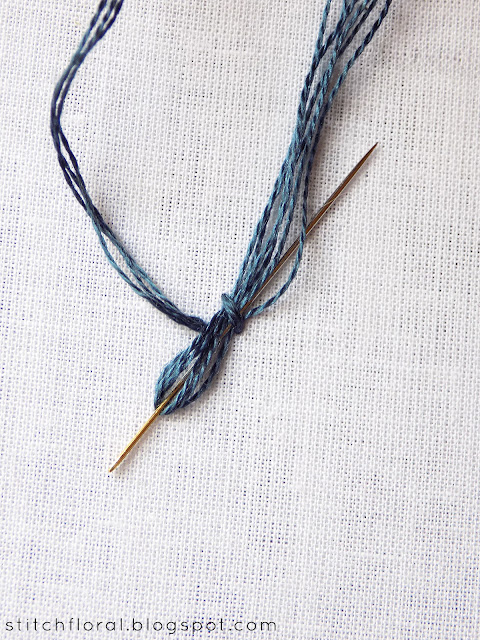
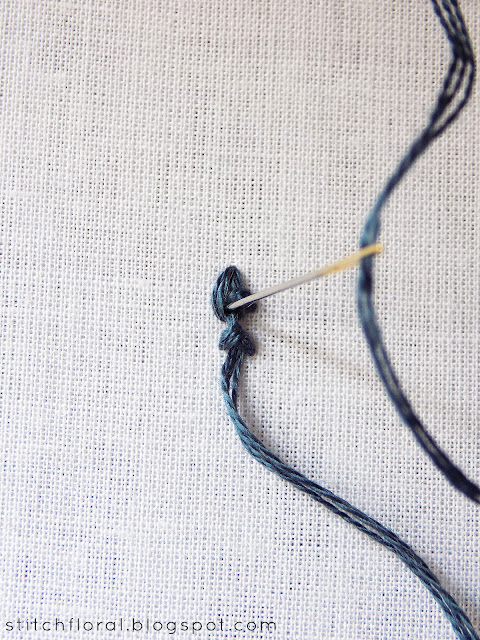
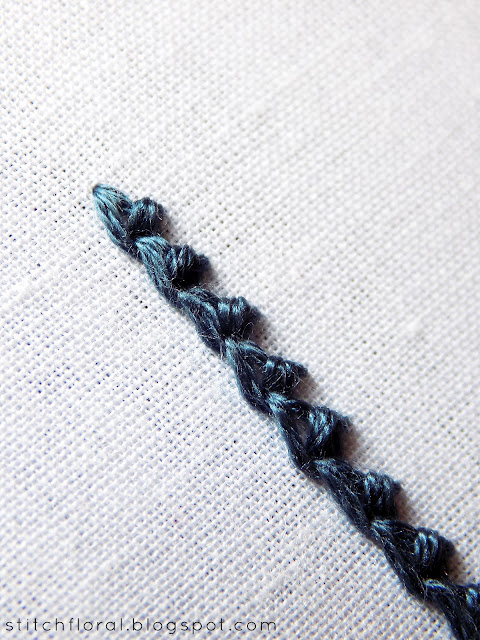
Did
you know that the name “Mountmellick” refers not only to a stitch
but also to a specific embroidery style?
Mountmellick
embroidery originated in Ireland among the low class and soon earned
recognition even from the Royal Court! It is worked white on white
(used to be matte white thread on satin white fabric, nowadays
variations are possible) and features bold, dimensional elements and
stitches. I, personally, really love the unique texture of this
style.
Among
the stitches used in this style are some of those that we already
learned on Stitch Floral. Padded satin stitch, buttonhole stitch, french knots and bullion knots, plaited braid stitch and, of course, the one and only, Mountmellick
stitch that we are going to learn today :)
Mountmellick stitch tutorial
It is
very easy and fun to work, I promise!
In
this tutorial I will be working a line vertically from top to the
bottom, because it is more convenient that way. So, bring your needle
up through the fabric at the start of the line and make a diagonal
stitch – it should end a stitch length away to the side of the line
(in my case, to the right side, and but you can mirror all of the
actions to get the “spikes” facing left).
Come
up through the fabric back on the line across from where the diagonal
stitch ended. And then slide your needle under the diagonal stitch
from the right to the left, following the direction of the arrow.
Like
in palestrina stitch tutorial, I'm not using a blunt needle
here so when there is a need to slide it under some stitches or weave
it, I do that with the eye forward. It helps prevent grabbing on
thread fibers. Please notice the position of the working end of thread
here. The needle doesn't go inside the forming loop.
Here's
what we should have so far.
Now
insert the needle at the starting point of the stitch...
...and
come up at its bottom point lying on the line.
Now
make sure the needle is inside the loop.
Ta-dah!
Now
you can make another one, following all of the previous steps. There
is just one moment to mention here:
When
you make the loop for every next stitch, you insert the needle inside
the previous stitch.
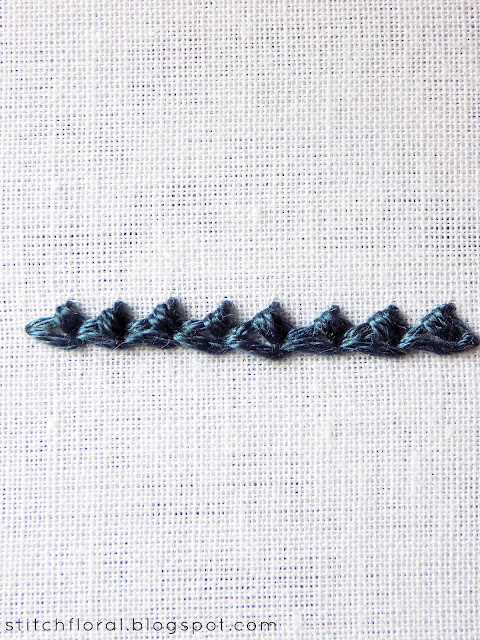
Here is the finished line.
Maybe I should have worked
it white on white too, to give credit to Mountmellick embroidery?
Sometimes good ideas come late, huh!
Remember, that although
this stitch originally belongs to a specific embroidery style, you
are free to use it in any of your projects! You can stitch borders
and outlines with it, work it in a spiky circle, increase or decrease
the length of the first diagonal stitch for various effects – play
with it however you want!
And here we end the stitch
lessons for this month. We've learned Scroll stitch,
Palestrina stitch and Mountmellick.
Not bad! To see other stitch tutorials, head to the Stitch Library! It gets more and
more complete with each passing month and it is something to
celebrate :)


No comments
Write what you think! ❤
Note: Only a member of this blog may post a comment.