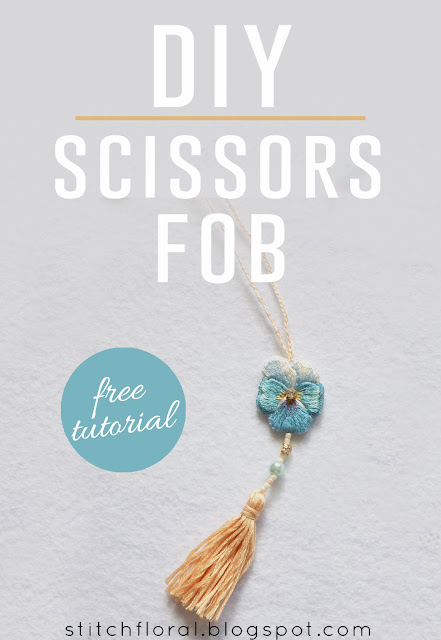
Today is a special day
because we are going to learn how to make a quick and pretty scissors
fob! Get on board :)
The birth of this cute
little pansy was totally unexpected and not even planned. I just
found out a couple of days ago that there is a scissors fob' day on
August 21-st so I wanted to participate in the flashmob even though
I've never really made these charms before.
Usually, scissor fobs
represent square pillows which you can also use for needles. But
since my head is full of other things and realistically I knew I
wouldn't be able to start and finish any “responsible” project in
this period of time, I decided to opt for something simpler and
quicker. This is how this pansy was born :)
By the way, if you've
already read and tried this tutorial for en embroidered brooch,
making the fob will be a piece of cake for you :)
Scissors fob tutorial
What you need:
-Felt
-Thread and needle for
embroidery
-Scissors for embroidery
(manicure scissors in case you will need to cut out small details)
-Thread and beads for the
pendant and cord (+bead needle)
Here is the pattern of my
pansy. I decided to post it as an image rather than PDF so that you
can scale it the way you want.
So, first, you need to transfer the pattern to the felt you're using. Outline each of
the petals in split stitch.
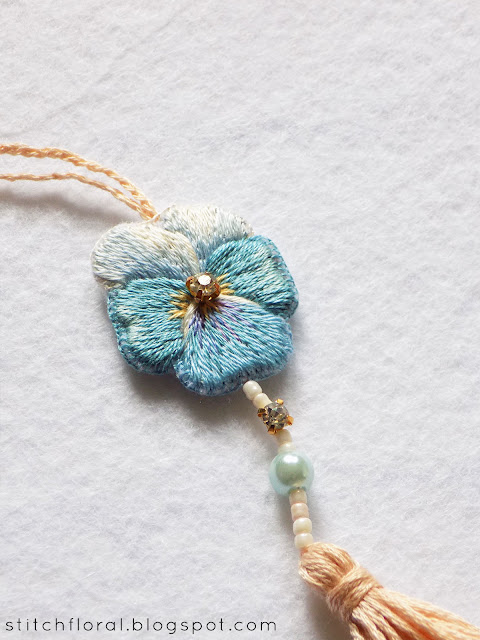
I used a rhinestone for my
pansy because I wanted it to shine a bit, haha. But it is optional,
of course. Moreover, if you plan on using beads or rhinestones, I
would recommend using it in the end after you're done with thread
stitching. It kind of stands in the way otherwise! I just wanted to
see whether a rhinestone will fit here so I stitched it down and then
just left it be there, haha. Don't be like me :)
Aaand stitched! Sorry, I
got a bit too absorbed in working it, so I didn't take the step by
step pictures. But maybe that's for the better because you can color
it as you want :)
And if you want the same as mine, then here:
- DMC Ecru + 775 + 800 for the two upper petals
- DMC 598 + 597 + 676 for the side petals
- DMC 519 + 597 with occasional "strokes" of Color Variations 4215 + 676 and Ecru on two edges near the center of the petal.
Now we are going to
assemble the fob!
For this step, you need to
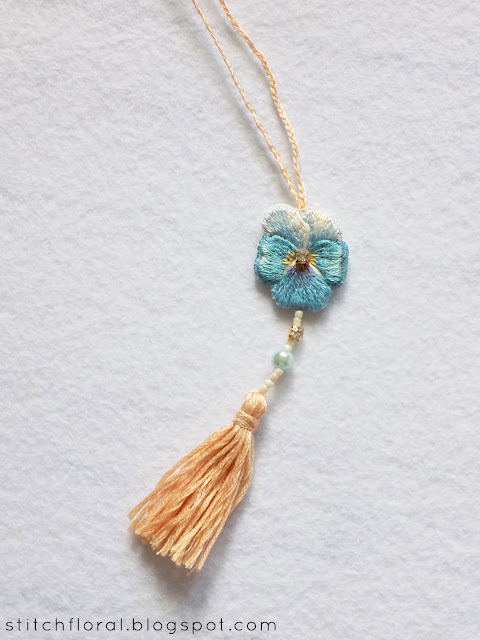
have a ready pendant and cord. For the cord, I used a braided floss.
And for the pendant, you can use your beads, charms, or make a tassel
like I did! Anything that makes you happy :)
You also need a backside
from the felt corresponding to the size and shape of the front side.
Lay the backside first,
put the free “tail” of the pendant centering it at the bottom,
and then lay the stitched pansy on top of it. A kind of sandwich,
yes.
Now, to keep the front and
back sides together, we are going to use blanket stitch edging,
nowadays it is often referred to as buttonhole stitch so
check out the lesson for it first.
Bring the needle to the
edge of the shape. (Don't forget to
secure the thread before that! You can use the last method from this post: How to start thread in embroidery).
Pierce
the needle through both of the shapes from the front side to the
back, and tuck the working end of thread behind the needle.
Repeat
the same steps working the edge of the pansy. When you encounter the
pendant or cord, sandwiched between the two sides, just skip over
them. Don't worry, they will be secured well enough!
So,
continue working around the edge the same way until you make a full
round and come back to where you started blanket stitch. When you
finish, secure the thread by piercing the shape and bringing the
needle out somewhere far (also preferably not on the face side) and
there trim the thread off.
Your
scissors fob is ready! :)
This
is how it's going to look from the other side. I used 3 colors
corresponding to the petals, but if you don't want to start and end
thread time and time again, you can use 1 color for the full edging.
Also,
you can definitely make your edging denser placing the stitches right
beside each other. Then the felt won't be noticeable under the
stitching at all. But I wanted to do it quick and keep the airiness,
so I spaced my stitches.
Make
this pansy fob and show it off on Instagram using the hashtag #worldscissorsfobday and tag me so that I don't miss it! Have
fun! :)


Your Scissor fob and is really sweet, the colors of the pansie are perfect. I think I'll try to make on too. Before I start with a bigger project
ReplyDeleteYay! I'm happy you enjoyed!
Delete❤ Благодарю 🌹 🌹 🌹
ReplyDeleteВсегда пожалуйста! ❤❤❤
DeleteAwesome...! great skills.
ReplyDeleteThank you :)
Delete