Usually, when you open a book on hand embroidery, the first thing you see is the "theory" part: how to choose fabric, needle, and thread. Naturally, it is very important! But as for me... I think if you want to start hand embroidering the first thing you need to learn is how to start your thread and get going. Because you can get quite a good grasp on which fabric and needles are better already in the process. That's why I prefer starting with practice and polishing my experience and knowledge with theory later.
So, take a needle, thread and a piece of fabric (this will be a practice session so I wouldn't recommend using anything too fancy, though) and let's start.
Here are 5 ways to start your thread:
- Knot
- Waste knot
- Anchoring stitches
- Starting 2-stranded thread with a loop
- Starting thread on previously laid stitches
Knot
There are various ways of tying knots on the end of the thread. I use the same one since I was little – I wrap the end of the thread around my pointer finger making a loop and then slide it with my thumb, pulling the thread at the same time. It is quite easy once you get used – it takes only a fraction of a second. However, if it doesn't work at all for you, you probably might want to check other methods of making a knot at the end of the thread.
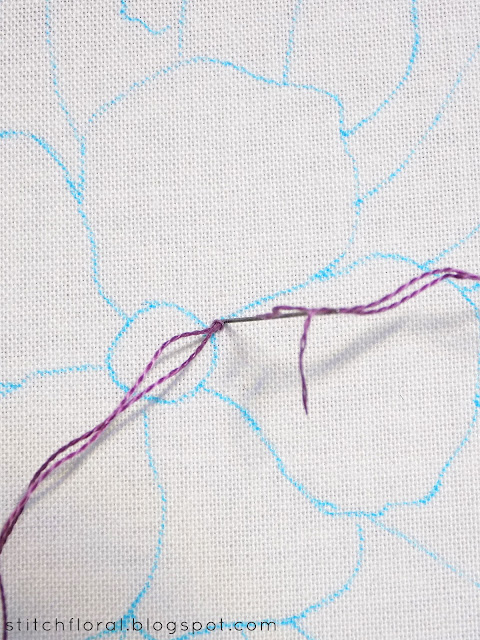
Starting the thread with a knot is probably the easiest method, but at the same time, costly. To be precise, it costs the "elegance" of your backside. You can take a look above on how it might look.
Apart from that, this little "bump" can bring some inconvenience when you want to mount or frame your embroidery, as it can be noticeable from the front. Some also say that these knots can untwist, which means the thread would lose its ground. I can't judge about that because, personally, have never encountered this problem.
In my mind, if you're just starting out with hand embroidery, you can take it easy and use knots for a while. Later you will notice yourself some disadvantages of this method and will want to have a "tidier" backside. And in this case, you can use any of the methods below.
Waste Knot
This way of starting thread includes making a knot as well, except that later you can get rid of it so there won't be anything unnecessary left on the backside.
First, make a knot at the end of the working thread. Next, bring the needle down through the fabric at a certain distance from the starting point of your embroidery. The distance should be at least a couple of inches. Note, that you are leaving the knot on top of the fabric this way.
Next, you can choose one of the two following scenarios. Either you start stitching, at the same time couching the thread on the backside (meaning, keep the waste thread under the stitches you are going to lay). Or you can simply forget about the knot and proceed to stitch but when you finish, snip the knot and hide the tail of the thread under the stitches. Both of these methods will leave your backside clean with no bumps.
Check the post on how to end thread to understand better how to hide the tail of the waste thread.
Check the post on how to end thread to understand better how to hide the tail of the waste thread.
Anchoring stitches
This one doesn't require any knot at all and is probably the “cleanest” way of starting the thread. I prefer using it when I use long-short stitching and other surface covering stitches, as they allow to hide the anchoring stitches perfectly.
The principle is as easy as it can be. You simply make a couple of running stitches in close proximity from the starting point of your embroidery.
The main thing to remember is that you can use anchoring stitches in the place that will be covered by stitching later.
Bring the needle up somewhere close to the point of starting your embroidery.
Leave a little tail on the backside.
Make a couple of tiny stitches one beside the other. You can even lay one and pierce it with another one, like in split stitch.
And then just go to the starting point of your embroidery.
If you need to work only a line, you can use anchoring stitches there too.
They will be covered by your embroidery well.
Starting 2-stranded thread with a loop
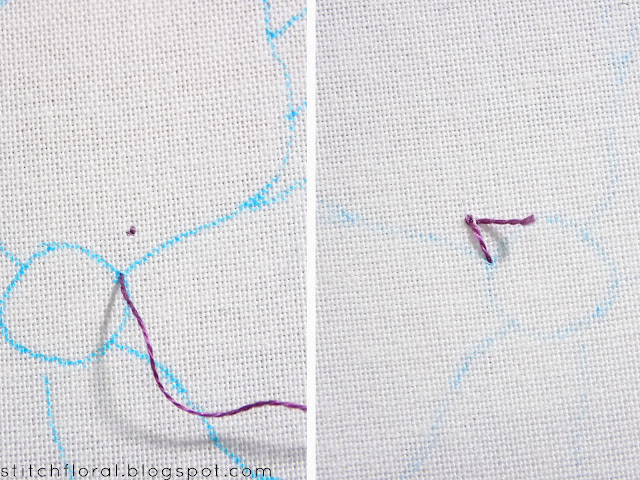
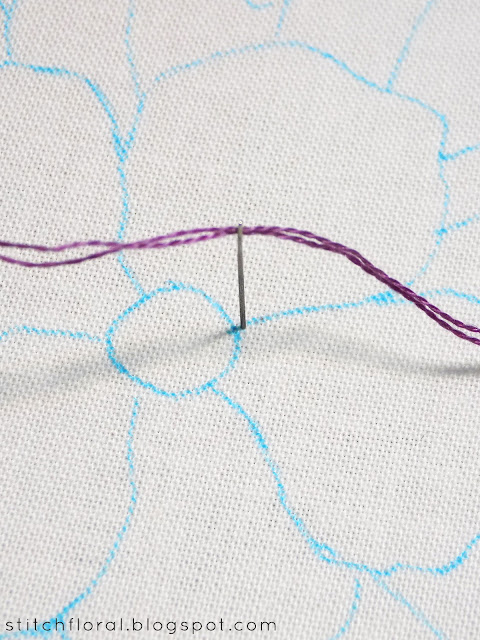
This method fits only those situations when you need to use 2-strands of thread! Well, 4 and 6 strands (even number) will fit here too, but since this blog is for fine hand embroidery, I will not mention that.The first trick is in how you thread your needle. You need to take 1 strand and thread both of the ends in the needle so that you have a loop on the other side.
Leave the loop on the front side and come up through the fabric close to the first point. Then slide the needle through the loop...
...and anchor it.
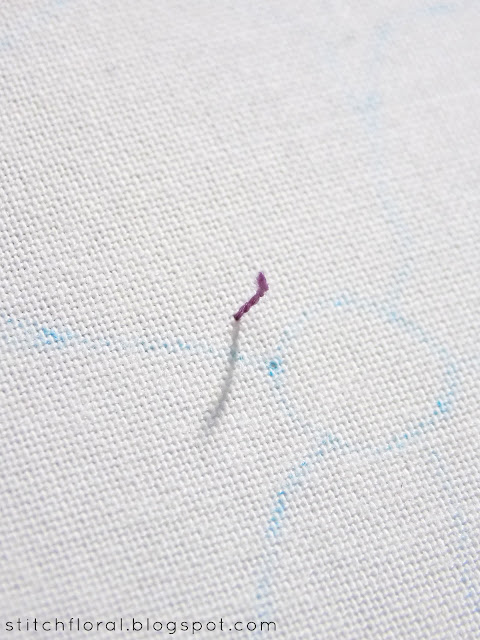
As you see, you get a teeny tiny lazy daisy stitch there.
It will be easily covered by your stitching, keeping your backside tidy and clear from any bumps.
Starting on previously laid stitches
As I mentioned above, I am, personally, a fan of anchoring stitches. But they can be used at places which are yet free from stitches. What do you do, if you already laid some stitches at a certain area, and it is already fully covered, but you need to add some more?In this situation, you can use a waste knot, definitely. A textbook case. But for some reason, I am not so much of a fan of that method, in general. So I secure my thread on juxtaposed stitches.. and it is something I've never seen in textbooks or any other tutorials, to be honest. But it works for me, so I'm sharing it with you :)
Remember how we end thread by sliding the needle under some stitches and making a knot? Same thing here, but to start it.
First, slide the needle under some stitches. Here I've previously laid long and short stitching, so I slide under quote a few - this layer of stitches holds thread well. But if you're dealing with a line, or something similar, just slide under a couple of stitches.
Then, as you slide your 2nd or 3rd time, bring the needle through the loop.
A knot will form and in many cases, it will pretty much enough to secure your thread. Tug at the thread lightly to see how firmly it is secured. If you feel like it is not enough, then slide the needle under one more stitch/make one more knot. These knots are tiny and don't create any inconvenient bumps, so it is okay to make 2.
Personal insight:
- I usually use anchoring stitches as a way to start thread. That's just what I got used to and feel most comfortable with. If the area is already filled and there's no free place, then I secure my thread on juxtaposed stitches like in the last example.
- When I do some practice stitching that I don't plan on mounting, I feel free using simple knots.
- Waste knot with couching is my least favorite way of starting threads because it is a pain to flip the piece upside down over and over, as I make sure that I'm doing the couching diligently. However, if you practice a lot, you might develop a good feeling of the backside and won't need to check it all the time.
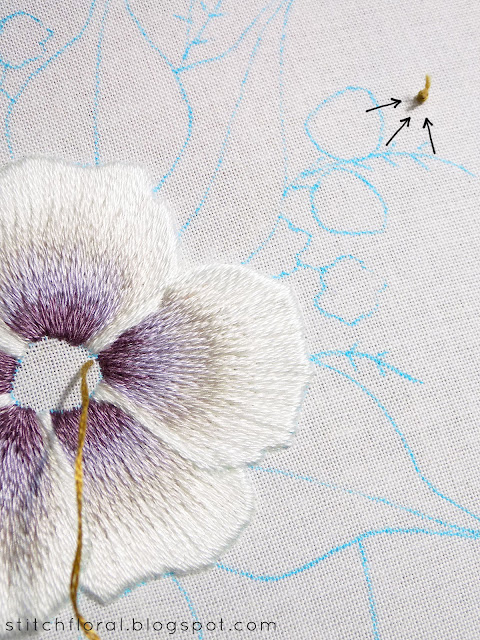
- Waste knot without couching is also a little bothersome for me because I always feel like I should have left the knot somewhere further away as the waste end of the thread is often not enough for me to maneuver and end it comfortably.
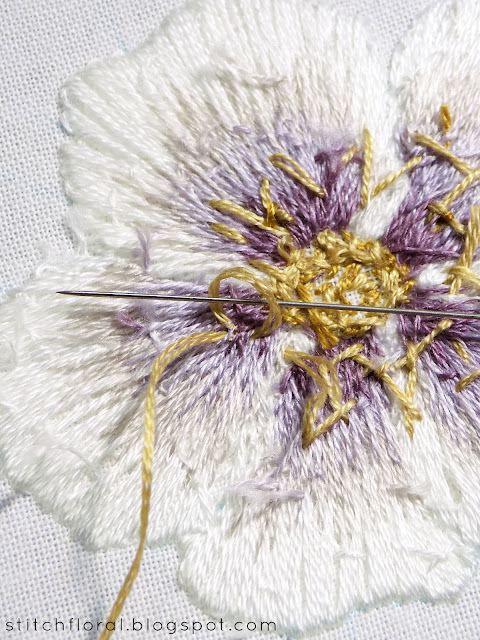
- As you stitch you start and end thread all of the time, so it is natural for these little tails to be all over the place like in the last picture. Actually, the "tails" that I'm leaving many would consider too long. But I just trim them in the very end after washing and ironing.
Which ways of starting embroidery do you prefer the most? Do you have your own tips? Please share in the comment box!










Hello Amina, I am so sorry to have not commented in such a long period of time. It has been a very difficult year for me, especially the Holiday season. I apologize for not letting you know a tad bit of what was going on, just for you would not be offended. My brain and emotions were just not thinking correctly. I did finish your beautiful embroidery project that you shared a couple of months ago. I am in the process of turning it into a pillow cover for my Mother right now. It was a Christmas Gift for her, but I just did not have the heart to get it completed. She knew and understood, this was our second Holiday Season without my Dad and I just could not celebrate in any way. Hopefully, by tomorrow the gift will be completely finished.
ReplyDeleteI have enjoyed your post today! Most of your methods I have tried, even your own method. I have been trying very hard to break my habit of beginning and ending with knots. It is the way in which I was taught and never gave it much thought until this past couple of years as I have tried to learn so much more and improve upon every part of the joy that Hand Embroidery brings to my life. Thank you for sharing each of these 5 methods! I shall make note of them and look back often. Have a fantastic evening and day tomorrow!!
Oh, no, I'm the guilty one, I stilldidn't fix the comments issue and missed your messages :(
DeleteI'm sure your Mother liked the pillow that you stitched with so much affection! It is a wonderful present, doesn't matter when you give it :)
I guess as we gain more experience a lot of us come up with our own methods of starting and ending stitching but only the traditional ones get in the books. I wrote this mostly for beginners in hopes to show them that what you can see in a book is not the limit :)
Hope you are having wonderful time and have a great spring! Thank you for reading my blog!
I am just starting out on hand embroidery and came across this post. Very well written instructions and helpful pictures. Thank you!
ReplyDeleteThank you, Shal! :)
DeleteWonderful job Amina... Thanks for the tips, All the five ways to start an embroidery thread are valid and useful for beginners. Thanks a lot.
ReplyDelete