Today we have a big task
ahead of us! 3 new stitches to learn :)
Like always, I'm all for
effective learning and since these stitches are quite similar, let's
save some time and study them all at the same time!
By the way, two of today's
stitches are based on fishbone stitch so I recommend checking
it out if you don't know how to work it. It will make everything
clearer for you.
Without further ado, let's
start!
Open fishbone stitch
If you know how to work
fishbone stitch, this one will be a piece of cake! The only thing
different is that here the stitches are placed more sparsely. But
let's start from the beginning :)
Divide the leaf (or any
other shape) in 2 parts with a border along the center. I usually
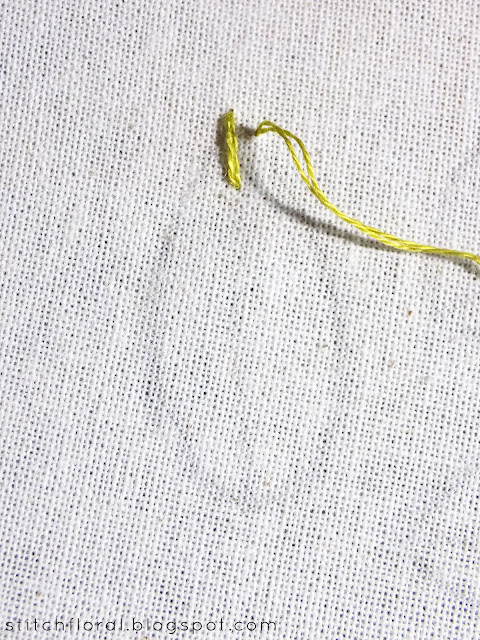
make 1 straight stitch at the top for a sharper point, but that's
optional. Now bring the needle on one of the sides.
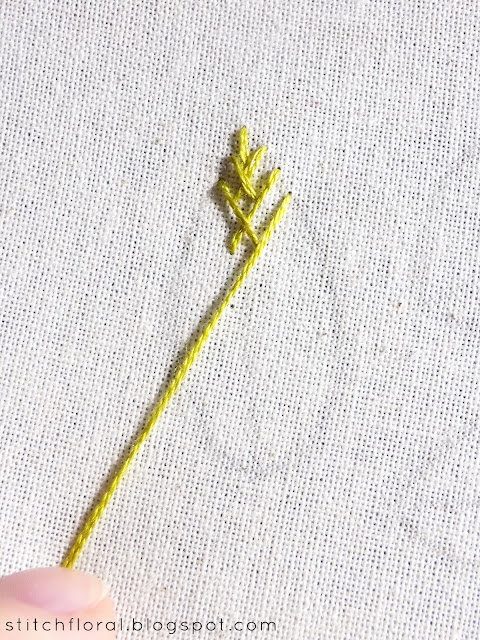
And make a diagonal stitch
that finished over the central line. After that, bring the needle up
on the other side of the shape.
Keep making diagonal
stitches that will overlap each other in the central area of the
shape. If you want to achieve the same geometric pattern as in this
example, slant your stitches to a more acute angle and for every new
stitch you make, hold your working thread down so that you don't
overlap with the ones above.
So, this is how it will
look with and without an outline.
But you're probably more
accustomed to seeing another open fishbone executing, so here is how
a more “traditional” version of fishbone stitch looks. The
difference is that the stitches are almost horizontal (relative to the central spine), so little is
their slanting. And they are placed closer to each other. As you see,
it is possible to work any shape with this one, even if it is curving
or bending.
Raised fishbone stitch
This stitch is called
“raised” because it basically lies on a cushion of preliminary
stitching. But otherwise, it is very close to the original fishbone stitch.
Make a straight stitch for
a sharper point on top and then bring the needle up on the outline of
the shape, somewhere in the middle. Make a diagonal stitch reaching
the point at the top and from the opposite side of the central
stitch.
Now the needle emerges on
the opposite side of where the previous stitch finished and we make a
straight diagonal stitch back to the middle of the shape, inserting
the needle on the outline.
The diagonal stitches will
be crossing in their upper parts.
Keep going until you reach
the bottom of the shape.
If you reached it and
there is no place to continue making crossed diagonal stitches, just
work a few satin stitches to cover the corners.
The end! Because of the
cushioning effect, this stitch is generally more dimensional than
simple fishbone. Think of satin stitch vs padded satin stitch.
Leaf stitch
Honestly speaking, for the
longest time I couldn't understand what the difference between leaf
stitch and open fishbone stitch was, so I used to skip learning it.
But actually, the moment you try working it, the contrast will be
more evident. Both, in the order of work, and in the look.
We start working leaf
stitch from the bottom. Make a diagonal stitch from one point of the
outline to another one.
Then mirror it with another diagonal stitch. They are supposed to cross at the bottom.
And now, the key point.
Your next stitch is supposed to start just outside of the previous
one and in a position where you can make a parallel stitch to the
first one.
Again, start your new
stitch just outside of the previous one at a point which will allow
you to make your stitch parallel to the one below.
And you continue working
it the same way.
It makes the central spine
of the stitching kind of revealed opposed to the hidden one in open
fishbone stitch.
Hope you practice the new
stitches and find a way to incorporate in your projects! Find more stitches in the Stitch Library :)


Thanks for this tutorial! It came at the perfect time as I am about to start working on a table runner with an autumn leaf garland embroidered on the edges. Your directions are always clear and make it easy to follow. Thanks again for all your posts.
ReplyDeleteOh my, I'm so happy it came in the right time for you! Wish your garland to turn out fabulous :)
DeleteThank you so much for the easy to follow tutorials. Thanks you so much for blogging too. I suspect many follow but few comment. I hope readers will step up and comment on your posts. I would not want you to feel like you are wasting your time.
ReplyDeletexx, Carol
Oh no, as long as I know that my posts are useful for someone, I will try to keep writing :) But thank you for sweet words, I appreciate a lot!
Delete