Hi, everyone! Hope you are well and healthy, and ready for winter :) Here's the next part of the sampler process, and it's a little bigger so let's dive straight into that!
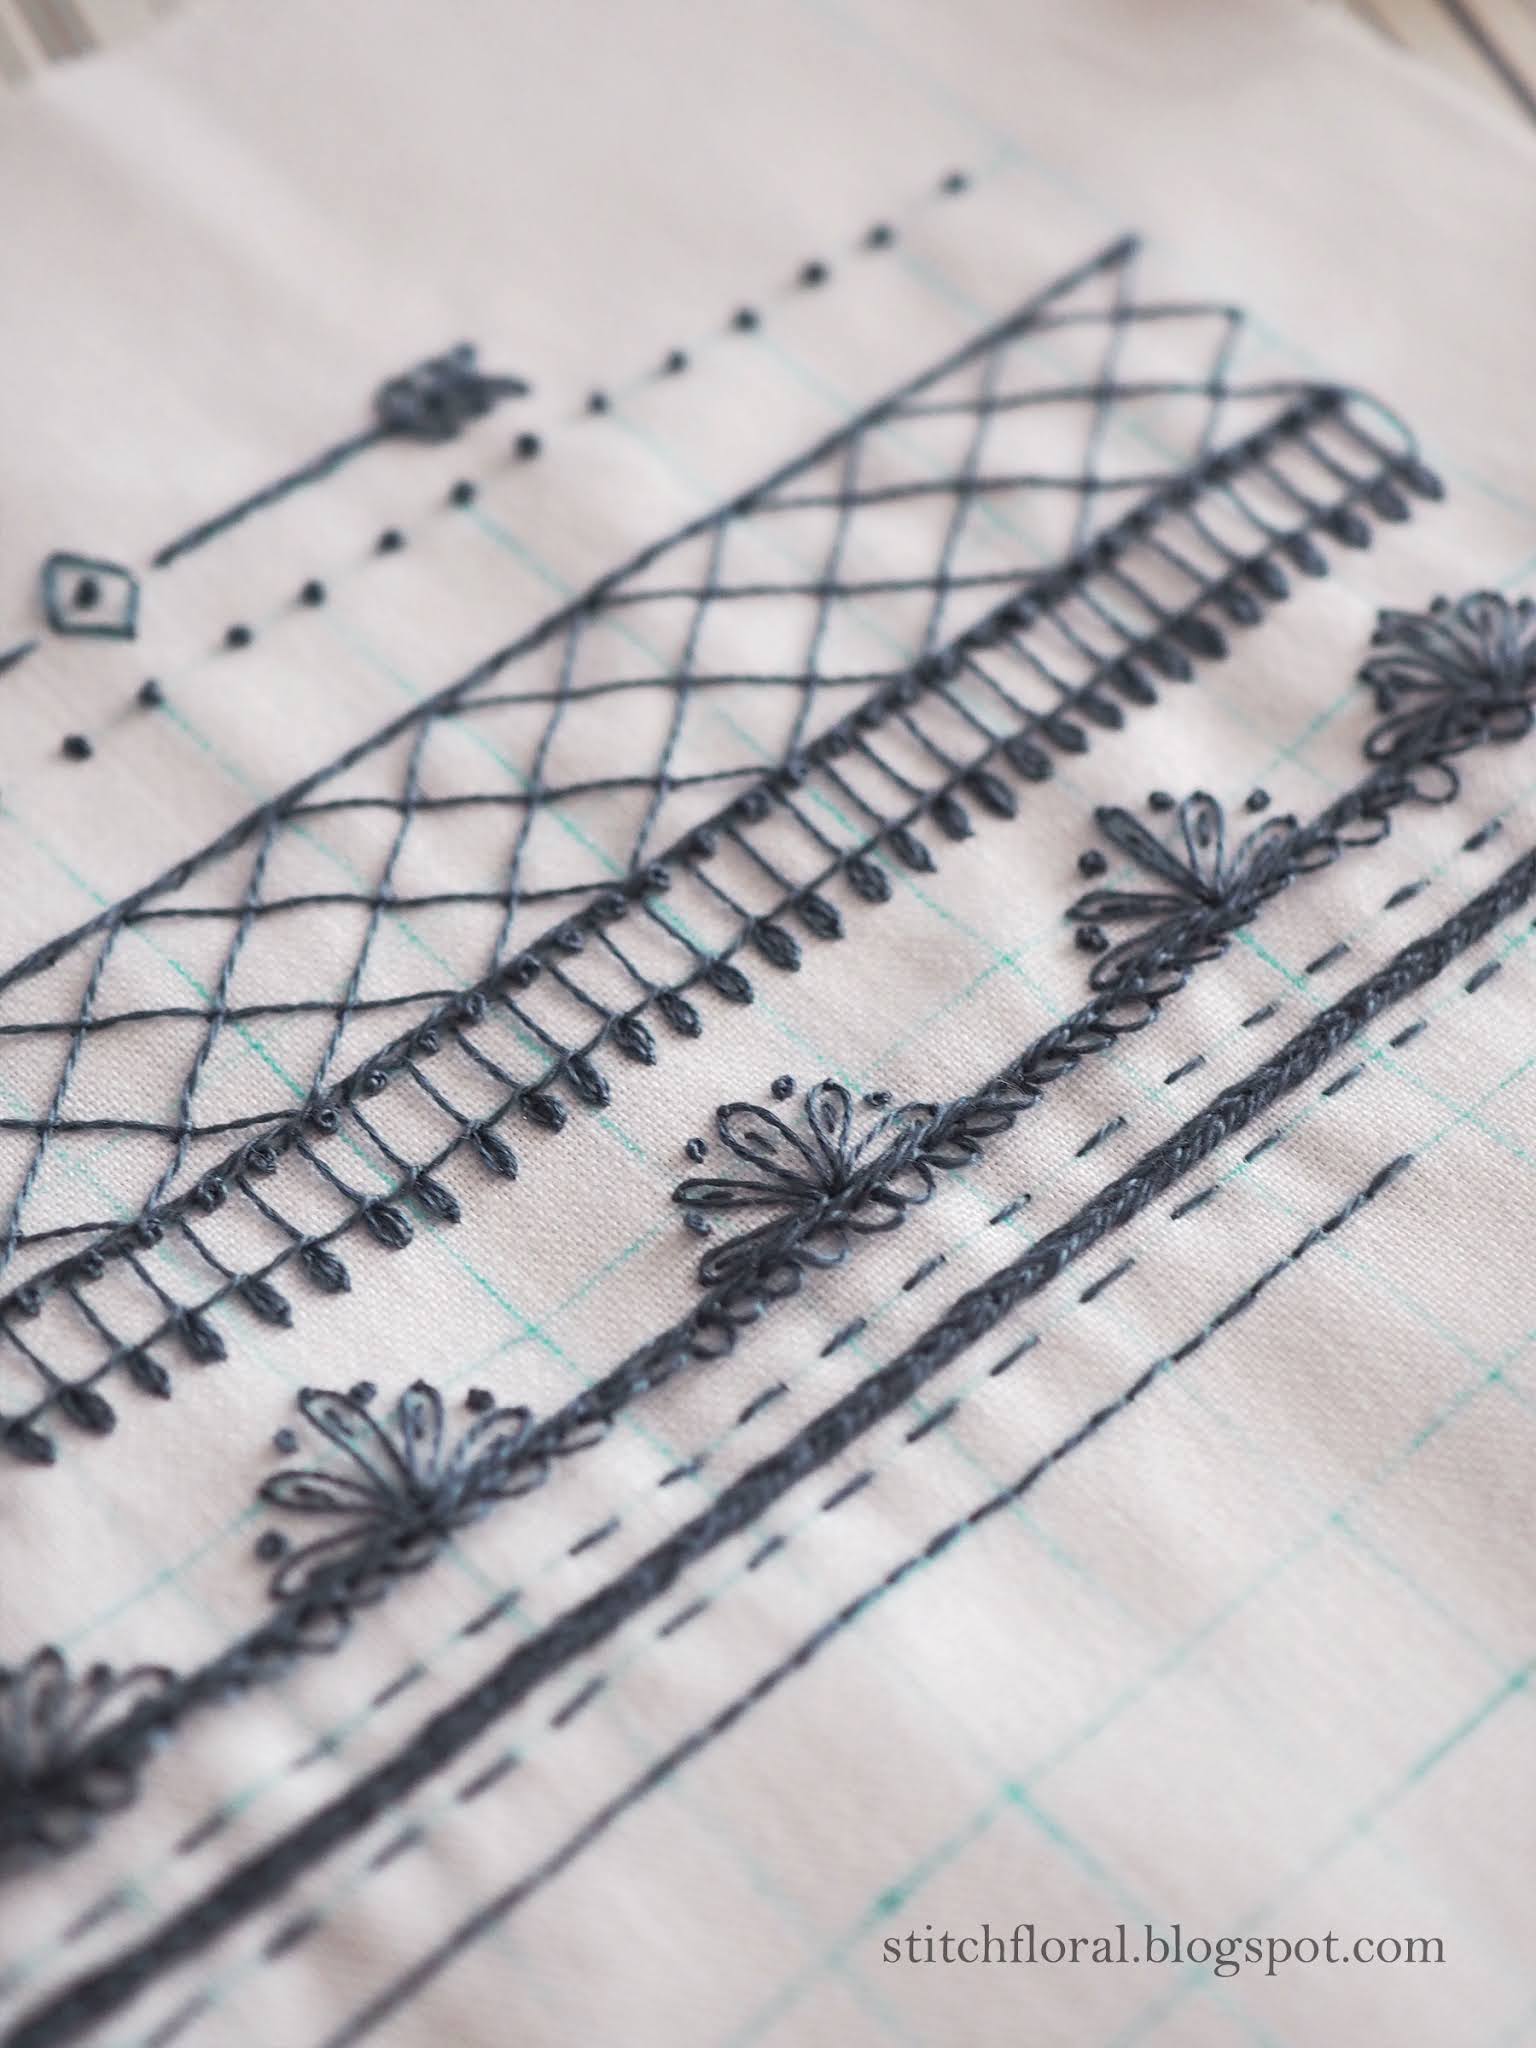
This is the current state of the sampler. And I seem to be running out of thread, which is unfortunate because I don't have an extra skein of this color. Will have to venture out to the local store and see if they have it (they didn't have all colors when I last visited them). If they don't then... I will have to postpone finishing the sampler until I get the new skein :)
Border 1
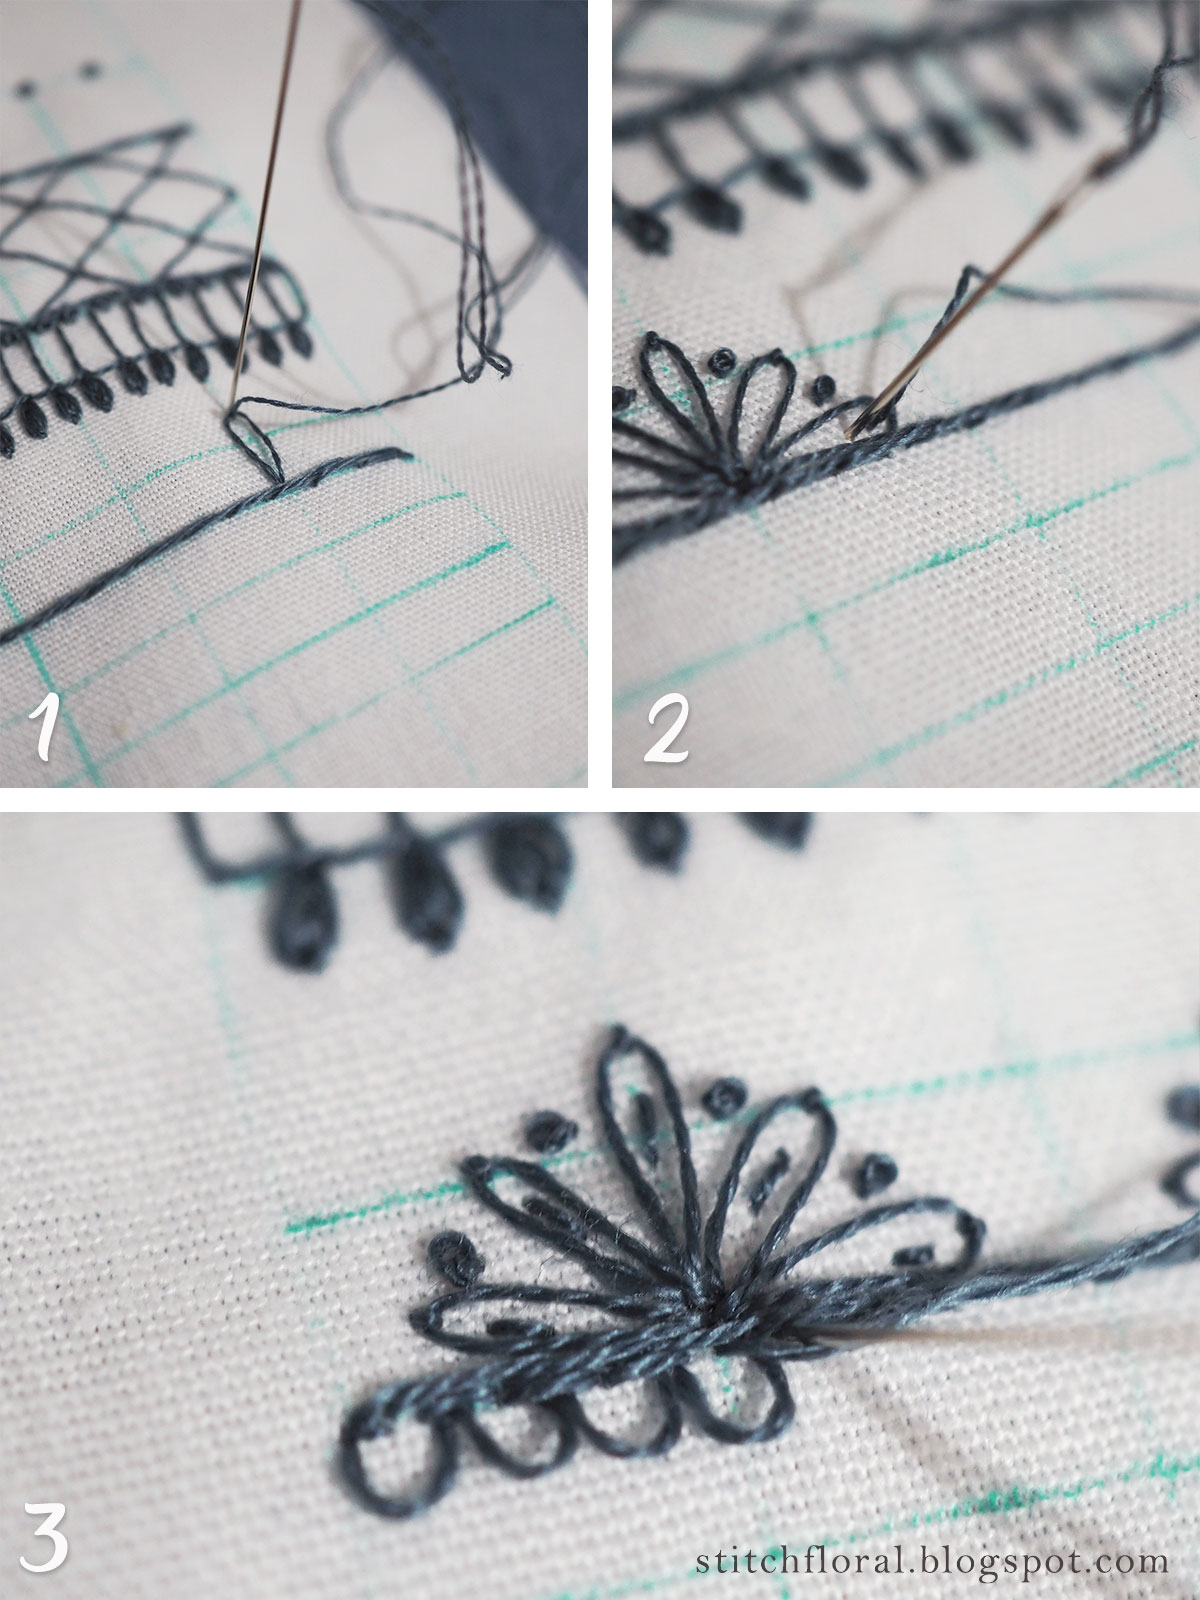
I really like this one because the bottom frill is detached from the fabric!
1. The process is very easy. Stitch the base with any line stitch that you like (I used stem stitch here). Then work lazy daisy stitches placing them in a semicircle, so that it looks like a stylized flower.
2. In between the lazy daisy “petals” place french knots, and add short straight stitches inside them.
3. Then go to the bottom of the line and work turkey stitch. Start by making a loop and anchor both of its sizes like in the tutorial in the link, and then the order of work is the same. Except that we don't cut the loop and don't fluff them up. Although, you could do that if you want!
Extra
Between the two borders. I worked a sort of “divider”: heavy chain stitch + running stitch on its sides.
Border 2
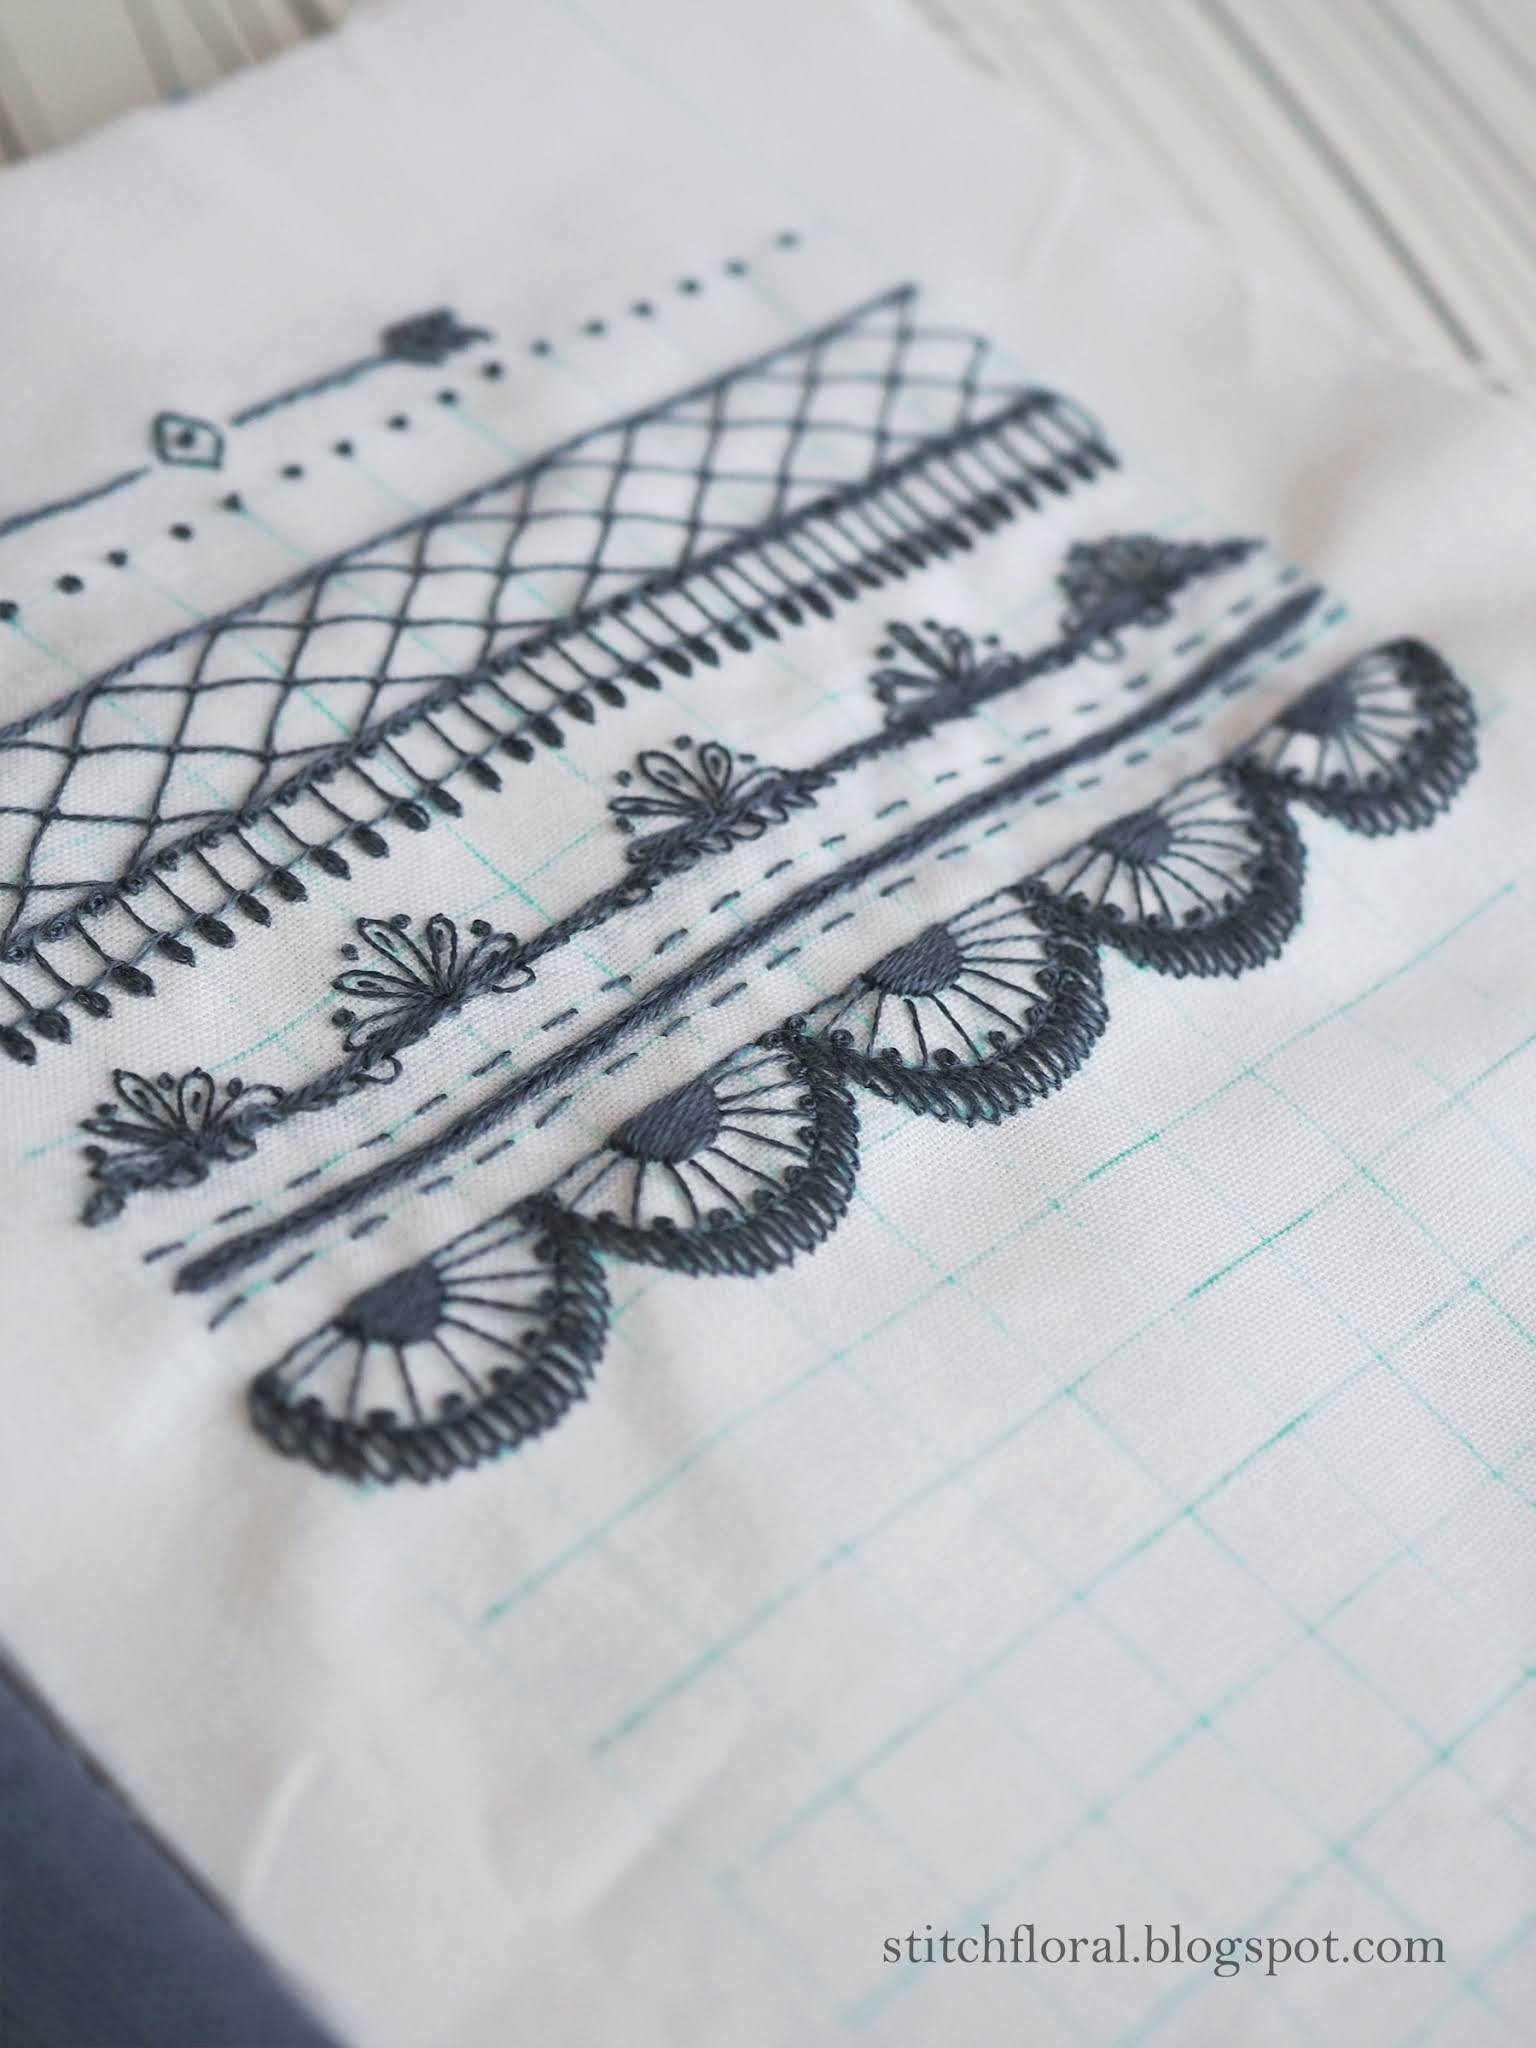
1. Stitch the top line and the semicircles in a line stitch of your choice (I used back stitch, sewing method here). Please, don't get confused with the multiple outlines for the semicircles in my example: I miscalculated the first time and then had to draw new ones.
2. Add lazy daisy stitches “hanging” from the semicircles. Since they are situated closely, don't place these stitches like rays, looking to the right and to the left. If you do, they will inevitably overlap with the stitches from the neighboring elements. Instead, it's better to keep them “hanging” vertically.
3. Work french knots inside the semicircle along the outline. Then work another semicircle on top covering it with satin stitch.
4. And now we can connect the two semicircles with straight lines, which you can place between the french knots.
Even though I had this sampler sketched in my notebook for a long time, there was still a lot of improvisation involved and some hick-ups along the way. But I like it! Looking forward to its complete version :)


This comment has been removed by the author.
ReplyDeleteI didn't get to read the comment in time but thank you as always! ❤❤❤
DeleteBeautiful! I might use this idea for a set of pillowcases I am working on with a scallop. Thank you for sharing the process.
ReplyDeleteThank you, Ellen :)
DeleteSomething is new for me, I read it and gain lot of infromation. Thanks
ReplyDeleteThis is simply gorgeous! I'm new to hand embroidery and stumbled upon your site, and I have a feeling it's going to be a favorite. Thank you for sharing all of this!
ReplyDeleteWhat a beautiful way to make something elegant. Thanks.
ReplyDeleteSophieSew is a free embroidery digitizing services software for Windows. Using this software, you can create simple as well as complex embroidery designs from the scratch. Plus, editing existing embroidery designs is also possible.
ReplyDeletelink I am impressed. I don't think Ive met anyone who knows as much about this subject as you do. You are truly well informed and very intelligent. You wrote something that people could understand and made the subject intriguing for everyone. Really, great blog you have got here.
ReplyDelete