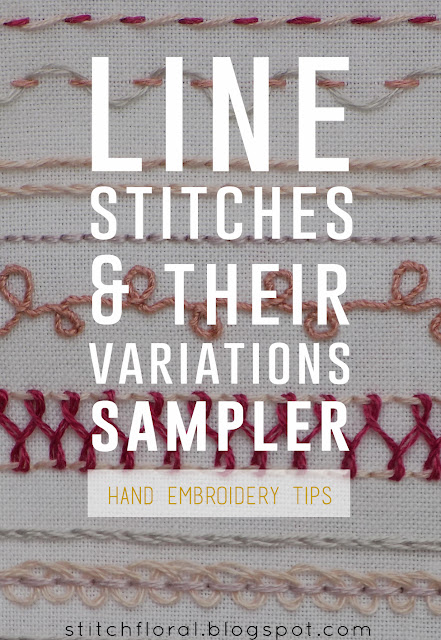
There's already a lot of stitch tutorials here on the blog, but what we haven't done yet is to stitch a sampler. So how about making a small (or a big one if you wish!) sampler based on the line stitches and their variations we've covered so far?
It can be any size you want, really. Mine might look big, but it's only because the pictures are taken up close – in reality, it is about 10 x 16 cm.
So, take some thread of the colors of your choice and a piece of ground fabric. I would suggest using evenweaved linen or cotton with clear visible holes because it will be easier for you to follow the lines by the holes. Otherwise, you can take any fabric you like and draw the lines using a water erasable marker or a standard pencil.
I will suggest an order for the sampler which I found pretty, but you can make any changes you want! Links to the tutorials will be listed at the end.
Stitches
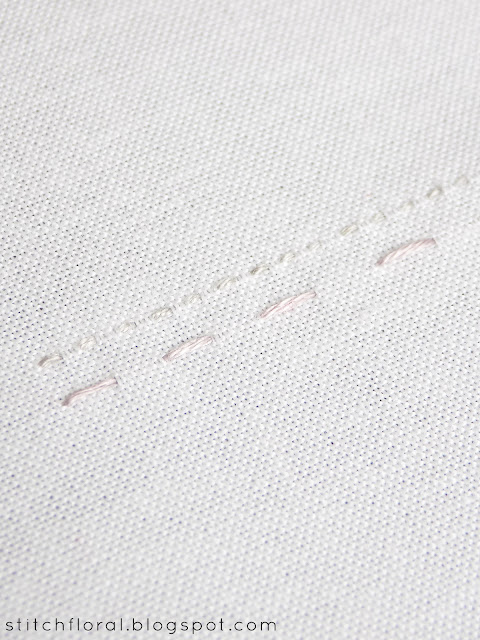
Running stitch was my first choice. I tried demonstrating here that running stitch can bring out various effects on your fabric. For example, you can make a dotted line with it.
Or make your stitches longer for a dash line.
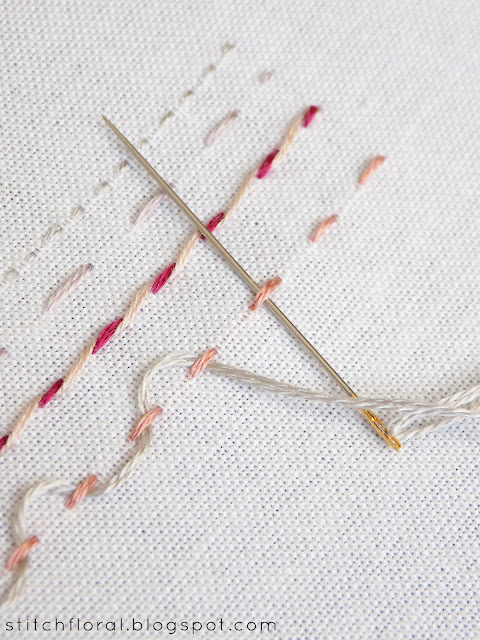
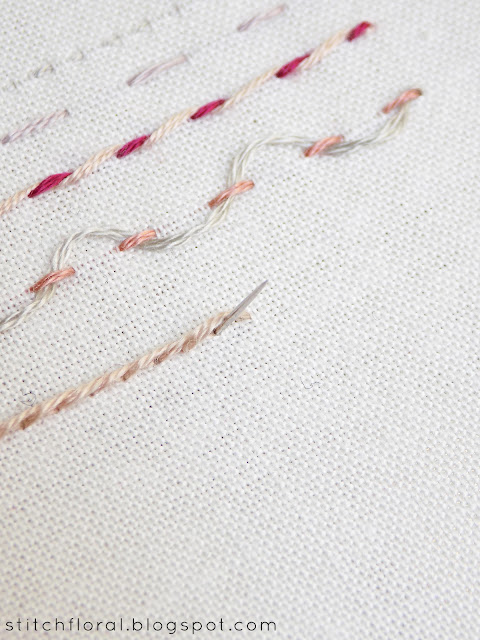
Now, on to running stitch variations – first would be whipped running stitch looking like two twisted lines.
And, of course, weaved running stitch. I can't think of anything to compare it to, but it surely is a nice combined stitch for making borders and stitching quirky lines in your designs.
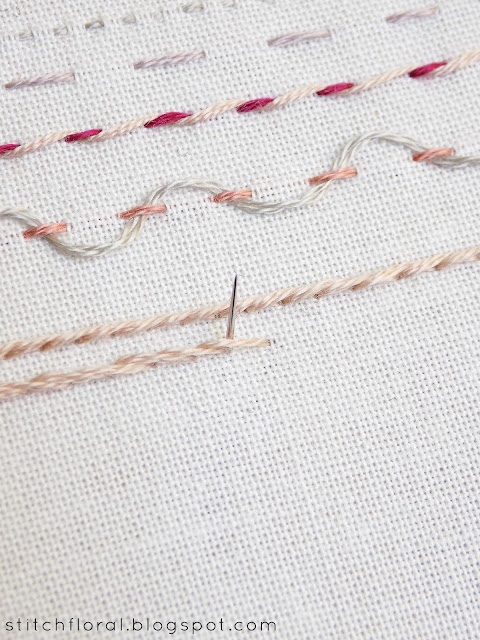
Next up is stem stitch. I suggest stitching at least two lines:
One with the needle emerging from under the previous stitch...
… and the other where the needle emerges from above the previous stitch.
Many stitchers call the upper version (with the needle emerging from below) the outline stitch. As for me, I like making things easier, and memorizing a separate name for a stitch that is worked almost precisely the same way as stem stitch and has all the same characteristics and special traits except for the position of the needle, is not something I find entertaining. I wrote about my thoughts on this topic in the post about 6 faces of stem stitch.
Anyway, I believe that we all are free to use any classification we like, but in my mind, knowing the term “outline stitch” is still a must, so that you aren't lost in some instructions and texts.
Now back stitch!
It is a favorite among many stitchers too, as it allows working neat lines. I don't use it that often because I tend to make my stitches rather small so they look like tiny dots, haha. It's just a habit of mine that's hard to get rid of.
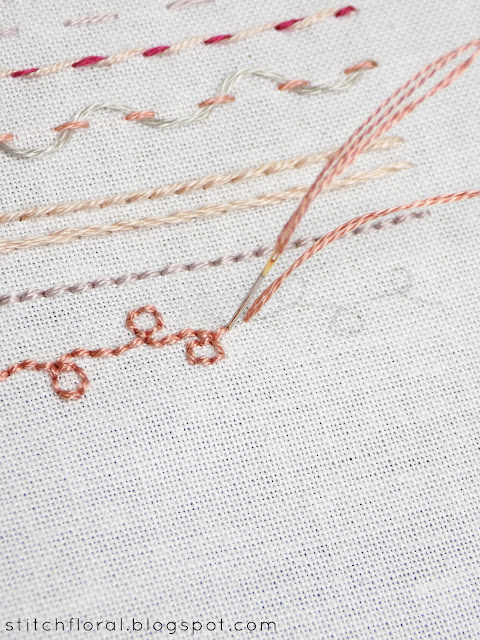
However, I do use whipped running stitch sometimes. For this, stitch a line in regular back stitch...
...and then wrap it up in the thread of the same color (and preferably the same number of strands if you're using stranded cotton). I made some random swirls here just for the sake of diversity. You can make a regular line or draw some different swirls – whatever makes you enjoy your sampler!
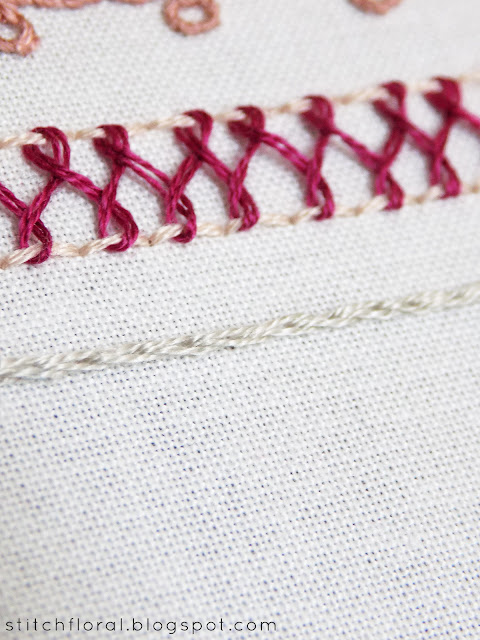
Then the elegant interlaced back stitch – a graceful band-like stitch perfect to be used as a decorative border.
Now, split stitch, which got me totally engrossed that I even forgot to take a picture of the process. Sorry! But there is a tutorial, I will link it below. I'm guilty of having an extra soft spot for this one, by the way, if you haven't noticed yet, haha.
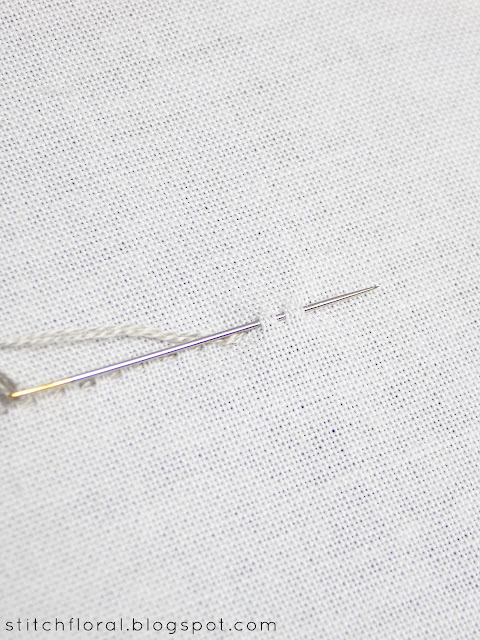
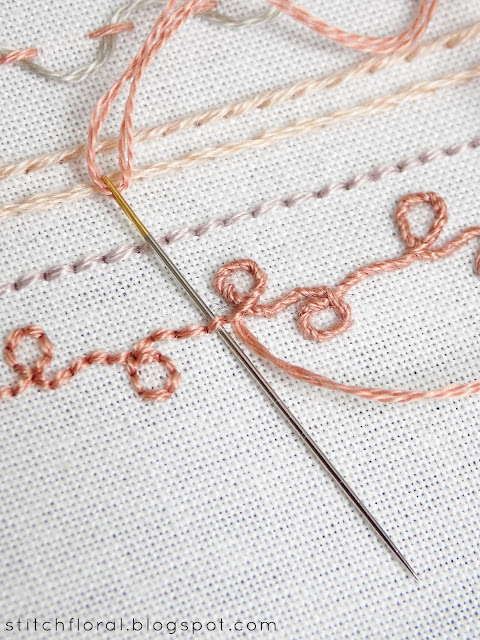
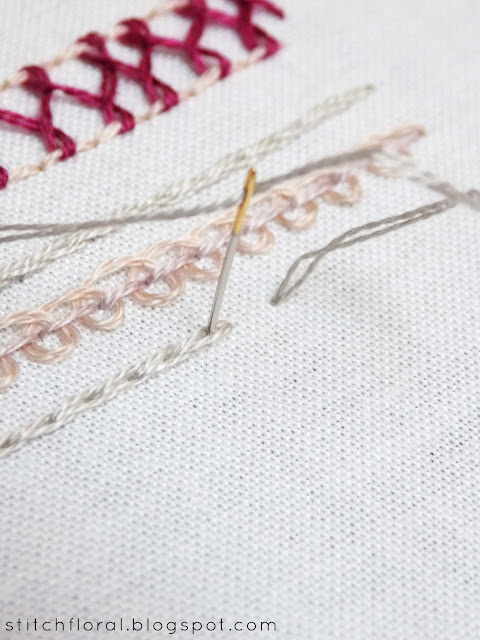
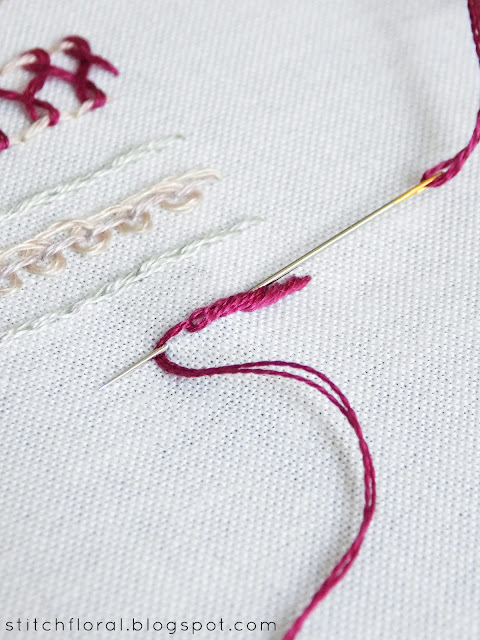
Quirky Pekinese stitch up next. I usually don't show it in the how-to pictures, but there's actually a useful trick when working stitches that include weaving, interlacing or whipping. And that is – using the other side of the needle (the one with the eye) when you slide it under stitches. It will help you avoid grabbing the fibers of thread and deteriorating your embroidery.
Split back stitch, worked next, is pretty much identical to split stitch in appearance but consumes twice as much thread, so I don't use it that often.
Last but not the least, rope stitch, putting the finishing note to our sampler with a thick sturdy line.
Tutorials:
I didn't include chain stitch here, although it is also an example of a line stitch. The reason is just that chain stitch has a whole family of its own and in my opinion, deserves its own sampler on this blog, haha.
All the other tutorials for the stitches covered on the blog so far can be found in the Stitch Library, which is constantly updated. Or you can search them by the label “stitches”!
Also, this post marks the end of February, so the next time we meet it will be March! Happy Spring everyone :)






Superbe.tres instructif pour les débutantes
ReplyDeleteMerci