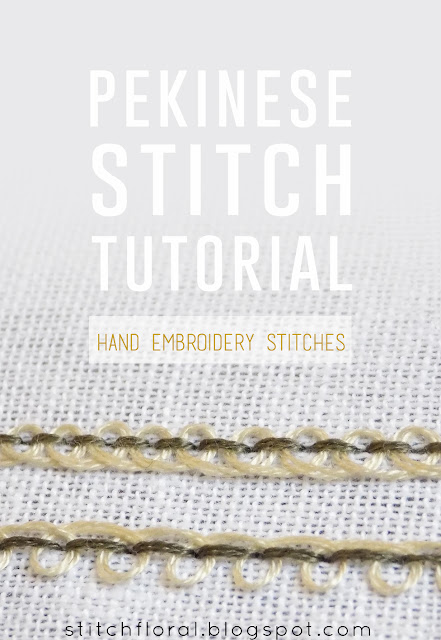
Line stitches are actually multi-purposeful and can be used not only to work lines, but also as filler stitches and pretty borders. Back stitch is exactly one of those combinations-friendly stitches that you can play with to get a lot of different looks. Some of them are more popular than others, and the Pekinese one – a composite stitch based on the back stitch, even got its own name.
Pekinese stitch is a little quirky and cute. It fits the border purpose perfectly, also if you just want to make a line a little bit more interesting, Pekinese stitch will help. Using it as a filler is a rarity (I've never seen it), but if you stitch a circle in Pekinese stitch you could come up with a flower reminiscent shape.
You need two threads to make Pekinese stitch – one for the base and the other one for the weaving. You can choose if you want them to be contrasting or matching or complimenting each other. Also, you'd like to familiarize yourself with back stitch before venturing out to the Pekinese one, as back stitch is the foundation for it.
How to work Pekinese stitch
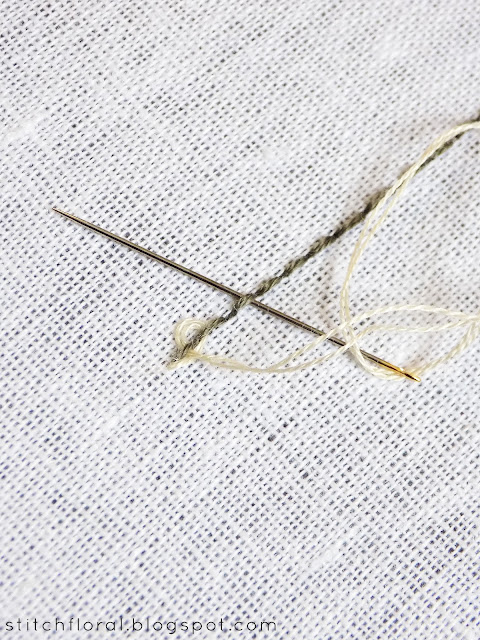
The first thing you need to do is to lay a line of back stitches in one of the threads. You can decide on the length of the stitches yourself – the look will slightly vary depending on it. But I wouldn't recommend making them too short or too long. Then take another thread and bring the needle up where you started the line of back stitches. Now, slide the needle under the second back stitch. Just slide it under, without taking any fabric with the needle.
Now, slide the needle under the first stitch from upwards. Note that the needle goes over the thread under the stitch, covering it in the process.
Pull the needle all the way through, but keep the tension rather loose, so that the thread forms a loop above the back stitches line. Now, repeat the action, this time sliding the needle under the third stitch.
And slide it back under the second one from upwards. Note again the position of the needle regarding the thread under the back stitches – the needle is covering it.
Keep repeating the steps above until you weave the whole of the back stitches line. Don't pull the thread too tight or it won't form the loops.
You can adjust the thread as you go, achieving the look you want.
For example, in the picture above, the upper Pekinese stitch has the loops situated along the center of the line. And the Pekinese stitch below has the loops “hanging” from it. I also made back stitches a bit larger in the lower line so you can see the loops are bigger as well.
So, this is it!
The stitch is really fun to play with, and it totally can take a curve if you need that. There aren't many tips that come to my mind when I think of Pekinese stitch. But one thing might make it easier for you: you might want to use a needle with a blunt point, like tapestry needles. It will help prevent picking on the thread fibers as you slide the needle under the stitches.
Other than that, it's just a very fun stitch :)


Thankyou not done this before but now i ķnow how to, will give it a try.
ReplyDelete