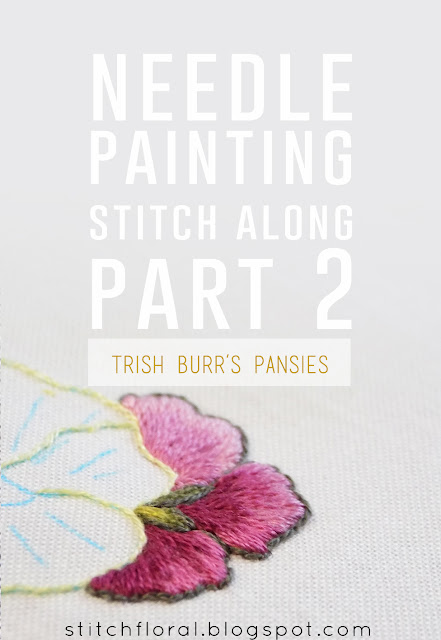
Part 2 of our Needle Painting stitch along finally arrived, yay! Last time we left after all the split stitch job was done, now it's time to get into the actual needle painting and get some long and short stitch done!
If you didn't check it yet, here's the Part 1 of the stitch along. Basically, there we discussed the materials and tools that you will need for this project and some tips for working it. Also, we started with the outline of the pansies in split back stitch and already worked the stems.
TIPS
In this part we will start with the needle painting, so make sure you've read the long and short stitch lesson carefully. I recommend practicing a little bit on a spare piece of fabric so that you get a nice idea of how it works before working the pansies.
The lesson linked above contains some tips on long and short stitching, but I also want to include here some non-obvious tips from Trish Burr herself that can make the process easier:
- Start needle painting with the elements that are placed below and continue with working the elements that are on top.
- Work long and short stitching from the top of the petal and going downwards to its base.
- Make the first row of stitches longer and start the next row of stitches in the middle of the previous one.
- When working small details fill them with a darker color first and then throw in few stitches of a lighter shade where it's necessary.
START
Use one strand of floss throughout the whole process.
We start with the right flower following the guide that Trish Burr provided with the instructions in the book. And the first petal to stitch would be the one below.
The first row of stitches is quite long, and I didn't bother much with actually making it evenly “long and short” because the lower part of it will be covered anyway.
The darker shade fills the rest of the petal. All stitches are worked along the guidelines.
The second petal contains three shades of color. We start with the lighter one, making the first row rather long again.
Adding the new layer of long and short stitching. Notice how close it is to the upper edge of the petal, despite the long first row of stitches.
Filling the rest of the petal with the darker shade, working towards the center. And starting with the next petal.
In this element, the area to be filled with another color was slightly larger, so I worked two rows of long and short stitching in the same shade of floss. The needle comes right through the previous row of stitches.
I mentioned earlier that I decided to skip the split back stitch outline for the leaves here because I wanted to work it after the petals are finished.
Filling it with darker shade first.
Adding the highlight.
Now, this is how this part looks like after finishing the long and short stitching. But that's not the end! We still need to make an outline for all the elements.
As mentioned in Part 1 Trish Burr uses a thinner sewing thread for this purpose, but I had to substitute it with DMC floss of a similar shade. The outline is worked in split back stitch again.
The final result!
So, how was it? Not scary, right? The whole process doesn't take much time actually. It took me few hours given that I also spent quite a lot of time and attention to taking pictures. It also quite fun because you have to switch colors all the time, so you don't get bored of filling a large space with the same shade. At least I, personally, suffer from this sometimes.
Now, that's it for today, thanks for going through the Part 2 together with me! Next time we are going to work the purple pansy on the left. Expect the process to be quite similar, except that there would be some fine work in the center.


this is the best tutorial i have found and i saved all 4 parts.. i'm doing a Lion and it's turning into alittle needle painting alittle needlepoint without the fancy stitches. So thank you !! Elaine
ReplyDeleteI'm happy you enjoy this tutorial! Wish all the success for your Lion project!
DeleteI am just writing to make you be aware of what a superb encounter my friend's princess found reading your site. She picked up such a lot of details, most notably what it's like to possess an incredible coaching nature to make other people just grasp chosen specialized matters. You really did more than my expected results.
ReplyDeletecash for cars brisbane north
This comment has been removed by the author.
ReplyDeleteThis comment has been removed by the author.
ReplyDelete