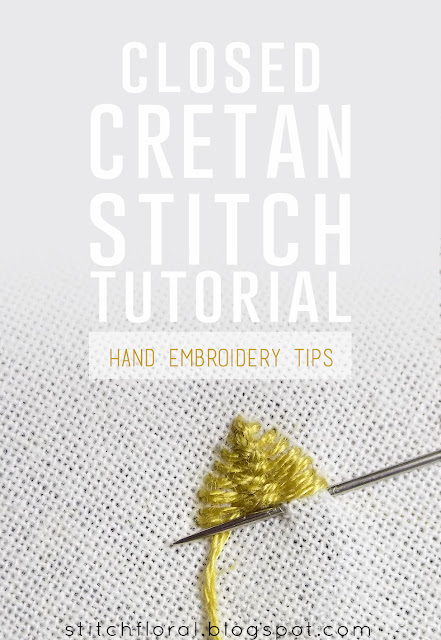
Yesterday we took a look at the cretan stitch and saw how diverse it can look if you tweak just a few things. And today let's see a clear example of that. One of the cretan stitch variations is close cretan stitch.
So, continuing the topic of yesterday's post, here's how your cretan stitch may look if you make the stitches lay perfectly horizontal, move the “spine” points closer to the edges and keep the stitches closer to each other.
How to work close cretan stitch
If things get confusing I recommend checking out the lesson on cretan stitch first, maybe it will make it clearer :)
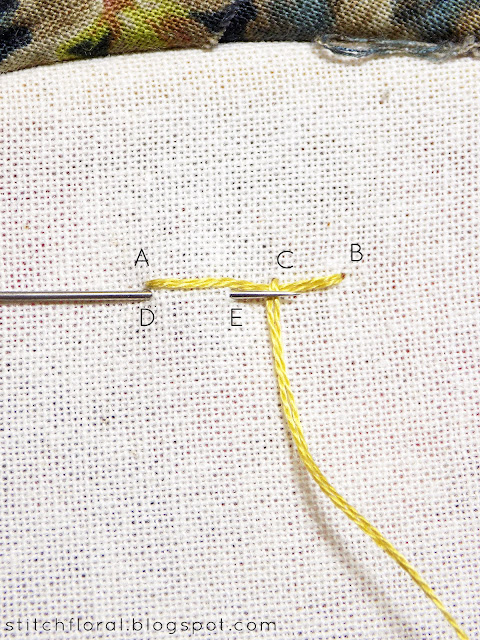
Okay, so first, make a rather long horizontal stitch from point A to point B with the needle coming out to the front of the fabric at point C. The length of the stitch will determine how wide will be the border.
Also, keep the needle over the thread as it emerges to the front of the fabric.
Insert the needle at point D which is right under the point A and bring it up at point E, keeping the thread under the needle.
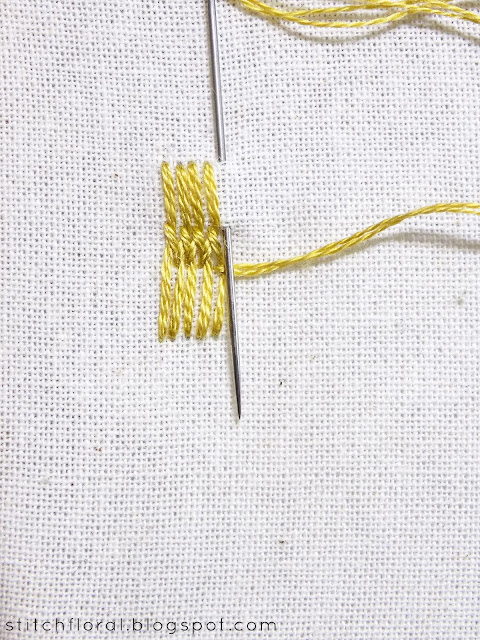
Keep repeating these steps, inserting the needle on the edges of the border and bringing the needle up to the front of the fabric at points near the “spine”.
Actually, when I work closed cretan stitch I, personally, prefer turning it over. I find it more convenient for some reason.
The end result will look something like this. And you can certainly make it prettier and neater if you spend some time marking the lines or just be more attentive to where you insert the needle than I was, haha.
Close cretan stitched leaf
As closed cretan stitch is based on horizontal stitches, it will be a bit difficult to work the tips of leaves if they are sharp, so avoid these and give preference to wide shapes, blunt on the top.
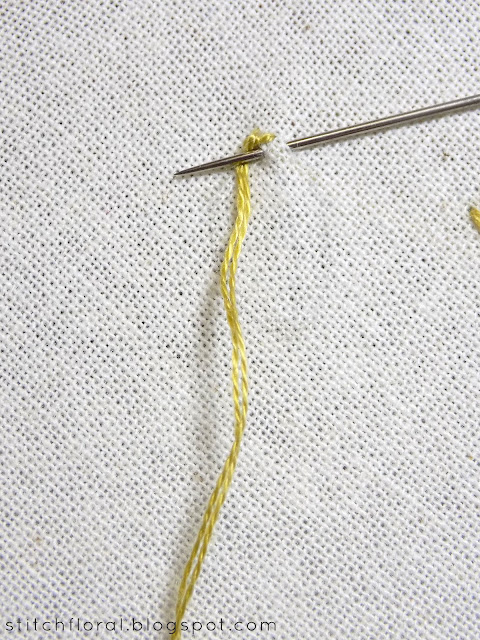
When you start working the leaf it is quite impossible to make the first stitch perfectly horizontal because as blunt at the tip is, it is still a tip, you know? So let it slide for the beginning and make first two stitches like we did in a simple cretan stitched leaf.
After the first couple of stitches, you will be able to even out the stitches and make them horizontal.
In the end, the leaf will look like this.
That's all! Hope you learned something useful today and add this stitch to you dictionary :)


No comments
Write what you think! ❤
Note: Only a member of this blog may post a comment.