It's herringbone stitch day today! It is quite simple and easy to handle so the lesson will be rather short as well. Nevertheless, hope it will be plenty useful :)
Herringbone stitch consists of parallel lines that cross each other at two stitching lines, creating a unique look.
It can be used as a border, and to enhance its appearance you can add lacing with a thread of contrasting color. Honestly speaking, laced herringbone stitch looks absolutely stunning and exquisite! One of my favorites. But we will not take on it today, maybe sometime later, haha.
Today, however, we will take an extra look at the herringbone stitch as a filler. And, you guessed it right, we will try to fill a leaf shape again, yes.
One last detail. I believe it is best and most convenient to work herringbone stitch on cotton, linen and other woven fabrics where you can see the holes distinctly. However, there's virtually no limit in the choice of ground fabric, so if it is hard to detect and follow the weaving and holes in yours, then you can mark two lines for the border and follow them. The border is quite open though, so use a marking tool that will disappear later.
How to work Herringbone Stitch
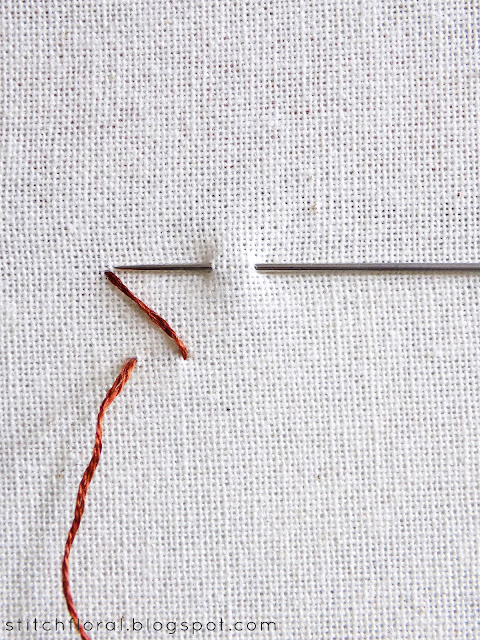
Choose two horizontal lines as the edges of your border. Start on one of the lines, bringing the needle to the front of the fabric. Here it is point A. Then insert the needle diagonally across at point B, lying on the other line. And bring the needle back at point C, which is close to B, but closer to the start of the line. This way you are making a stitch backward.
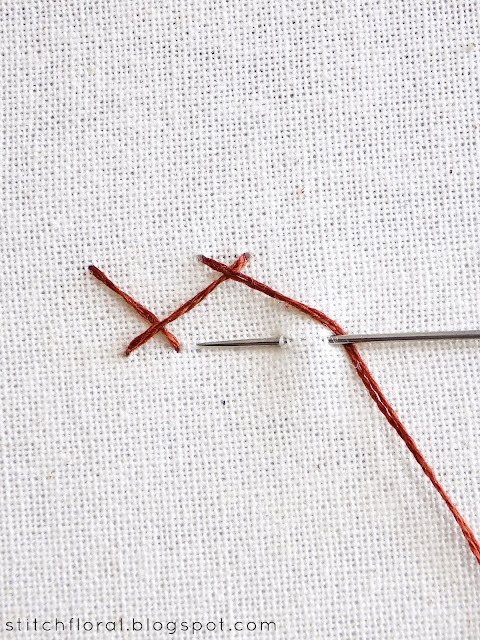
Now, repeat these actions for the other side. Insert the needle on the upper line at a point placed diagonally across from where it previously emerged. And bring it out on the same line taking a step backward again.
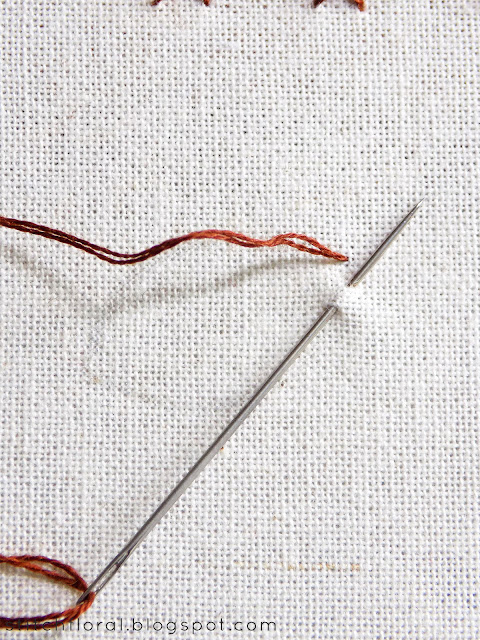
And continue working the border the same way.
Of course, it might be a bit difficult to keep the slanted stitches perfectly parallel to each other as you work it, and marking the place for every single stitch is too much of a bother. Frankly speaking. But still, try to place the stitches evenly for the balanced and pretty look.
Herringbone stitch as a filler
Herringbone stitch is great for the filling purpose and it can be used for any shape – circles, ovals, triangles. The only thing to adjust is to use the edges of the shape as the stitching lines.
Also, I think it is better to place stitches close to each other when you fill a shape, because otherwise it can look too open.
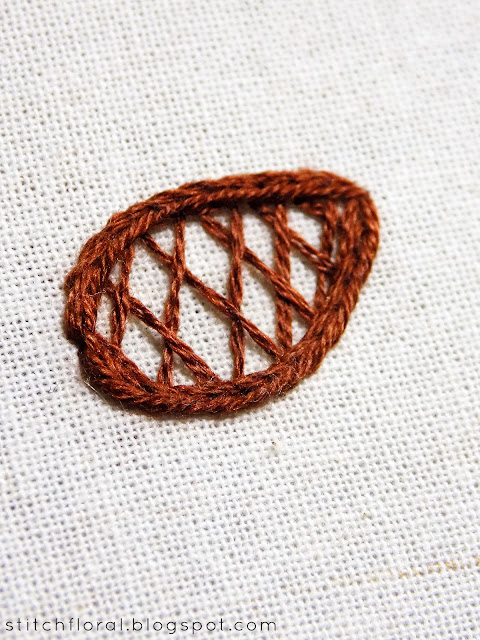
So, here's how the filling would look like with herringbone stitch.
If the filling is still too open for your liking, add an outline! In my case, I used heavy chain stitch, because I like the combination of a textured contour and a lacy inside :)
So, this is the herringbone stitch!
It is quite simple and therefore quick to learn, and, actually, you can find needleworks that are based on this stitch as a whole! It is really versatile, although it may not look like it at first. Try it out today! :)
Stay tuned for tomorrow's stitch tutorial, it will be the last one for this month!


No comments
Write what you think! ❤
Note: Only a member of this blog may post a comment.