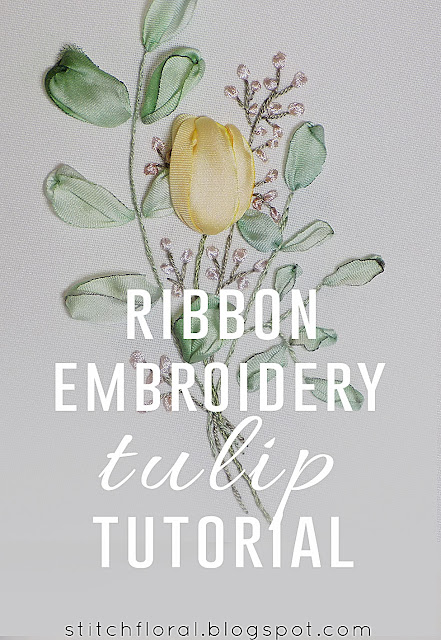
Like I promised in the last post, here's one more tutorial for ribbon embroidery. Meet the yellow tulip!
If you need more background information on ribbon embroidery, then first go the forget me nots tutorial and check the links mentioned there or just go through the ribbon embroidery tag and you will find everything you need.
In the last post, I said that we will work something more complicated this time.
But you know, actually, it's not like this tulip tutorial is really complicated. It's just that there are a bit more elements, that's all. Working them all, though, will be a piece of cake, I promise :) So now, take your ribbons and let's start.
Ribbon embroidery tulip tutorial
First, to work tulip, make a pair of straight stitches next to each other.
Because I'm using a wider ribbon, you can see how the stitches are already puffed up. But they don't really look like a tulip yet so we can do more stitches.
The new stitch starts a bit lower than the previous ones because it is really hard to start it in the same place and not snag on the other stitches. Besides, starting it lower makes the shape of the tulip a bit longer which is a good thing, because we would be increasing only the width otherwise. Tulips are closer to oval shapes, after all.
So that's how it looks after the third stitch. I actually wanted to make one more stitch, starting it below the previous one and finishing at the right top angle. But, to be honest, it already looks like a nice tulip to me. The almost opened kind, you know? The drapes of the ribbon on the last stitch create an illusion of two petals, so I think it is enough.
See for yourself, though, when you work your tulip. If you feel like adding the fourth stitch, do it.
Next, I added some stems for the tulip and the leaves branches next to it. The tulip itself doesn't have a leaf here, but it will go together with pretty twigs, haha. The stitches used here are stem stitch and whipped back stitch.
Now ribbons stitches (pierced) for the leaves. Be patient and pull the ribbon through slowly to not tug the part of the ribbon that is supposed to stay on the surface of the fabric. It's particularly important when you are using delicate silk ribbons. They are very easy to snag on.
The mid-result.
Now, how about adding more twigs?
Let's add there these teeny tiny things using a small width ribbon and short stitches.
It can be buds or small berries or whatever you want. If the length of your stitches will equal the width of the ribbons they will be more round-shaped. Or make them elongated by finishing stitches a bit further from the starting point.
To be frank, it would be better if I did the twig first for the background and then the tulip and leaves. But I kind of went with the flow, adding the elements on the go, so that's how it went. I also made some of the stems a bit longer if you compare to the mid result.
I think it's really cool how the colored ribbons create this variety of color – every stitch, every element is unique and the whole work remind of watercolor illustrations.
You might wonder why I didn't work the stems with ribbon as well. Well, it's because I didn't find a suitable ribbon and I didn't want to use the same as for the leaves. But it's fine, stems in thread work just as well!
I'll try to post the last tutorial on Sunday. I want to show you how to color ribbons when they are worked, so please look forward to it and have a nice weekend!


So pretty! Thank you for this tutorial!
ReplyDeletevery beautiful,and well explained images.
ReplyDelete