Winter holidays are
approaching! Here's an idea of a simple and quick DIY that allows using hand embroidery on a postcard :)
About 7 years ago I wanted
to try scrapbooking. During that time I was searching for “my”
hobby or craft, anything that will make me passionate. I really loved
scrapbooking works I saw online and wanted to try something myself so
I bought quite an amount of stationery: stickers, colorful paper,
washi tape, cotton ribbons, and basic postcards intended for
decoration.
However, my interest died
down rather quickly and I switched to another new “passion” (was
it decoupage? Soap making? Ah, I tried quite a lot of hobbies before
stopping at embroidery). That meant that a lot of stuff I bought was
sadly not needed anymore.
Speaking of which, it's
the reason why I don't recommend beginners to buy a lot of
materials and instruments when they start learning hand embroidery.
Try it with what you have at hand and don't invest too much until you
are sure that it's the area you want to improve and progress at.
Anyway, I actually saved
some items for “future needs” including the postcards! And
finally, their time has come, haha.
Today I offer you a
tutorial on making postcards with hand embroidery :)
Naturally, this can be
applied to any occasion, not only winter holidays. You can stitch
pretty much any motif and then assemble a cute greeting card which
would definitely make someone dear to you happy!
But since we are in a
specific timeframe now, I decided to prepare New Year's motifs for
you! You can download them for free if you click on the link below:
Now let's see how to make embroidery postcards.
Materials
and instruments:
- Basic postcards
- Stitched motifs
- Interlining (optional)
- Glue stick
- Gel pens, markers and other stuff for decoration
- Scissors for fabric and paper
The list is pretty simple, isnt' it?
Hand embroidery postcards DIY
1. First
of all, stitch the motifs on the fabric
of your choice. Cotton, linen, calico are the most common choices. I
used the same thread for all the stitching, but surely, you can work
these motifs in different thread and colors and you can also use
metallics, like Diamant. I actually added a bit of whipping with
metallic in one of the motifs :)
Place
the designs carefully on the fabric: not too close but also not too
far to not waste the fabric.
In
my case, I wasn't sure at first about the size of the cut-outs I
wanted so I placed them with the A6 size in mind and I think I could
place them even closer to each other... Well, too late to fix that,
haha. But you can calculate it better!
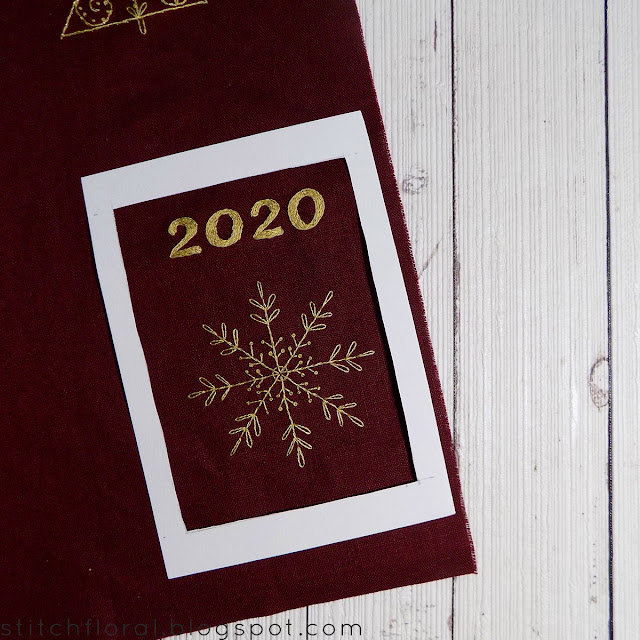
2. A little lifehack here. To make sure that the cut-outs will look
exactly how you want, you can take a piece of paper or carton,
cut it according to the size of the postcard and then make a window
inside. It will look like a frame and it will be easier for you to
imagine how the cutout will look like on the postcard.
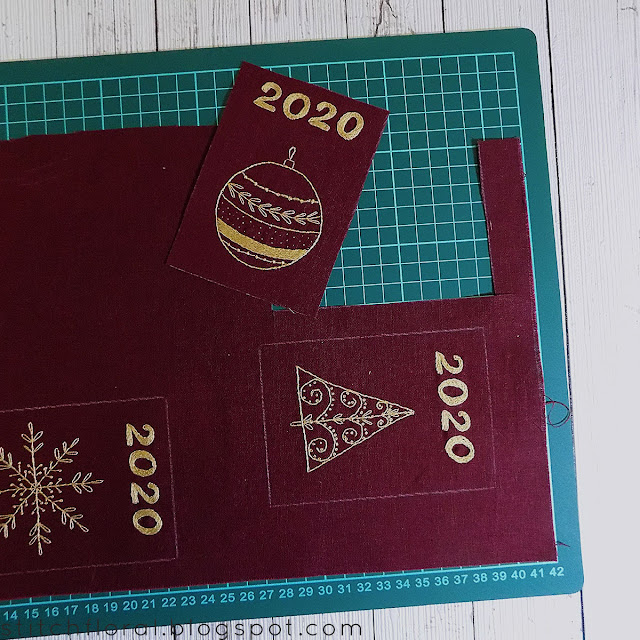
3. After that, trace the cutouts.
4
– optional. You can cut them out now and go to step 5. Or,
you can do like me and apply interlining material first. It just
makes me a little more confident that the fabric will not be fraying
too much by the time I use it on a postcard.
Some
fabrics tend to not fray that much (quilting cotton, for example),
others are more prone to it. I was using quilting cotton and you can
see that even after stitching the edges of the fabric are not fraying
that much. Nevertheless, I wanted to be on a safe side :)
So,
what I did was cut pieces of interlining (bigger than the actual
cutouts would be) and applied them to the back of the fabric.
5. And then cut the motifs in rectangular shapes.
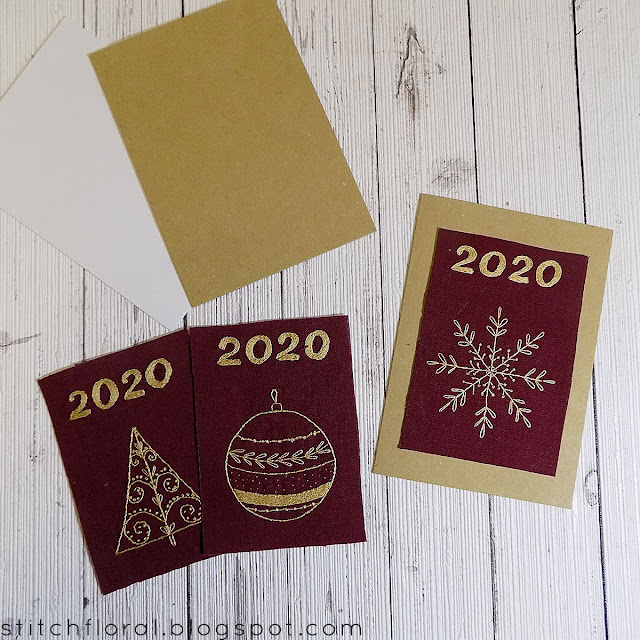
6. Basically, that's all! Now, if you prefer minimalism, you can
glue the motifs to the postcards. It will already make a nice gift
with a textured element that holds a piece of your love :)
To
me, however, it seemed a bit empty so I decided to decorate the
postcard bases first.
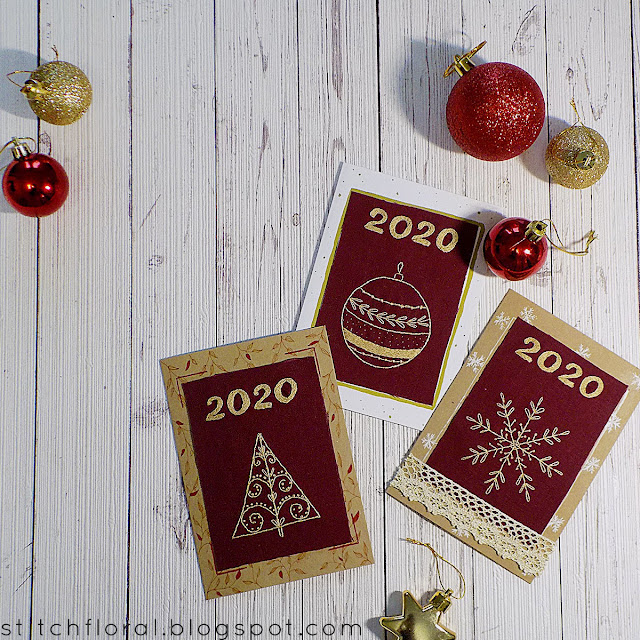
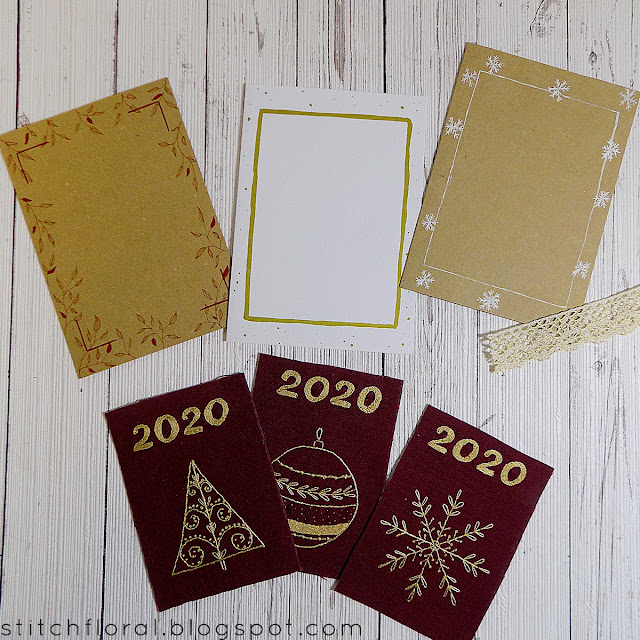
7. For the first postcard, I used gel pens in golden and red colors and
made a motif with leaves decorating the four sides of the postcard.
For the second one, I used a golden marker to draw a frame (I wanted
it to be a little quirky and awkward. Although, it probably would be
even if I tried to make it perfectly neat, haha) and added dots here
and there symbolizing falling snow. For the third one, I used a white
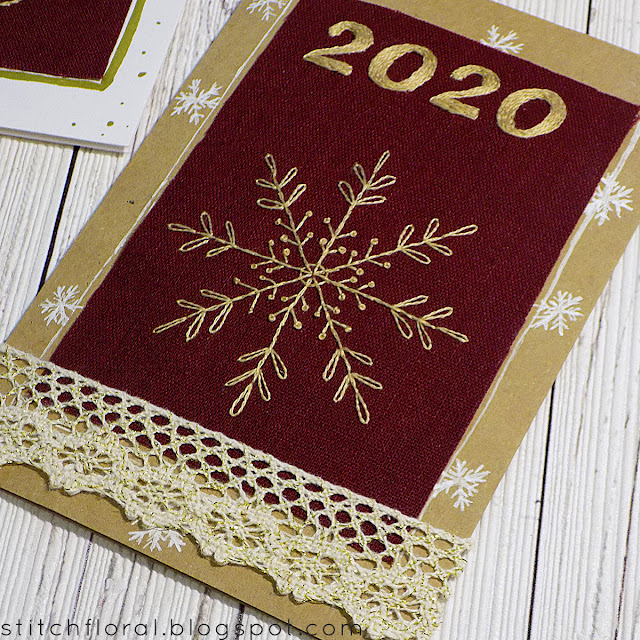
gel pen to draw the frame and snowflakes flying around. I also took a
piece of cotton lace for extra decoration.
8. Now you just need to glue the cutouts down to the postcards. Another
benefit of using interlining is that the glue will not touch the
actual fabric and stitching.
Although
I did try this idea beforehand without any interlining and the glue didn't affect neither the fabric nor stitching in any
way, I can't say for sure what can happen in the long run :(
This
“sandwich” structure, though, when the fabric is glued to
the interlining and the interlining is glued to the postcard is safe
from all sides and it holds fine :)
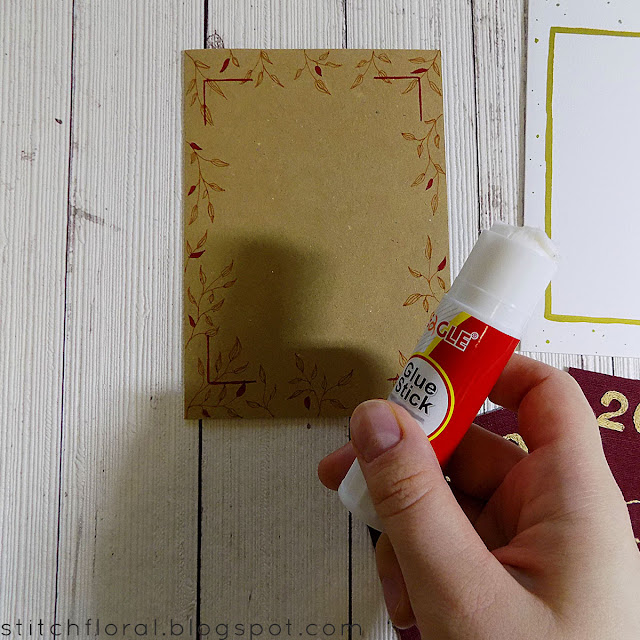
9
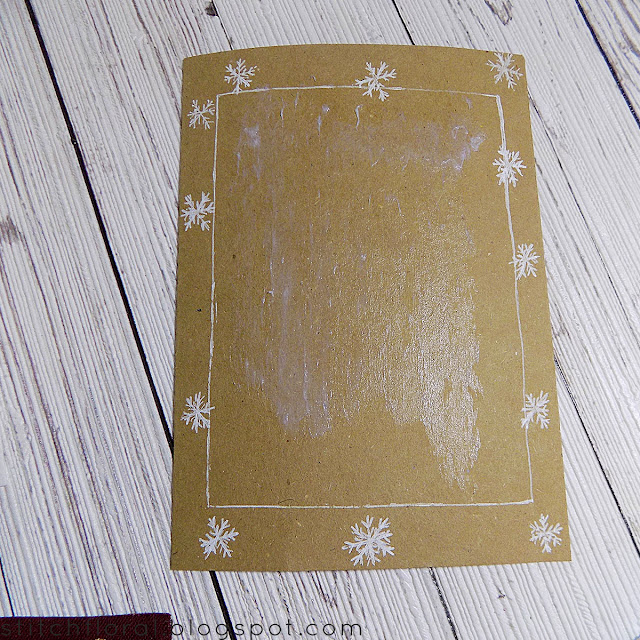
Apply the glue to the marked area generously...
10
...and then you can make sure that the corners are glued as well.
They are often not.
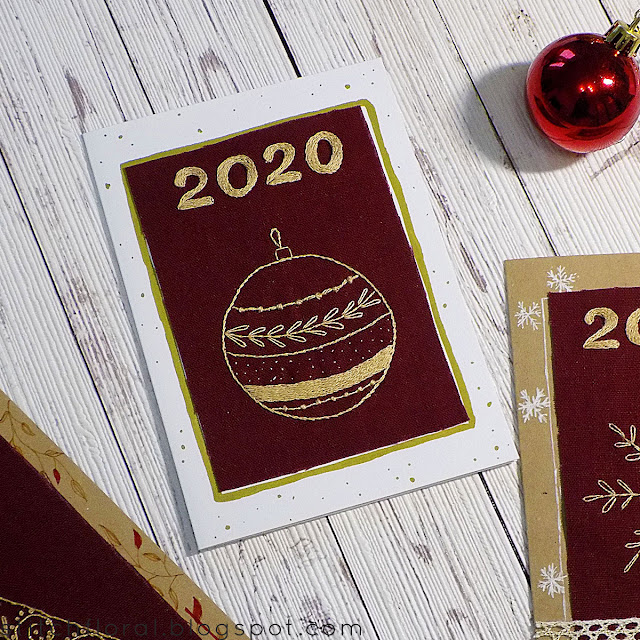
So
here they are, the ready postcards with hand embroidery!
Not
going to lie, I actually REALLY appreciate how easy they turned out
to be, and I'm definitely thinking of doing more in the future for
the other occasions...
P. S. Sorry if the pictures are a little dull! The weather is very cloudy currently, so even in the daytime my camera can't catch enough light for nice pictures. And my table lamp can't keep up too :D









Good job!
ReplyDelete❤❤❤
Deletevery beautiful. want to try it.
ReplyDeleteThank you!
DeleteThese are such a wonderful idea. I just love your designs!
ReplyDeleteThank you!
DeleteBeautiful postcards.. Love those card and your hand embroidery skills... Keep it up.
ReplyDelete