This project is finally
finished! Yay!
Ah, to be honest, the
hardest part of working a project for me is right before the end.
Like, if we divide it into 10 stages, for example, then 7-9 will be
the toughest, the most torturing for me where each stitch will be
like one victory :D I wonder if you have experienced something like
that too?
Well, back to business.
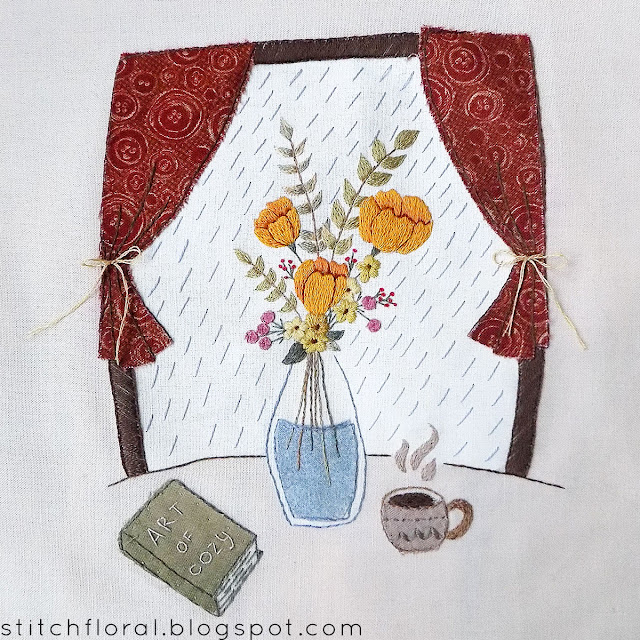
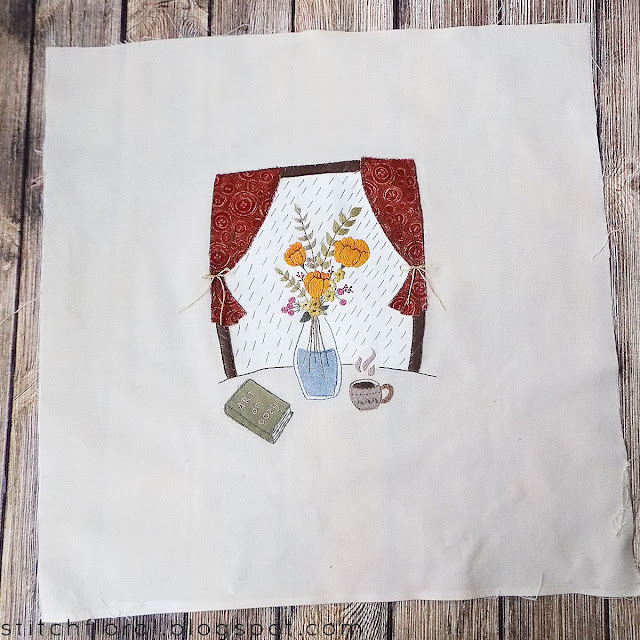
This piece is ready! I still don't know what to do with it, to be
honest. I'm afraid that framing it will create too many borders since
there is already one with the window. It would be great to find a
frame of the same color as the ground fabric but the color is very
peculiar – it is not really white, more like a veeery very fair
beige one. It will be a miracle if I find a frame of a matching hue,
but you never know until you try, right?
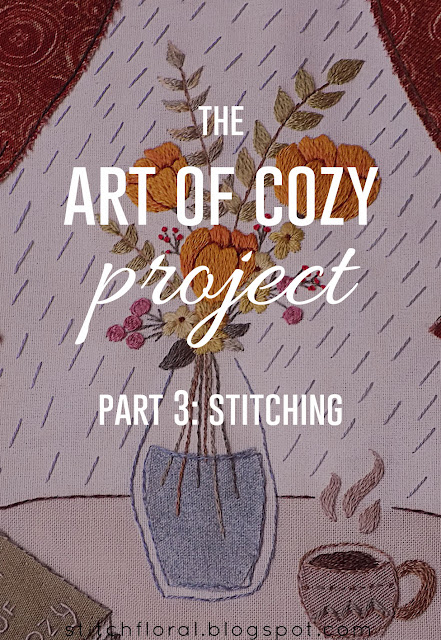
The final part of the
project was stitching. I had to add some details to the applique, stitch
the window frame and the bouquet of flowers.
That was a journey!
If you want to read
previous parts, click on the links below:
So, first of all, I
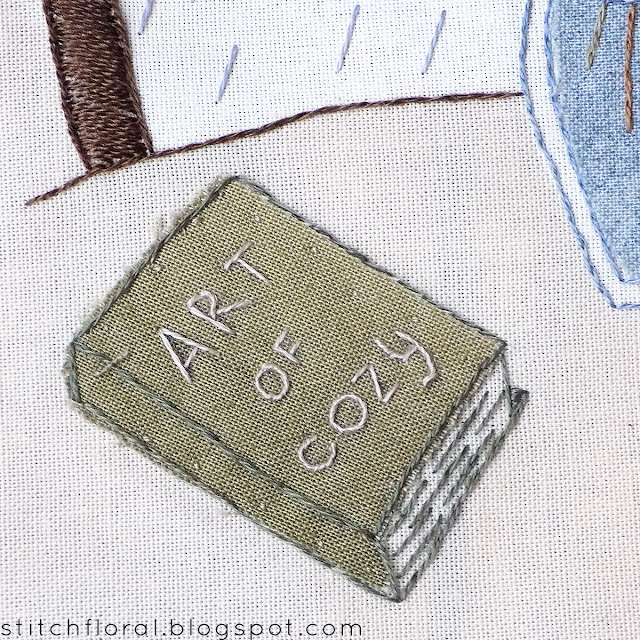
decided to finish the applique pieces. For the book. I needed to work
the title which I did in back stitch and whipped back stitch
for all the curvey and round elements. Without whipping they looked
too angular.
As I mentioned in the
previous part, I wasn't really satisfied with the cup. After some
thinking about what was wrong and whether I should work the cup
completely in thread, I came to the conclusion that what threw me off was
that the cup's outside looked too empty and plain. So I worked some
random motifs there in running stitch, french knots and
fly stitch. I used green thread similar to the color of the
book, (even though it doesn't look like it in the picture above, it
is a warmer color).
You already saw the way
one of the curtains is worked in the previous part. The thread for
the outline and shadow turned out to be too similar to the reddish
color of the curtain but it was still better than using a lighter
color (I tested it).
I was thinking about how
to work the window frame and, of course, the first option was to fill
it in with long and short stitching or stem stitching. But then, I
outlined it and suddenly wanted to work slanted stitching. It is not
exactly satin stitch since I'm not covering the fabric
completely but instead leaving some space between the stitches
occasionally. But I liked the way it looked as if I hatched it with a
pencil.
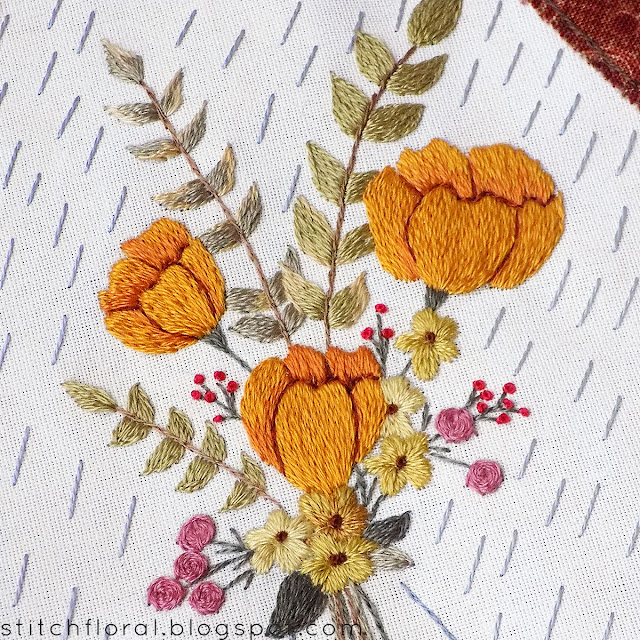
And here is the bouquet! I
actually really liked it, I didn't even expect it would turn out like
that. I was so confused before starting with the flowers because I
literally had no idea what kind of colors I wanted there...
The big flowers are worked
in long and short stitching. I
didn't want to bother with shading here and kind of wanted to work
them in basically the same color overall. But there was still need
for some kind of a border between the petals - otherwise, they would
merge together. So, I used the darker thread, the same one as for the
window frame, to separate them.
The
smallest flowers, by the way, were supposed to be petalled too! If
you received the pattern through subscription, you saw it there. But,
frankly speaking, they were small and I didn't want to bother too
much again :D Besides, a bit of variety in shapes will never hurt,
will it?? So, they are worked in spider rose
technique.
So
that's how this little window came to life :)
To
be honest, it is such a mood right now because it has been pouring in
the streets FOR DAYS. Almost non-stop. I can't even make myself take
any extra step outside, just keeping snuggling at home with my best
friend – a cup of tea :)
Wish you to have wonderful
November!



What a lovely piece. I love the rain in it. The lettering is wonderful. How did you get stitch the book to get such a perfect "o" and "c" in the lettering?
ReplyDeleteThank you! I used tiny back stitch and then whipped it, there is a link in the text :)
Delete