It's been a while since we
had a tutorial for a new stitch here, right? I thought it's
time to revive this tradition and add some new names to the Stitch Library of this blog :)
I sort of relaxed with the stitches' lessons since all the basic and most widely spread ones have
already been covered. But there are so many fun stitches still left
to explore, and frankly speaking, I haven't tried them myself yet, so
it will be the first time for me too.
The stitch we are going to
look at today, is also something new for me.
Not like it never appeared
in my browser history... but I've never really had any need and crave
to learn it, saving it for “later” each time. But now that I
found a way to apply many stitches in a type of patterned boho designs, the interest in all these fun and lesser-known
techniques peaked again :)
RELATED:
Tailor's buttonhole stitch tutorial
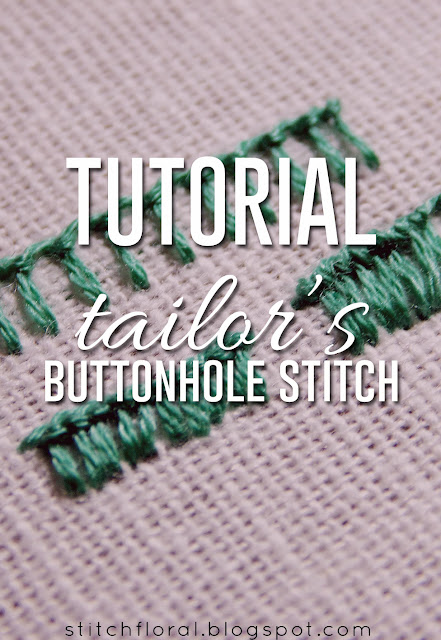
Tailor's buttonhole stitch
looks just like the regular buttonhole stitch except it has tiny “knots” at the upper part.
What's interesting,
though, is that the order of work is quite literally opposite from
how you work buttonhole stitch!
The tutorial below shows you
TWO ways of working Tailor's buttonhole stitch.
The first one is the
loose one when you place the stitches at least one fabric hole away
from each other. The second one is when you place your stitches
densely and it allows you to create a braided effect on the top.
1. Any buttonhole stitch
consists of two levels: the top one and the bottom one. When working
Tailor's buttonhole stitch, bring your thread at the starting point
of the top level, then insert the needle close to that point on the
same level, and bring it out again at the bottom line, with your
needle lying on a vertical line. The second and third points are
placed right opposite each other.
(If you compare to the
regular buttonhole stitch, you will see that there we insert the
needle at the bottom and bring it out at the top).
2. Next, tuck your thread
behind the needle from both sides.
3. Pull the needle through
gently letting it form a knot at the top level.
4. Repeat the previous
steps while stitching a border.
5. You can start every next
stitch INSIDE the loop of the knot and place the stitches very
densely.
6. It will create the
braided effect on top, very pretty!
That's basically it!
***
The thing is, there is
another version of tailors' buttonhole stitch that also pops up when you search for it, and
frankly speaking, I am still confused about how it is worked, oops.
I think there had to be
some confusion with names, because this one is worked absolutely
differently from what I described above.
So, as I understood, you
need to work it like a regular buttonhole, but wrap the thread around
the needle before pulling it through. I tried it, and this is what I
got?
Totally not saying that
this is correct... more like, I'm pretty sure I got something wrong.
That's why I prefer pictures over diagrams, haha. But if you like the
way it looks, then go ahead and have fun with it :)
See you next time!


No comments
Write what you think! ❤
Note: Only a member of this blog may post a comment.