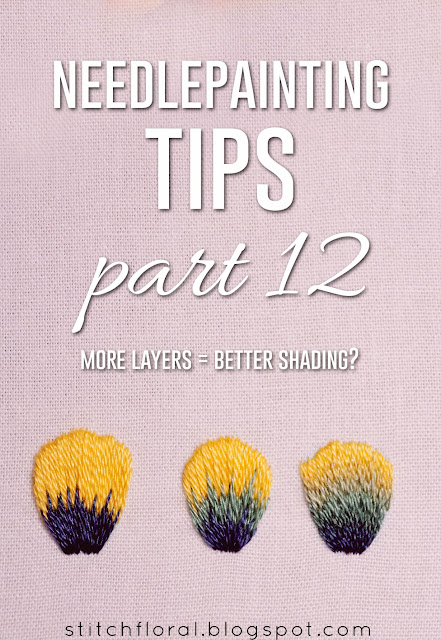
Today I offer you a new
case study!
So if you ever wondered
about the correlation between the number of layers (rows) on long and
short stitching and the quality of blending, today's post might
answer some of your questions,
The task when stitching
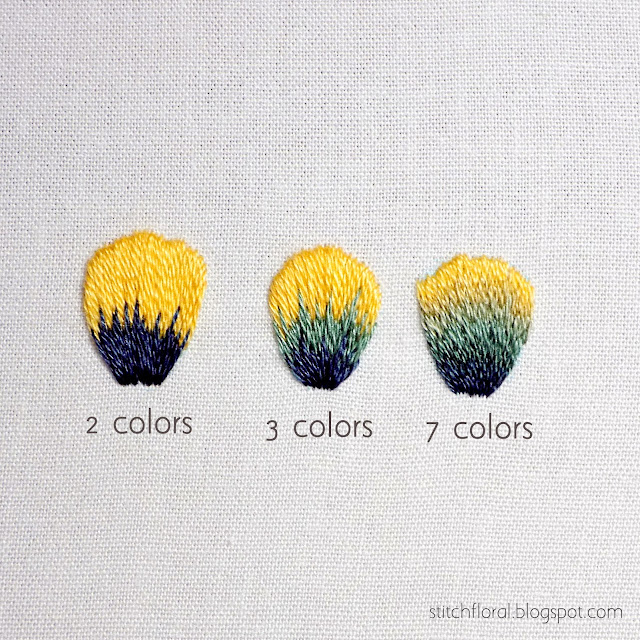
these 3 shapes was to make a transition from yellow to blue.
The first example has only
2 colors: yellow and blue.
The second example has 3
colors: yellow → green → blue
And the third example has
7 colors: yellow → 2 mid shades of yellow-green → green → 2 mid shades
of aqua green → blue.
RELATED:
My opinion
None of the examples is
worse than another, they are just 3 different situations and each has
weak sides and strong sides.
1. When you have an abrupt
transition from one color to another, I think it can look very
powerful and catchy. For example, when I showed my Mom all three
examples the first one caught her eyes immediately and she said it was
her favorite.
One tip for sich a
scenario would be to increase variety in the length of your stitches.
You might want to have literal “spikes” there that stick out a
lot and then add shorter stitches (still of various lengths) in
between.
2. Well, if I'm completely
honest, this is my least favorite example among these ones. But just
because of the colors! I would say, that when you are ready to use
only 3-4 colors, it is better to avoid transitions like these: yellow
→ green → blue, red → orange → yellow and so on. Basically, avoid 3 neighboring hues on the color wheel.
Instead, I would suggest
to either go for lights (like pink → light pink → lighter pink)
or shadows (like green → dark green → very dark green). Or take very
close colors and build a bridge between them (yellow → yellow-green
→ green)
3. When you want a really
smooth transition between colors that are not neighbors on color
wheel, you will need 5-7 colors.
That means that each row
of color will not have THAT much space (although it will depend on
the shape), and that means that you don't have as much freedom in
your long and short stitching. Making “spikes” like in previous
examples will hardly be possible (again, depends on the shape).
As a solution, you can
stick to what I call “bricky” long and short stitching. It's when
you have two levels of stitches – one is long, one is short – and
you alternate between them. When you are limited in space, this will
come in handy. Although I would recommend to try and add variety to your
best ability.
Well, even if you don't,
the fun part is that these 7 colors lumped together in a small space
are likely to “eat up” some mistakes and imperfections. So don't
be scared to increase the number of your rows if your long and short stitching is
“not perfect” yet!
What do you think? :)


Thank you for this post Amina! I came across this when researching how to improve my needlepainting. I think all three designs have different strengths and weaknesses, like you say. The first one looks modern and bright, whereas the last one has that beautiful soft romantic look. I suppose it depends on the look you're going for.
ReplyDeleteThank you, Katie!
DeleteI totally agree with you, we just need to know how to use these examples at the right time and the right place :)
Thank you for your explanation, it's very helpful as I'm just starting that sort of stitch. Have avoided it up until now in my embroidery. Many thanks. Shirley x
ReplyDeleteI read your article deeply and this is really an amazing post and you have described everything about embroidery with efficiency. Get professional custom embroidery digitizing service with prompt turnaround.
ReplyDelete