I love time capsules!
It's always been fascinating to see in movies how they dig out old boxes filled with memories and wishes for their 10-20 older selves. What does it feel like when your younger self literally speaks to you? What does it feel like to remember the dreams and plans you had a long time ago?
I wonder if you've ever done the same and sent some letters to yourself in the future?
Personally, I like planning a lot, so my notebook is filled with some graphs, ideas, goals – for the day, for the month, for the year.
Last year I tried something new: I wrote down my impressions, feelings, important events and happy moments of the year 2019. And then I wrote down what I would like my 2020 to be like – what I want to be, what I want to feel, what I want to accomplish.
I revisited these pages only a while ago, and it was sooo mind-blowing. How some things got accomplished without me even noticing, or even the way they got accomplished which I didn't really imagine before! And, of course, some things are still to be worked on, but revisiting those lists only boosts my morale and motivation. And I'm not talking only about work goals, but also emotional and spiritual. Everything is connected, after all.
Anyway, I totally plan to do the same for the next year, but this time I'm adding a personal message to the me in the future.
Do you want to join? :)
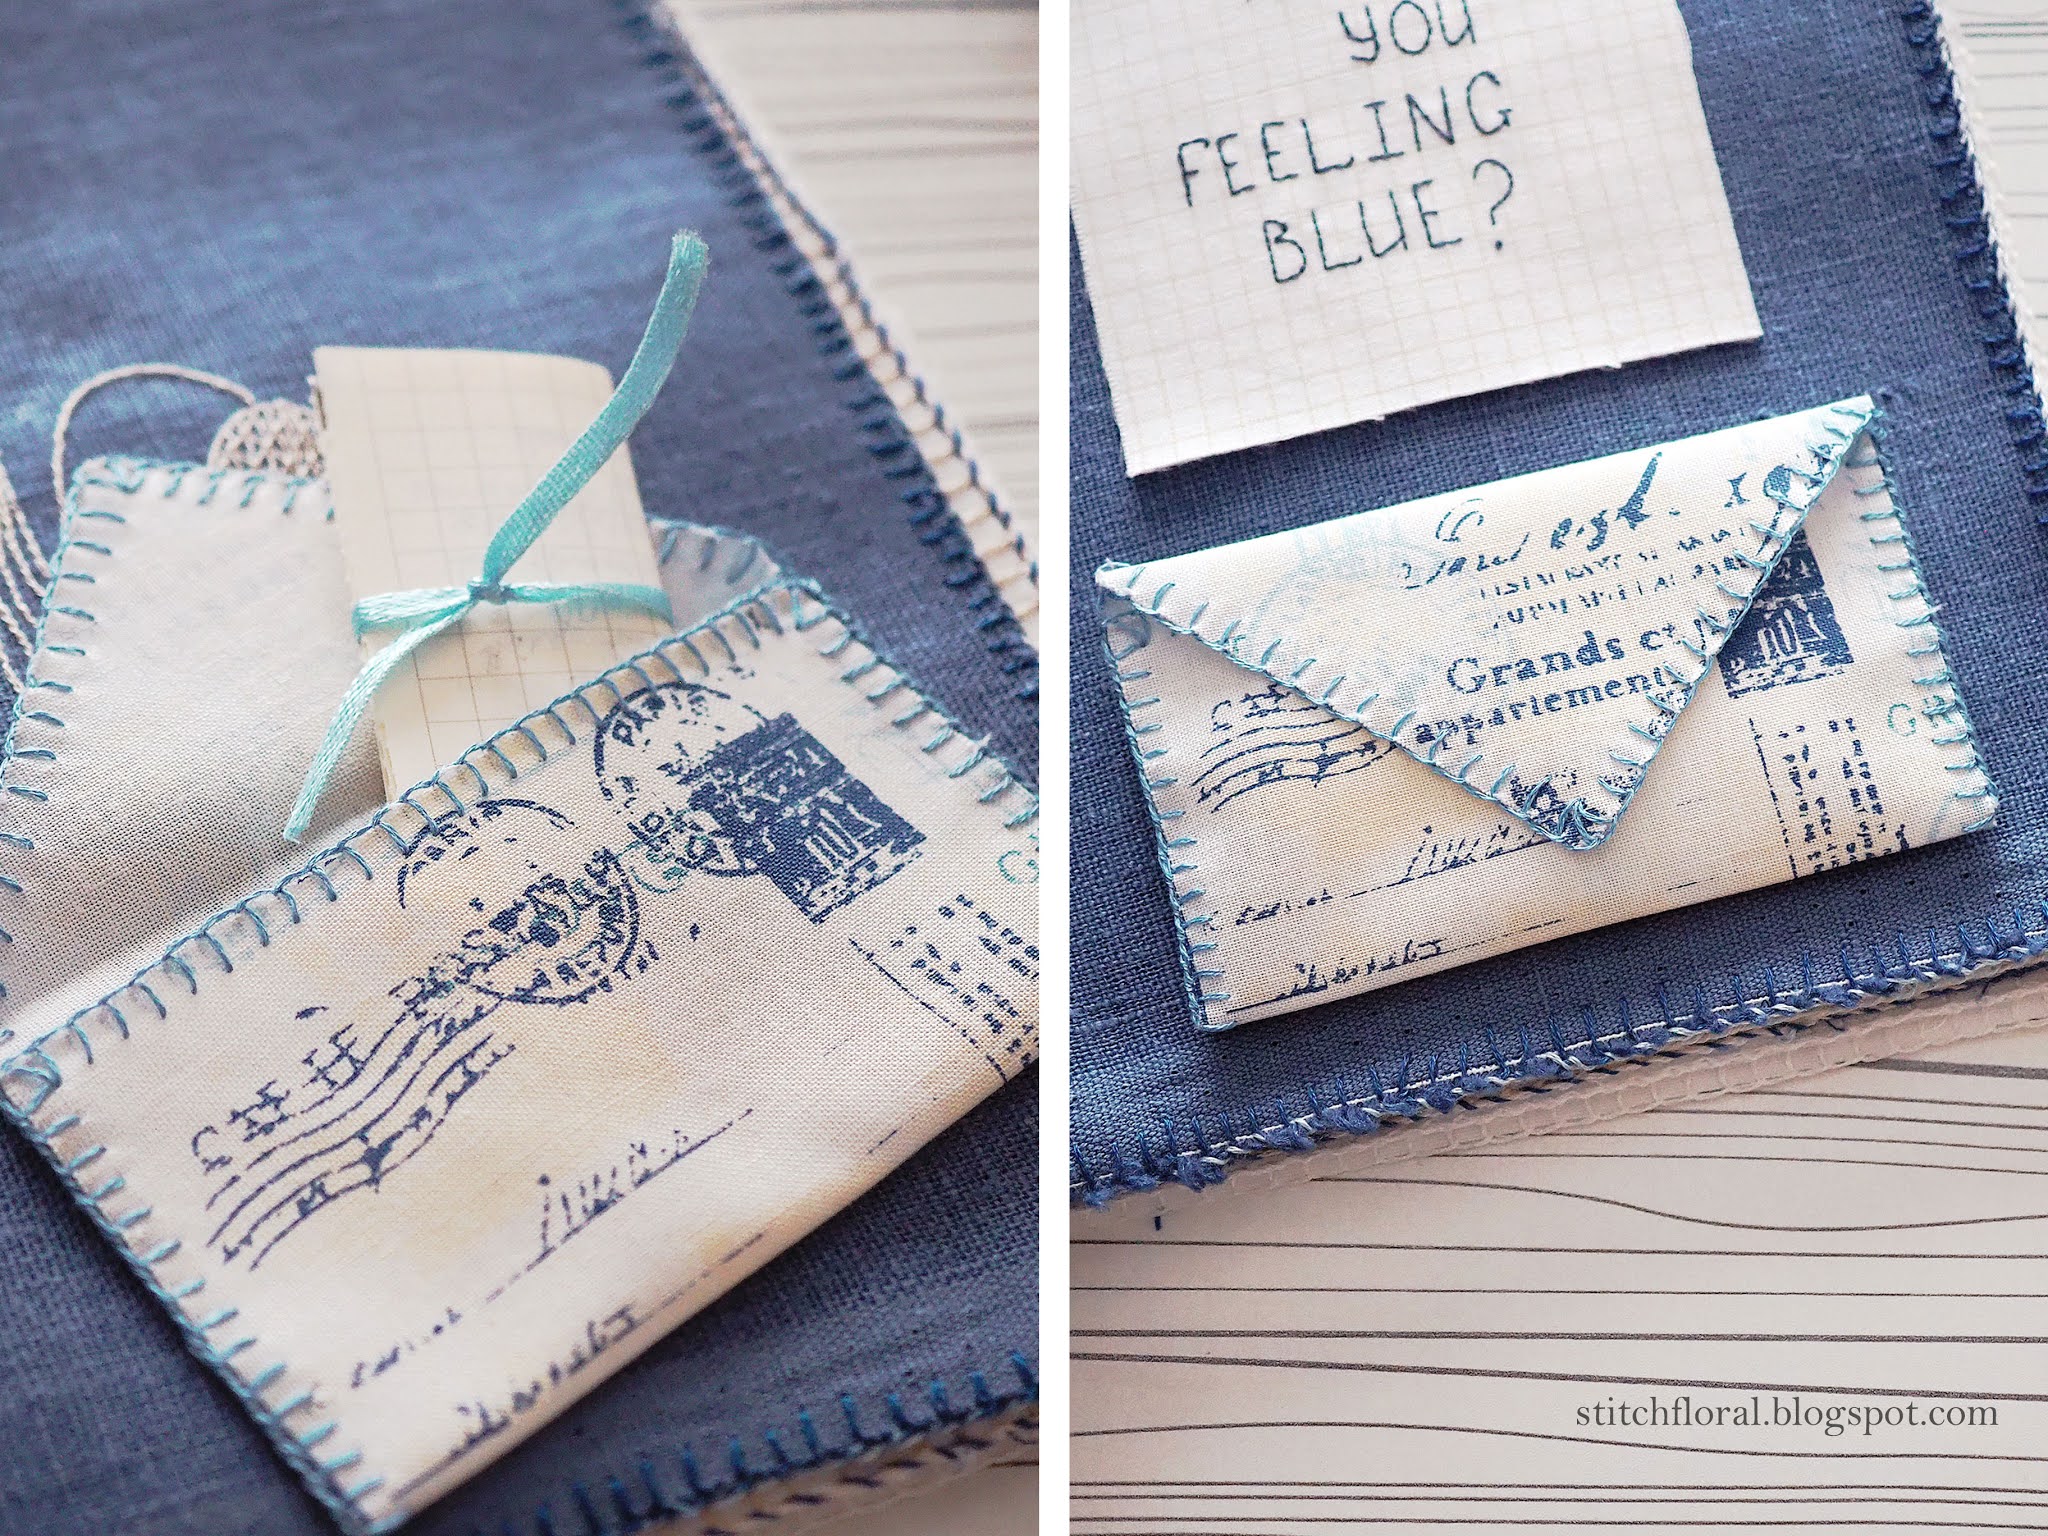
Then, let's prepare a fabric envelope to hide our letters and place these time capsules in our journals. Just don't open it until much much later!
You can put there a hand written personal message right now, and closer to the end of the year we can do sort of an exercise where we conclude the year 2020 and set goals for the year 2021 Inshallah, and we can add it to the envelope :)
This fabric envelope tutorial is EXTREMELY easy, by the way. And if you know how to make embroidery journals, you've got everything covered.
DIY Fabric Envelope:
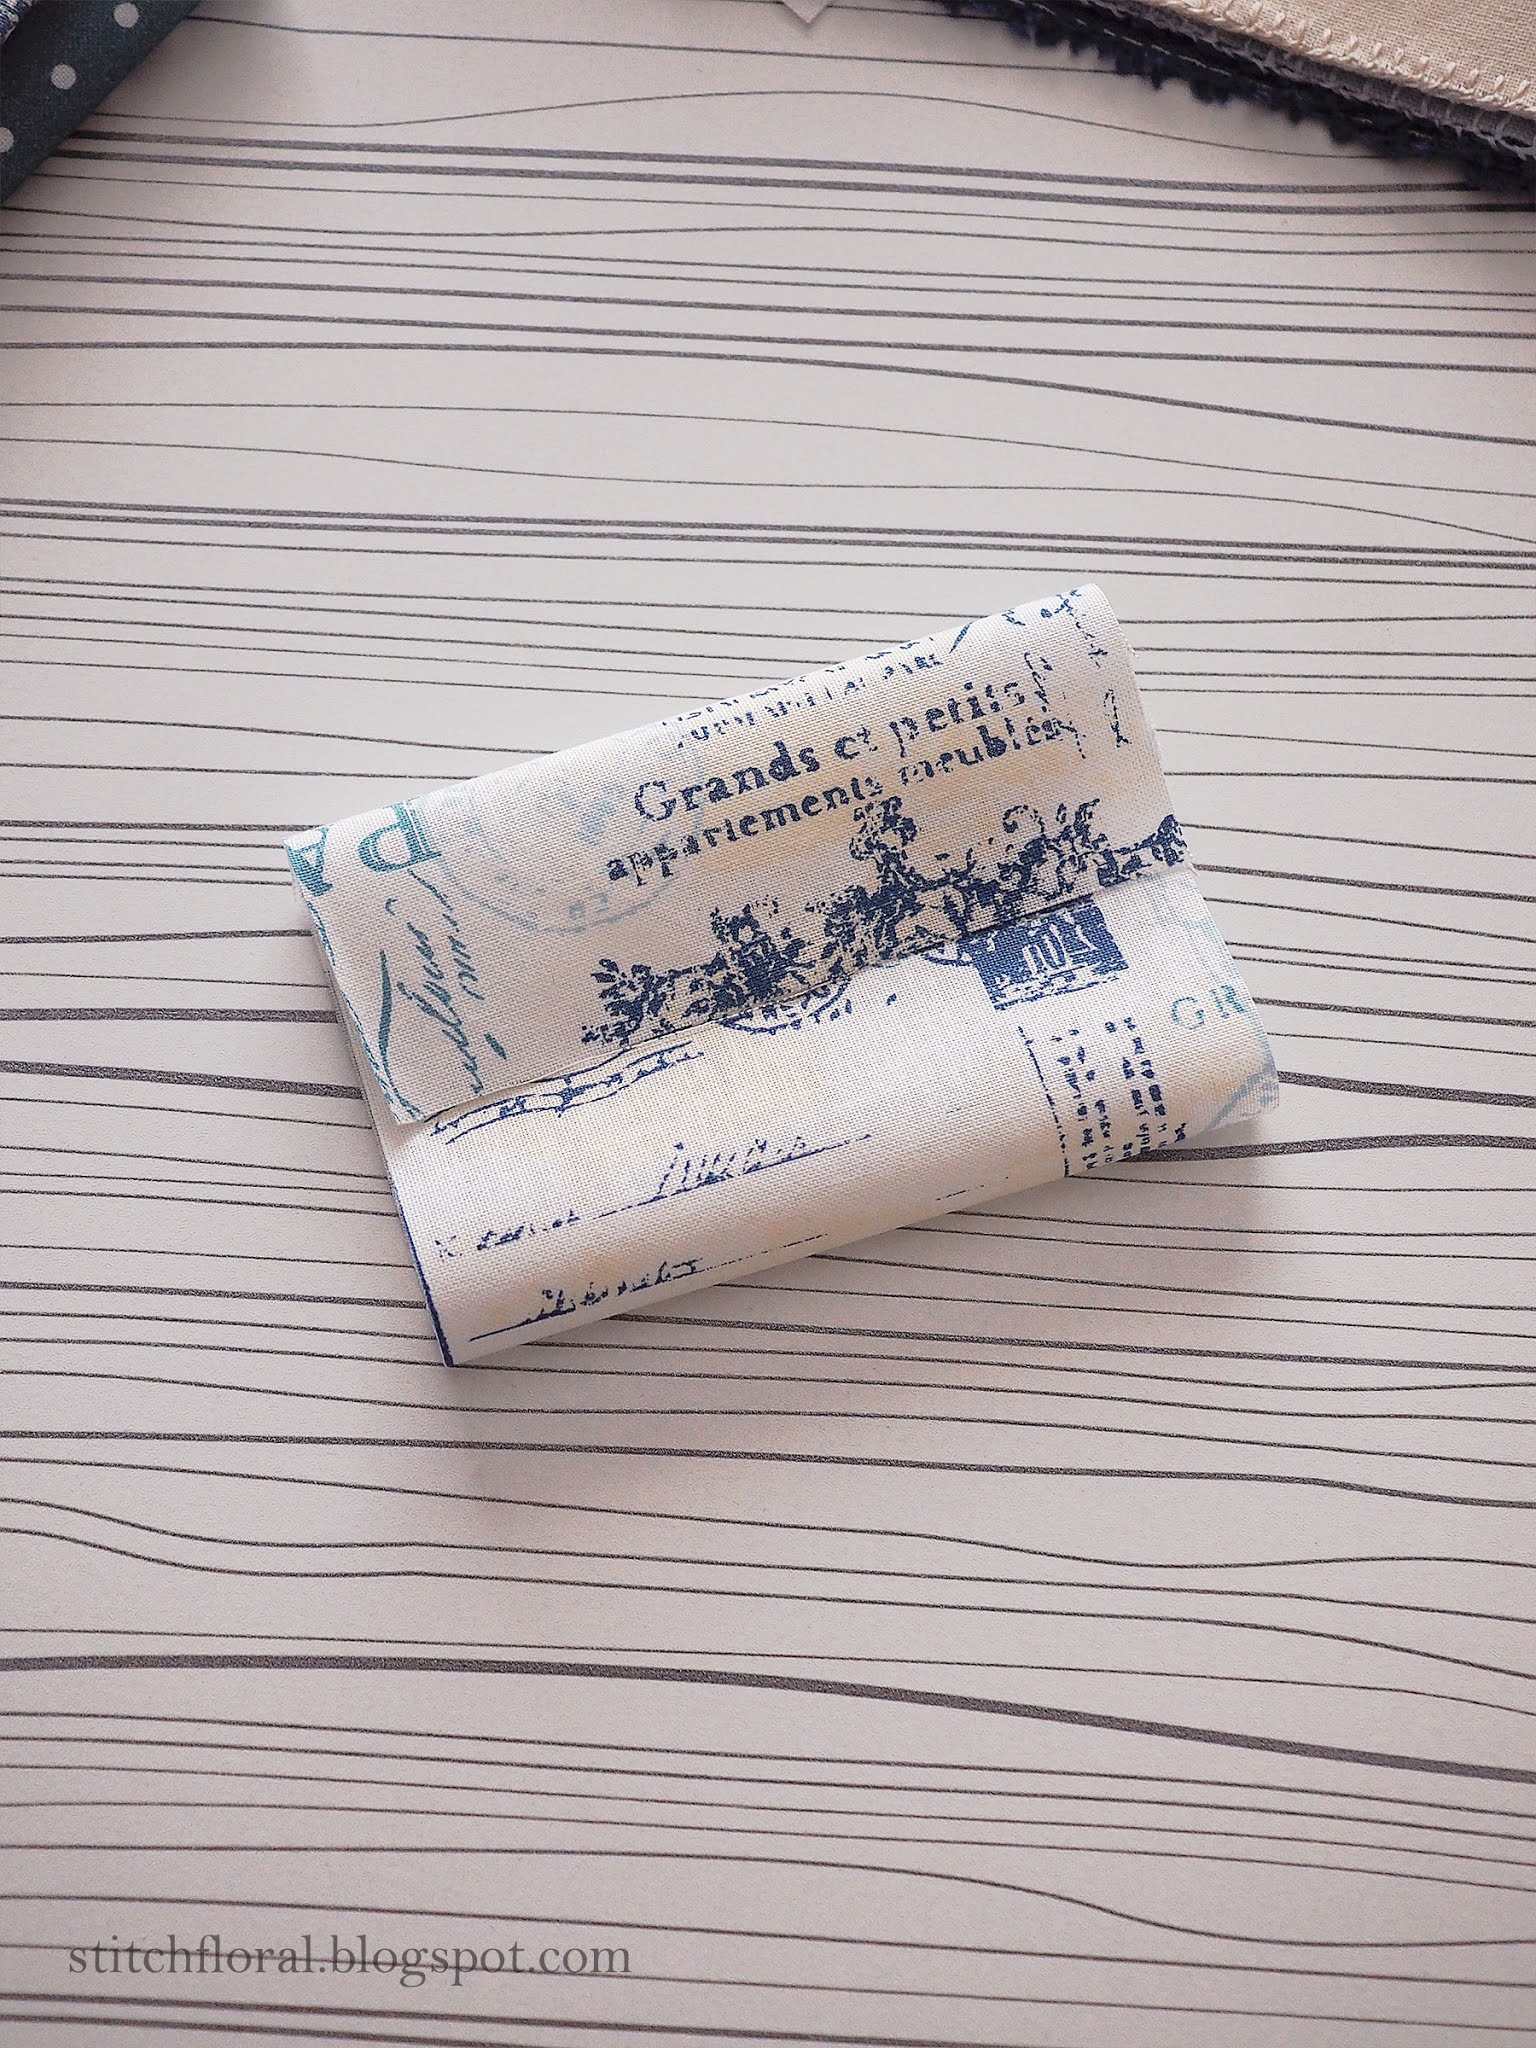
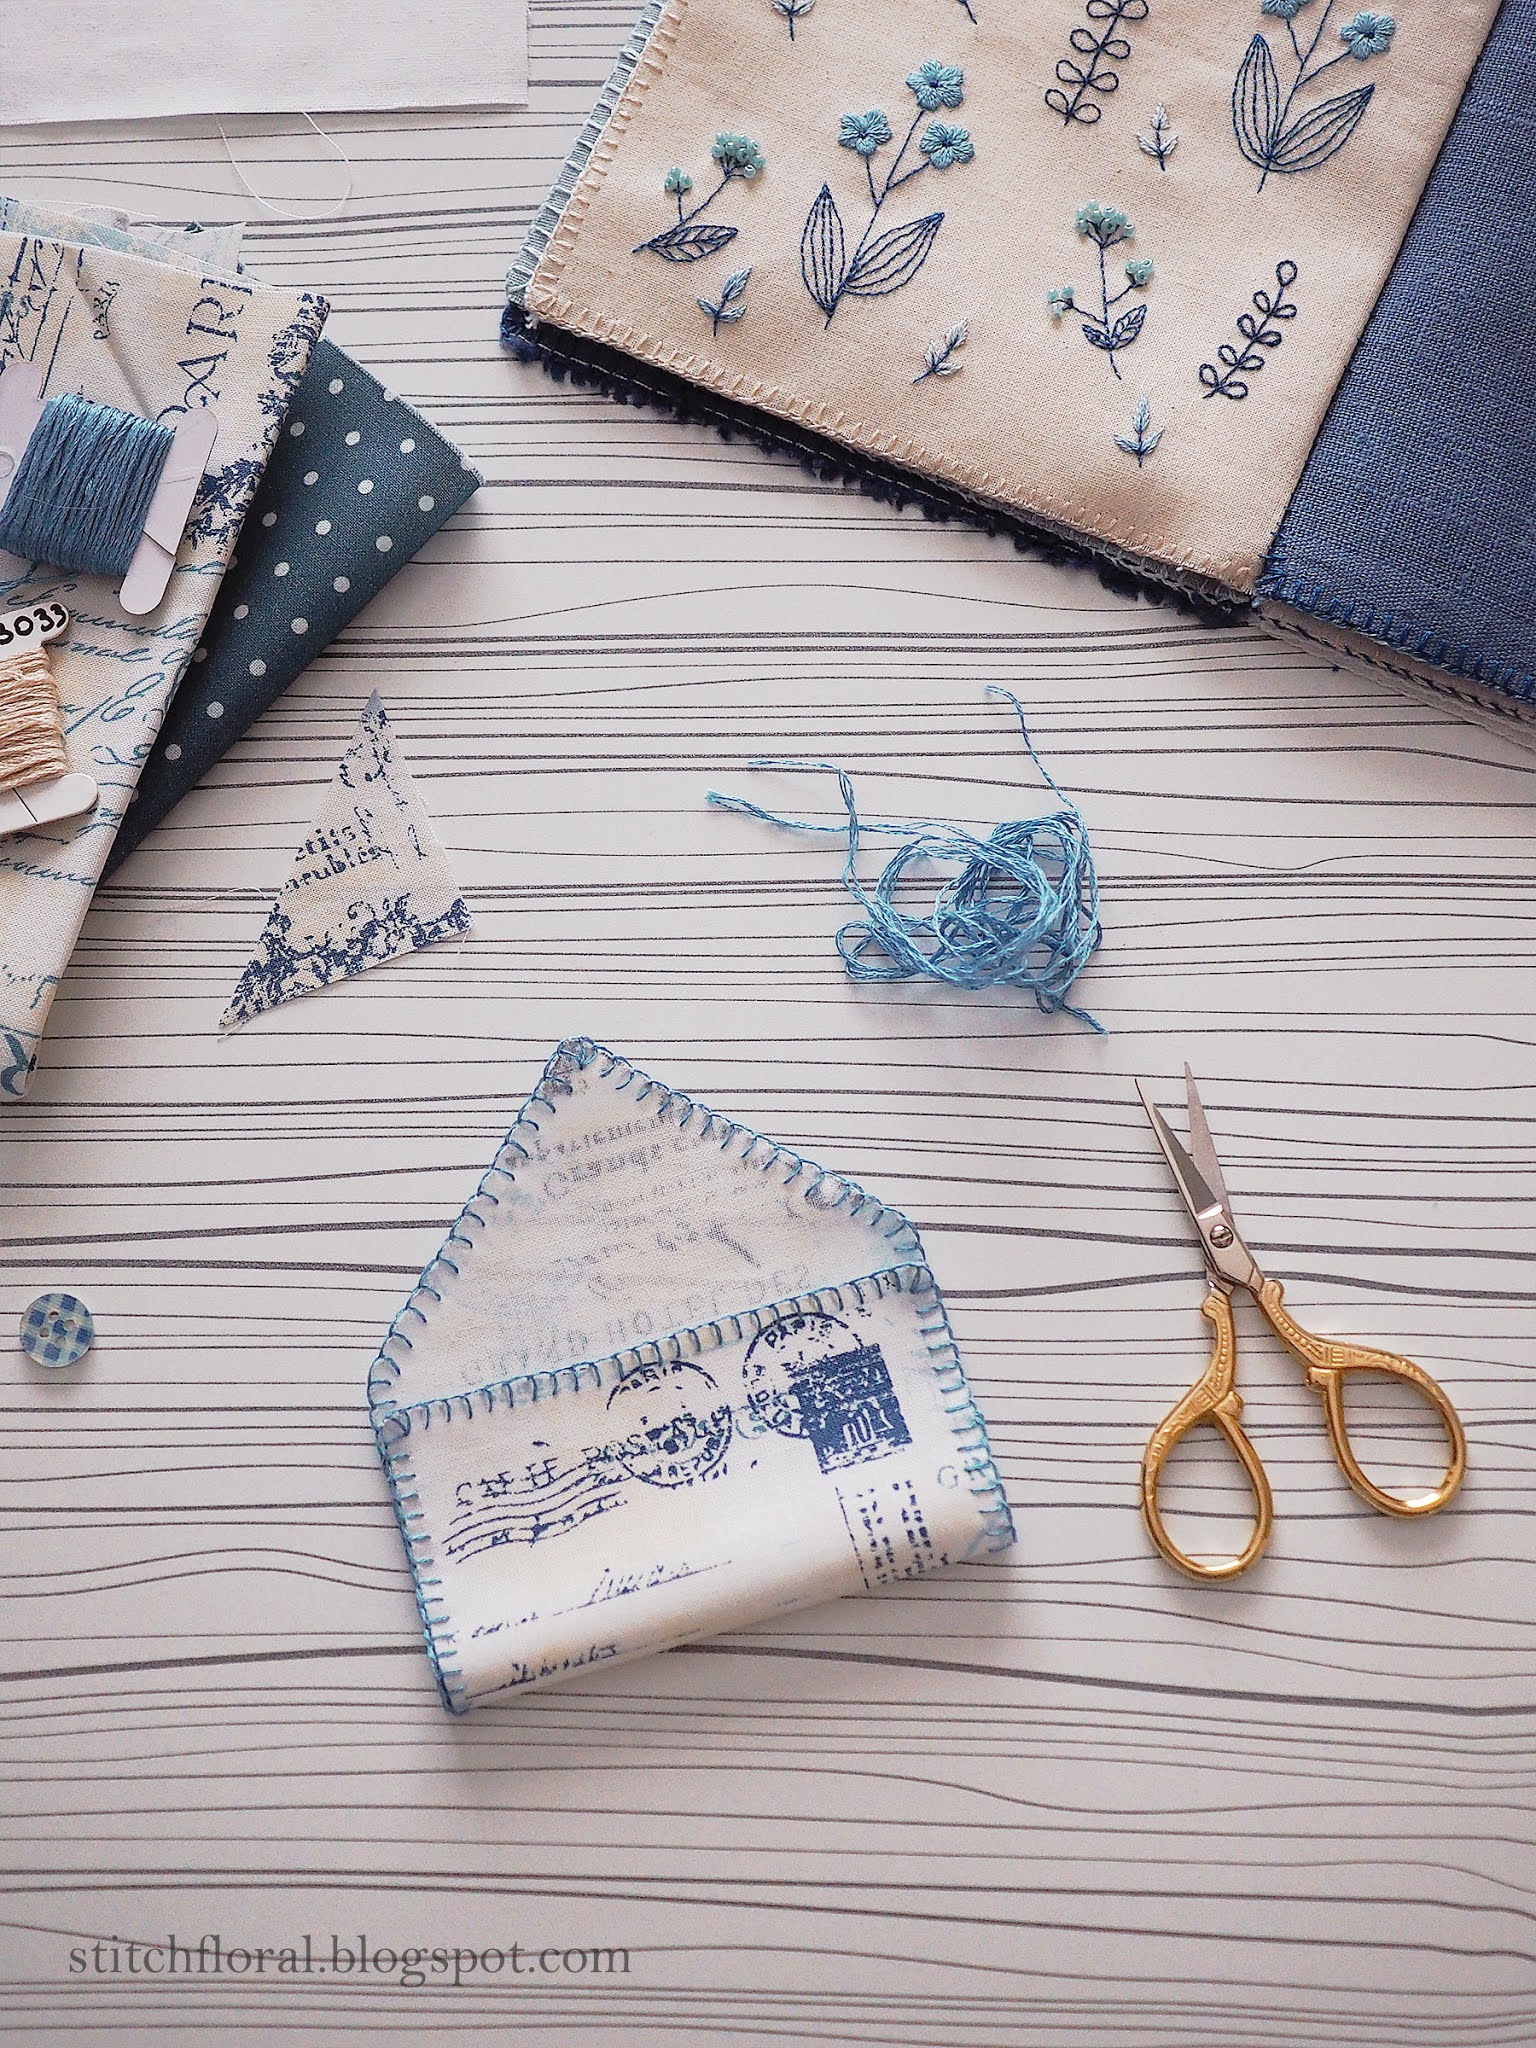
First of all, let's prepare our fabric. I found a really cute piece of printed cotton which already had some post stampings and vintage illustrations and phrases on it, so I thought this was the perfect fit for this kind of DIY!
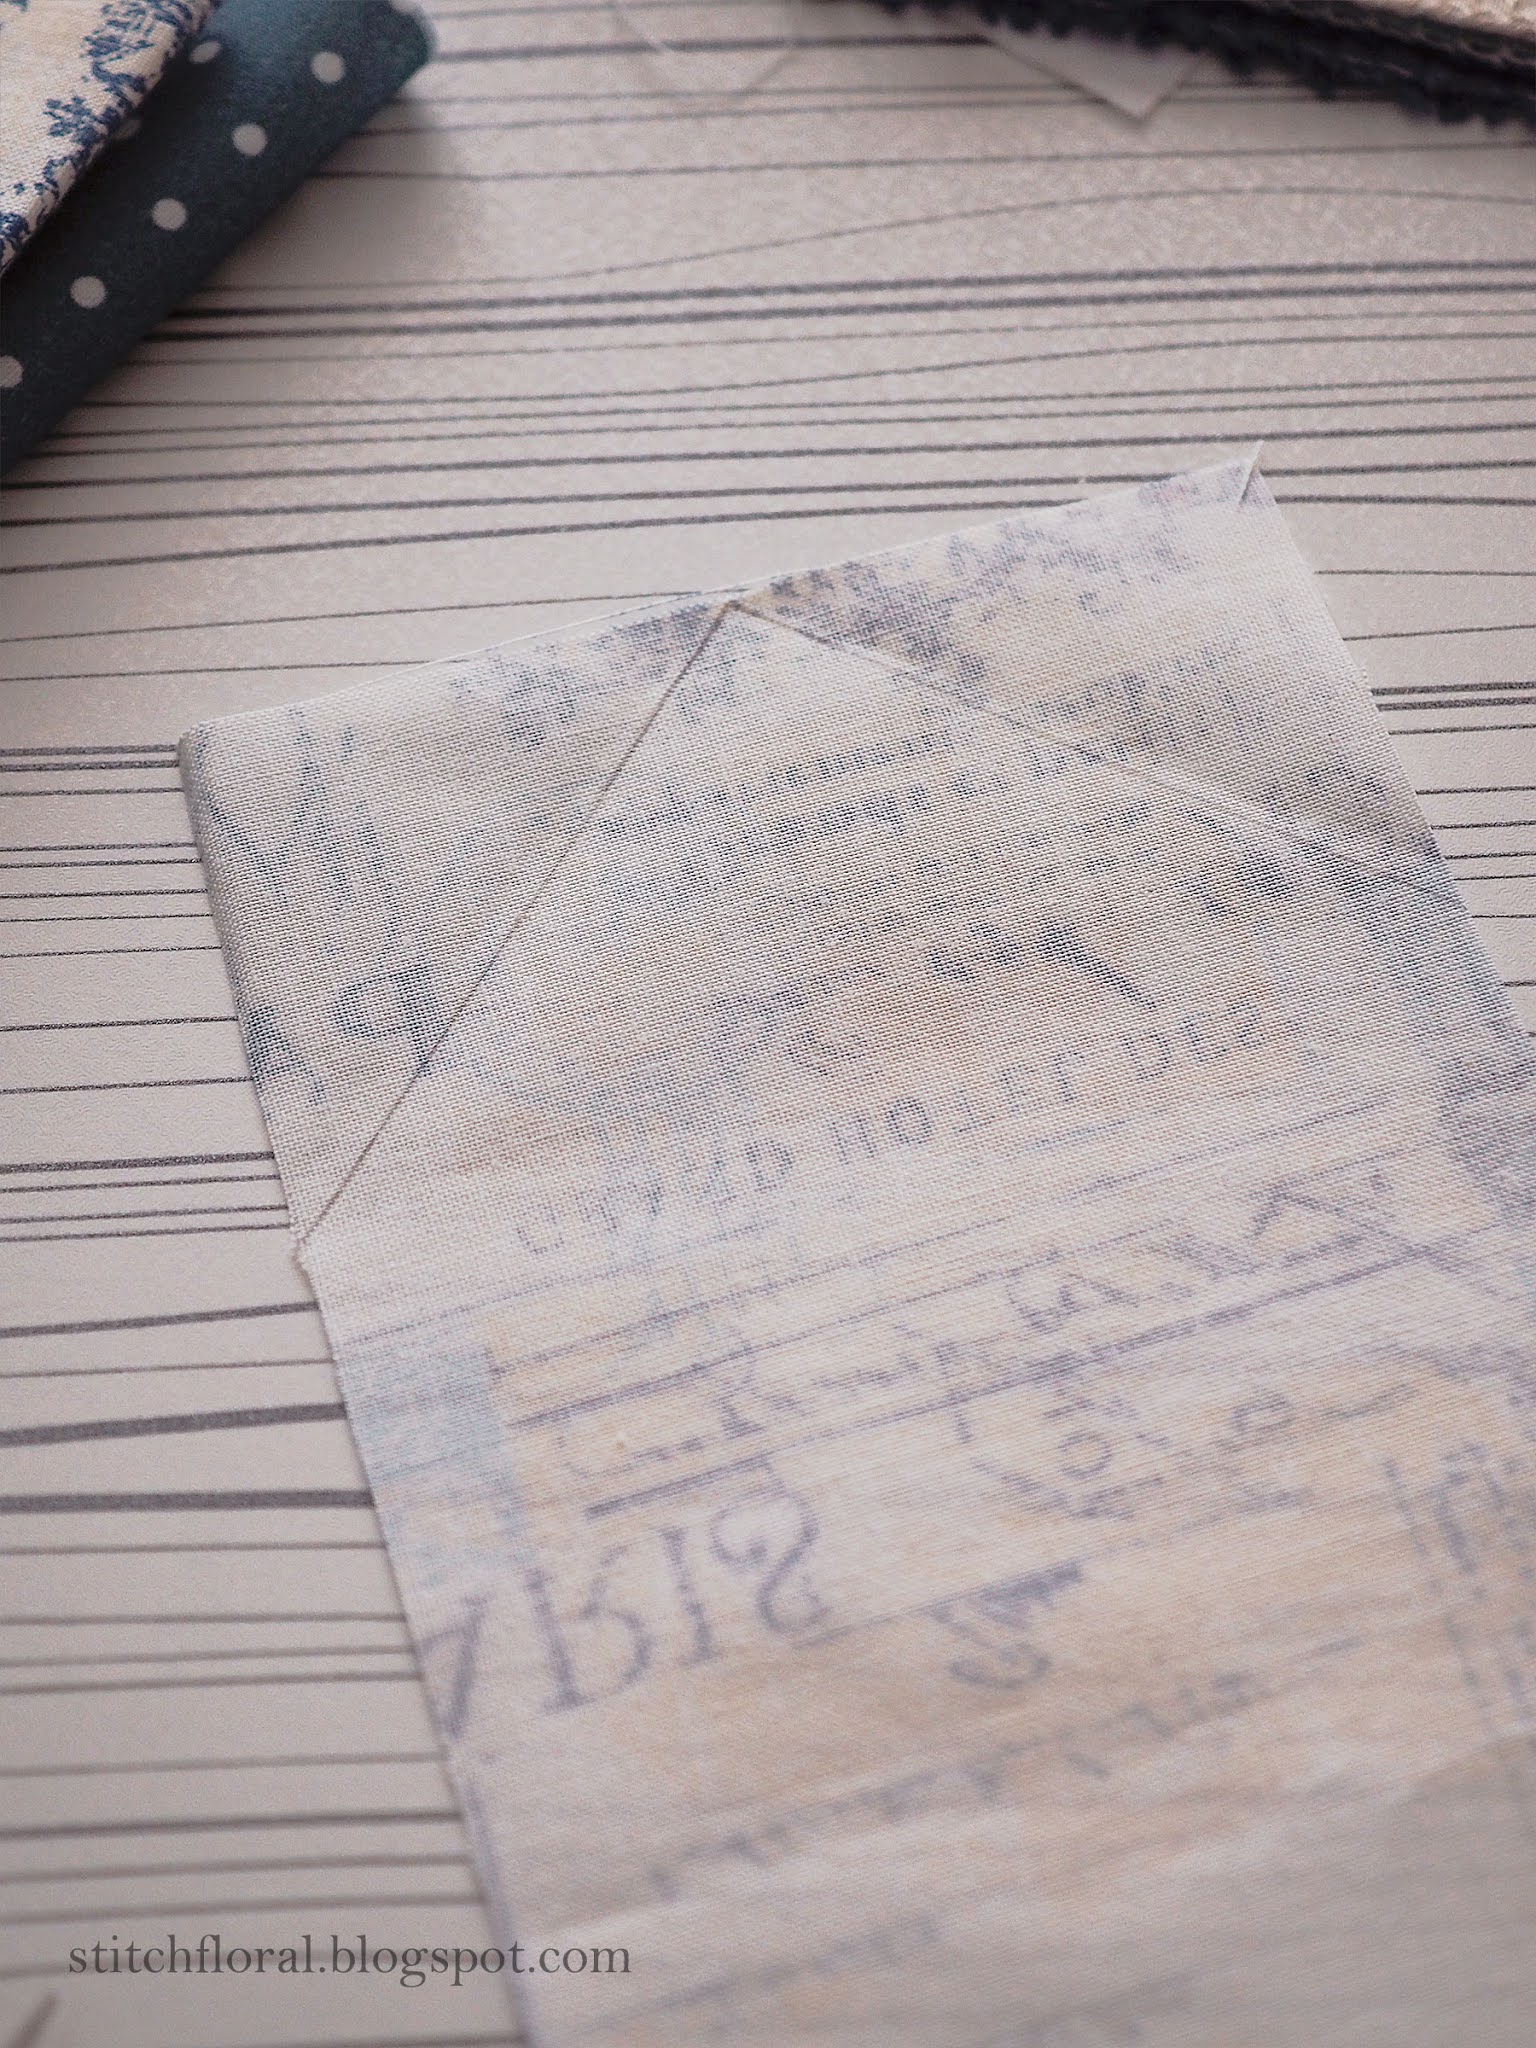
If you look at the lettering in the picture above, you will notice that the fabric is lying upside down. That's for a reason!
When you turn it over and start folding, the two ends will meet upright. So if your fabric has a pattern with distinct up and down, pay close attention to this step!
Now, you can decide what size you want to make your envelope. I tested the size on paper, cutting out various shapes.
When you settle down with the height and width, the easy formula to cutting fabric is to take the height of your desired complete envelope, multiply to three. Then extract a bit of height from the third part (if you want the upper folding to not touch the bottom of the envelope). Find the center and cut along diagonal lines from the corners* of the second part to the center top.
* You may notice I made my base artificially longer by starting diagonal lines above the actual corners and making the fold in the middle of that distance. If you look at the complete envelope, you will see that there is a bit of space between the upper folding part and the bottom. I found it more convenient, but you may totally adjust that to your liking! I strongly recommend to test your idea on paper first, though. That will save you a lot of nerves.
I also don't mention the width because you may choose the one you like. It will not affect anything, you will only care about it when you need to find the center.
After cutting the shape out, fold it to make sure everything is correct, and if you're satisfied, let's go further!
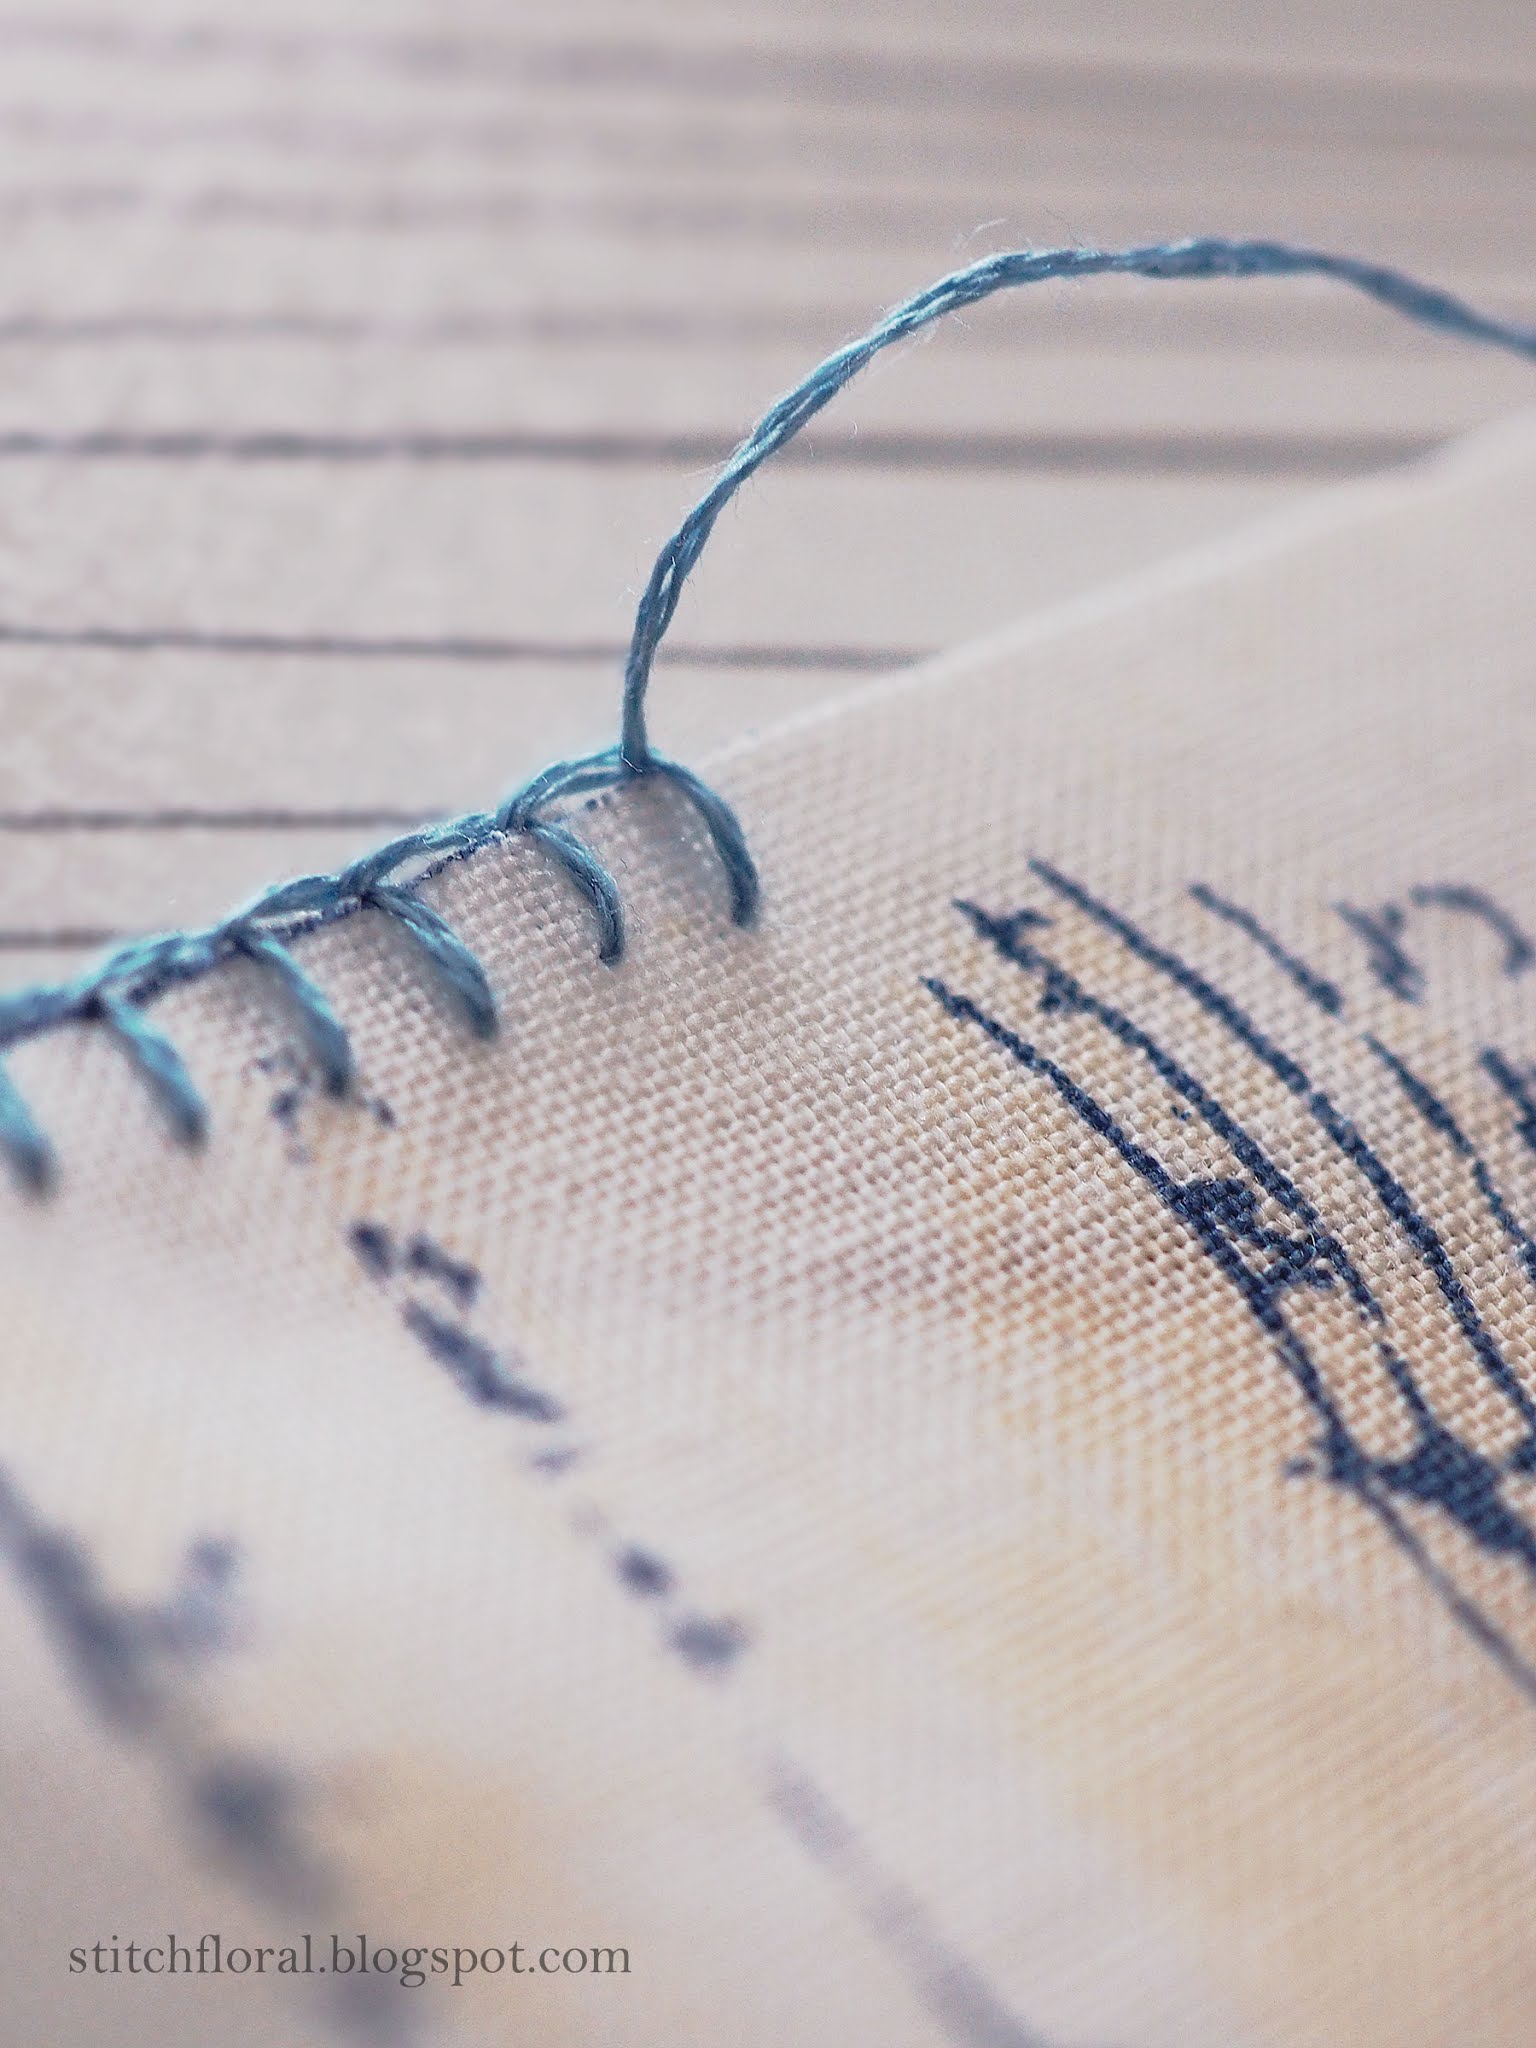
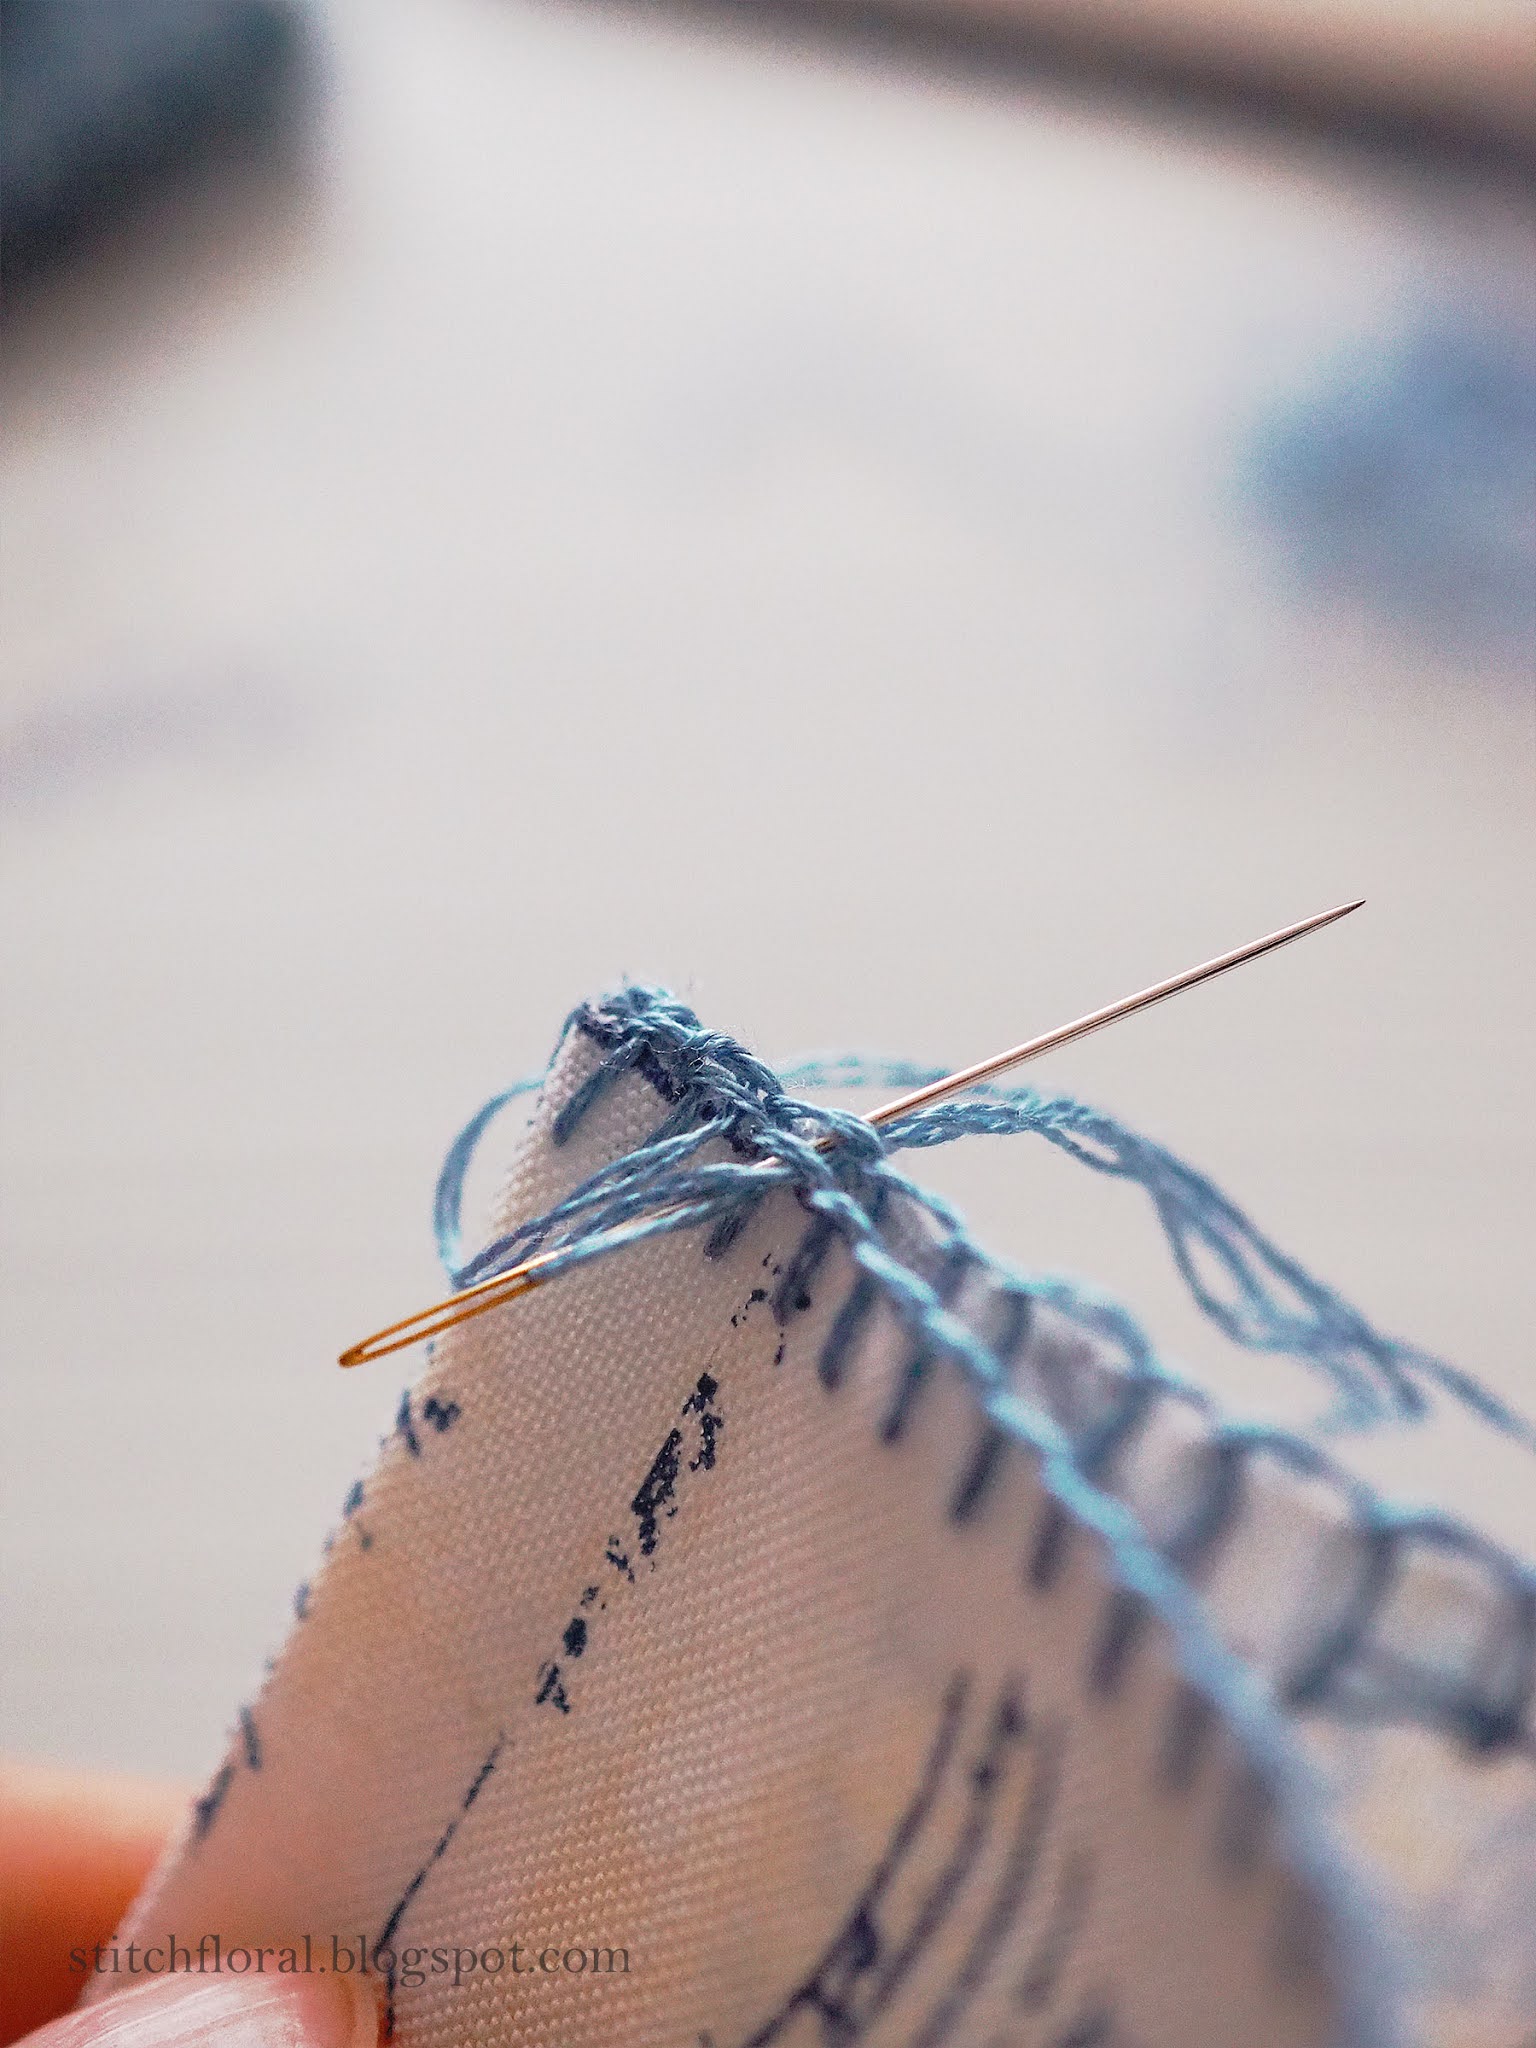
Now we need to edge all of the sides with buttonhole stitch. Important! Remember that your upper fold will be visible from the backside when you open the envelope. So it is better to start and end your thread somewhere “downstairs” in the area which will be hidden in the “pocket” of the second and third parts.
After that, fold your envelope the way you like, and whip the edging to connect the sides together. If necessary, pin the two sides together so they don't move.
Voila! Iron it carefully, and your envelope is ready. Now you can stitch it down to a page using the invisible stitch.
I haven't decided yet whether I want to attach my envelope to any of already existing pages of the Blue Journal, or if I want to make a separate page for it. So I can't really show the process of basting it to the fabric, but if you want, I will take pictures when I get down to it, and post as a tutorial as well InshAllah.
Would you like to have a time capsule like that in your embroidery journal? :)








what a great idea! I would love to do this. But I have additional ideas regarding that. Why not make up something similar for someone we love (a parent, a sibling, a son or daughter, a friend) writing in personal notes throughout the year just for them. I am really liking this idea.
ReplyDeleteOoh, this is a wonderful idea too! You know, we could also make only 1 spread + cover and make it basically into a textile greeting card. Add some embelishments inside, an envelope like this, with sincere messages, and give it as a present. Also, for more messages, maybe a journal with many hidden and obvious pockets and envelopes so the other person has to find all of the messages, haha :D
DeleteEven more great ideas! I love it!
DeleteI like this idea a lot and think its wonderful how you have already got your readers planning what they will do with their envelopes! Stay safe, Ann.
ReplyDeleteThank you, Ann! ❤
DeleteI love your posts Amina!
ReplyDeleteThank you, Heloisa! ❤
DeleteIt is the kind of information I have been trying to find. Thank you for writing this information. It has proved utmost beneficial for me. souliton dyed upholstery fabric
ReplyDeleteThis comment has been removed by the author.
ReplyDeleteThanks for sharing nice blog with us. PrintMagic Also Avail Design Services for your Envelope Printing and by adding this service to the above calculator. Send us your required specifications and we’ll create the envelope printing design from scratch, completely unique, and by matching your needs and for brand messaging. Once you approve the final design, we will get them invitation envelopes printed and delivered to your doorstep!
ReplyDelete