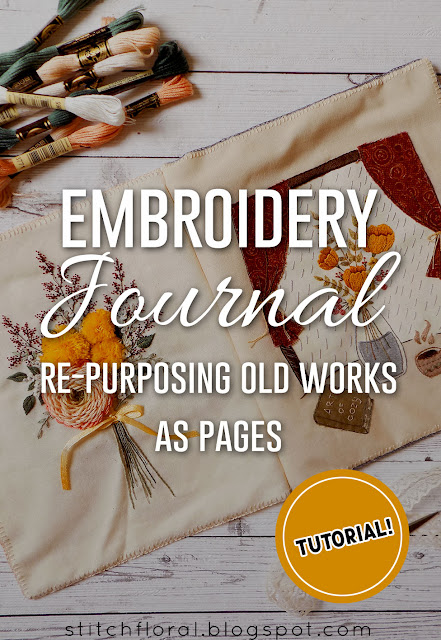
If you don't know what to
stitch and don't want to start anything big, do some small stitching
and turn it into a journal :) A tutorial inside!
*Do you remember the embroidery art journal that I've made recently? It's getting a
sibling! :)*
I'm currently going
through a little creative... confusion. It wouldn't be correct to
call it a “block” because, in fact, the problem is that I have
far too many ideas for projects, patterns, courses outlined in my
notebook and I just don't know what to do and what to prioritize :D
So let's call it
confusion.
Related:
But since I don't want to
sit and be completely unproductive, I decided to start with a new
embroidery journal! And it's hard to express just how much I'm
excited with it :D
Actually, in current
circumstances, I suggest you try and do something like that too!
Nowadays, many of us are
limited in resources, materials, and instruments. It may be difficult
to source and prepare everything for a big and serious project.
Besides, starting a big project in uncertain times can be a little
nerve-wracking in itself (I feel like this is exactly the reason for
my confusion... don't feel like starting anything significant and
weighty right now).
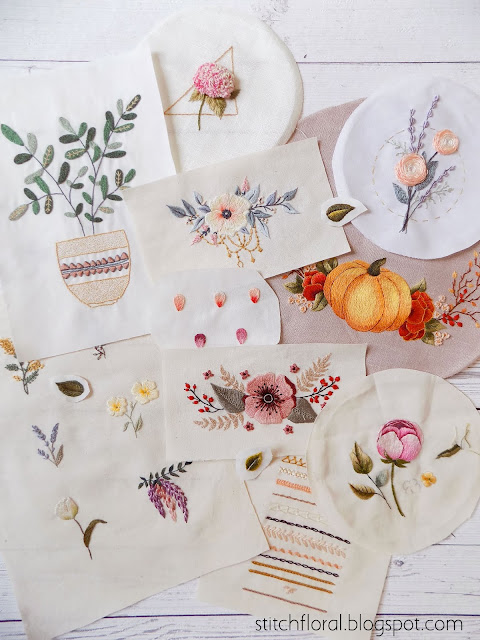
So why not dig into
your stash and try and use all the materials, thread, ribbons,
fabrics that you have stored at home but never found a way to use
them? Why not take your old works and make pages for a little cozy
book? :)
I feel like that's going
to be my coping mechanism in the next several weeks and I invite you
to join me if you need some lighthearted creative outlet.
My New Journal
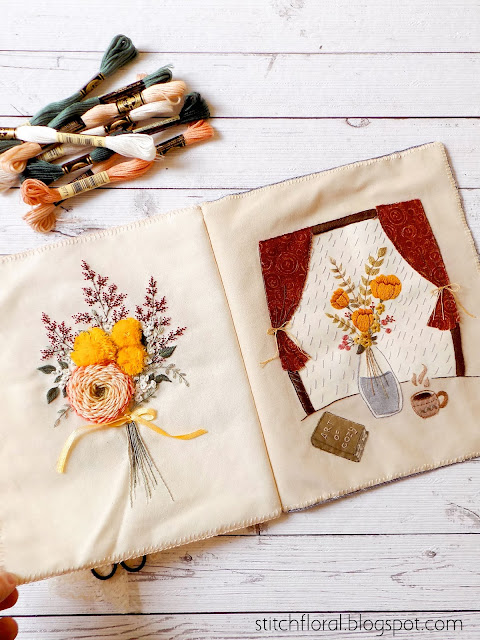
Well, these are just two
pages!
And they will probably be
somewhere in the middle, I don't feel like putting them at the very
start.
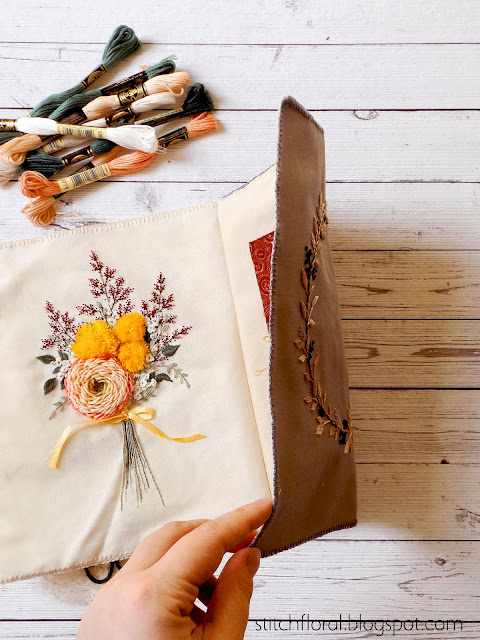
Last time, I
prepared all the pages first, and only then I “bound” them all
together in a journal. But this time, I want to make pages and join
them together little by little, and only when I feel satisfied with
the size of the book, to make the cover.
By the way, you can find
some of the works from the pages in my creations tag.
The size of the new
journal is bigger than the first one because I had to adjust it to
the old works that I wanted to incorporate.
And I decided to change
the way I make pages. Last time I stitched them together from the
back and turned inside out. Because of that, they look a little
“inflated” which I don't really like. So, this time I used
buttonhole stitch to work the edges which made the pages flatter.
These two pages are the
easiest because I just needed to cut them the necessary size and work
the edges.
The REAL fun will start
when I will have to find ways of making pages out of smaller works
which will probably call for collages, applique and all that
exciting stuff! Yay!
How To Make A Fabric Page: Tutorial
Yesterday
I took pictures of how I made one of the pages to show you that
there's nothing difficult!
You
only need to know buttonhole stitch.
First of all, you need to
cut the pieces according to the size of your book. When we use
buttonhole, it doesn't change the size of the page so you don't need
to add any extra length.
However, remember that one
of the sides will be used for “spine” so it needs
to have at least 0.5cm available for that.
You can see here that I
already have one of the page's “faces” ready with its edge worked
in buttonhole stitch.
Despite the simplicity of
the stitch, it is still quite effective in preventing fraying. This
is quilting cotton so it doesn't fray that much and I could make my
buttonhole spacious. But if you take a fabric that is very prone to
fraying, it is better to make your buttonhole stitching dense or use fusible interfacing at the back.
Working the edge with buttonhole stitch
So, you take ONE of the
“faces” of the page and work the edge of three sides. The
three sides that will be outside. The one side that will be connected
to the spine will stay raw for now.
You start your thread
(either by a knot or by anchoring stitches like I did) 3-5mm below
the edge.
You insert the needle near
the starting point, all in one horizontal line, and you tuck the
thread under the needle.
After you pull through,
you repeat the previous step: insert the needle next to the previous
point and tuck your thread under the needle.
And keep going like this.
I'm bad at eye-measuring,
so my stitches are jumping a little, don't mind that :)
Now that we have one face
of the page worked, turn it over so that the backside is up. Now take
the other face of the page and put on top, so that the backsides
meet. Look at which 3 sides you need to work now.
Remember to align the two
faces correctly so that when you flip the page, nothing will be
upside down!
So, one side will be
connected to the spine. And the three other sides you will work the
following way (it is a little different):
Each time you insert the
needle in the fabric, slide it under the buttonhole edging on the
other side.
Don't grab any fabric
of the other “face”! It can result in bad fraying. Only slide the
needle under the thread.
And
tuck the thread under the needle, like usual.
This
is how it will look like from the other side. The edging of the
second “face” will be a little more prominent, that's normal.
Joining two pages
When
you have two pages ready, you can join them together. Take their
“spine” sides, baste them together with running stitch and
then work regular buttonhole edging.
Here's
the result.
Expect
more tutorials and reports on the new pages that I make! Hope you
find some inspiration to start yours too :)
Take
care and stay home!


No comments
Write what you think! ❤
Note: Only a member of this blog may post a comment.