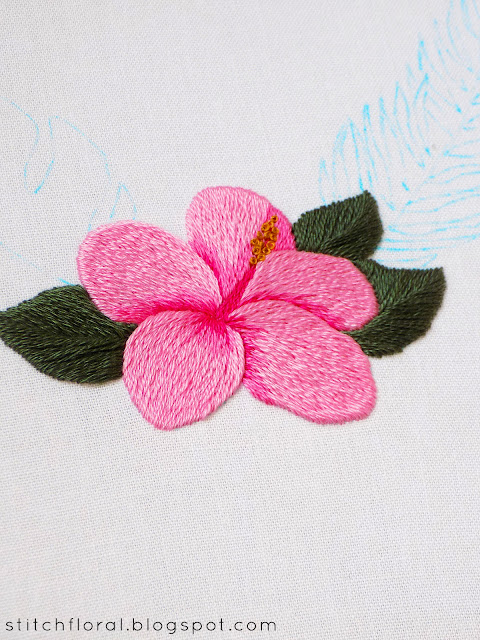
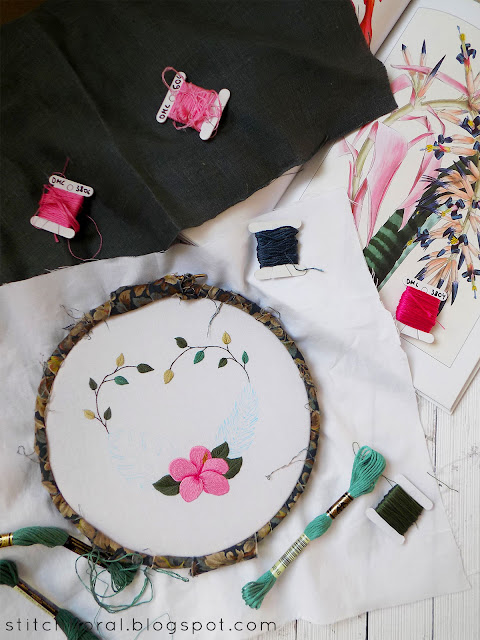
The new instructions have
arrived, are you ready?
Like I said before, this
part is quite easy and shouldn't take you a long time. So if you
haven't finished the flower yet, you will have all the time to catch
up! :)
*You can now download instructions in PDF, I included it in the first part as well*
*You can now download instructions in PDF, I included it in the first part as well*
And before we start, here
are some mid-results from Instagram:
Joy Saams
Let's applaud these brave
souls who shared their results with us! Great job, guys.
Also, using this
opportunity, I want to remind you that it's totally okay to adapt the
design to your taste and use other colors. Since majority of us are
on lockdown, it might be difficult to source exactly the thread that
I listed. Try searching in your stash if there are any alternatives
and you can grow your own, unique hibiscus :)
By the way, I know that
there are many more of you working the project. Yes yes, I'm looking
at you! Don't be shy to share your results, we all do our best here
:)
You can send your pictures
to aminakdesigns[@]hotmail.com, or post them on Instagram with
#hibiscuschallenge and tag me @stitch_floral.
Where to find the
pattern:
- If you're not subscribed, you can sign up. In the first Welcome message, you will receive information about Resource Library and a password to access it. The pattern is stored there now, it is free.
- If you're already subscribed, go straight to the Resource Library, you will find the pattern there.
Instructions will stay on
this blog, they will not be deleted. So you can start the project
whenever you want!
Today's stitches are:
The colors we will be
using today: E, F, G, J
Hibiscus Leaves
1. Outline each leaf with Split Back Stitch, using 1 strand of
thread color F (you can use 2 strands of you want).
Make
a straight stitch from the tip of the leaf down to the central vein,
using the same color. I'm using 2 strands of thread here, it makes
stitching it a little quicker. If you want you can use 1 strand of
thread and your leaves will look more delicate.
2. Next, work the leaf using Fishbone Stitch. For that, make a
stitch on one side of the first straight stitch and cross the central
vein. Then, make another stitch on the other side and cross the
central vein again.
3. With each next stitch, cross the central line. It's important to
avoid any empty space in the middle.
4. At
some point, you will likely reach the bottom of the central vein
while the sides will still be incomplete. Then you can work parallel
stitches to fill these empty spaces.
Here's
how the finished leaf will look like.
And
then, work the other two leaves the same way.
Now
let's work the branches!
5. Work the branches with color E, using 1 strand of thread and
Split Back stitch.
6. Then work all the leaves the same way as before: outline with Split
Back stitch and fill with Fishbone Stitch using colors F, G, J.
7. Because these leaves are smaller, I preferred using 1 strand of
thread when filling them.
You
can follow my example in choosing colors for each of the leaves, or
you can use them in whichever order you like.
Aaaand
that's all!
You
see, it's not much :) This part should serve as a little break for
you between parts 1 and 3, which are more demanding in time and
effort.


This is beautiful😢😍
ReplyDelete