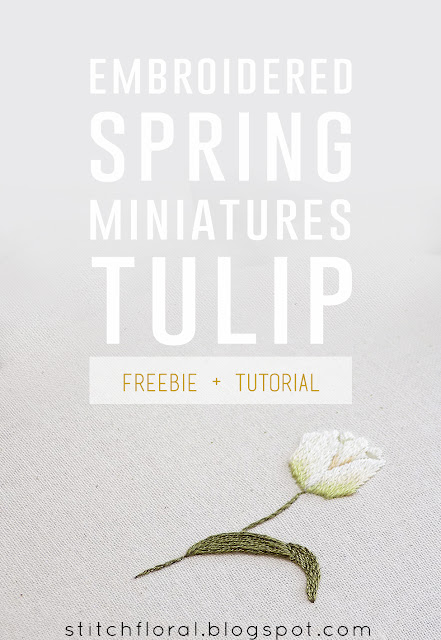
It's been a rather long break this week from stitching the spring miniatures, but the series is back! Let's finish them this weekend? What do you think about that? Let's give it a try! Here's the Tulip tutorial.
This is our fifth Spring miniature already! Here's the full list for this project:
- Tulip
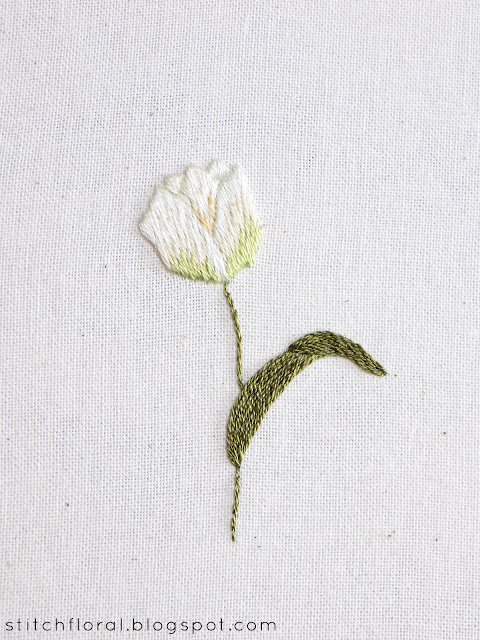
The tulip is a bit more complicated than the other plants, probably on par with the primrose, as it also contains long and short stitching. It is still possible to complete in one go, though, if you are familiar with the technique and have all the thread and other instruments ready. If you are new to long and short stitching, then give yourself a bit more time and space to become comfortable.
I used 3 colors of thread for the color blending in this flower: very light yellow (bordering white actually), pale chiffon and lime green. Also a golden yellow shade of the inner petal.
However, you can pick any other colors you want! You can even stitch the whole tulip in one thread color if you're not into the color blending thing.
Anyway, here's the tutorial! Catch the free pattern download at the end of the post :)
Hand Embroidered Tulip Tutorial
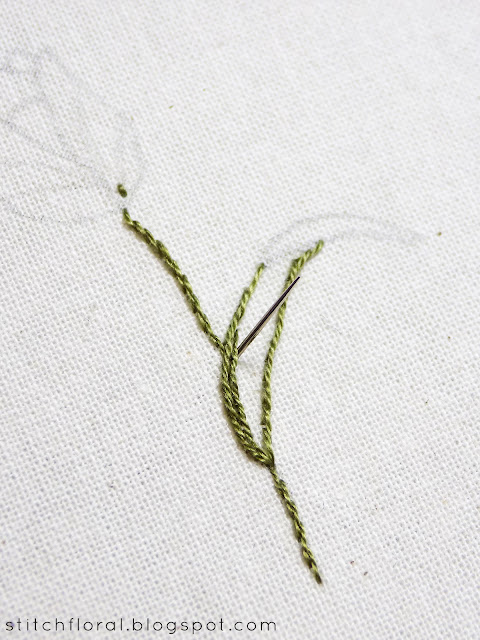
1. I started by working the stem in stem stitch.
2. And used the same stem stitch as a filler for the leaf shape. When you use stem stitch as a filler, just work parallel lines close to each other, until the area is filled completely.
I changed the way I worked the stem stitch in the main part of the leaf and the folded part, that's why they look quite different. Here's the post about 6 faces of stem stitch which can help you understand how to change the appearance of the stitch. As you see in the picture above, in the main part of the leaf everytime the needle came up through the fabric, it was under the previous stitch. However, when I worked the folded part, the needle always appeared above the previous stitch.
3. Next is the flower. First, we make an outlining for the flower. I used split stitch and split back stitch here, 1 strand of floss. The two petals peeking out in the background are worked in satin stitch.
4. The central petal is worked in long and short stitch with the first row of the lighter color and additions of golden yellow along the sides.
5. When working long and short stitch, don't hesitate to make it as easy for you as possible. Mark the direction of stitches with a pencil or erasable marker, mark the areas of each color. Also, the guiding stitches help a lot, I always use them for the first rows in needlepainting.
6. The first row of color is rather long here. Technically, it contains two rows of stitches, you might see the start of the stitches over the previous ones.
7. And then throwing in two more colors.
That's all!
I decided to go for the “fresh” look with lime green base for the flower, but I really wonder now how it would look like if I used pink? Probably so pretty!
Well, I'm not going to make any changes now. More like, I will try adding more pink into the next (and the last) flower – Wisteria. See you then! :)


I have been browsing embroidery blogs for a long time, but this is the first blog I have come across which gives the clearest explanation for long and short stitch. I am a 60 yr old retired teacher and I love embroidery immensely though I cant sew nicely, especially filling techniques. Your blog has given me an opening to practice it on my own. Thanks very much. Hoping to visit again to follow your blog.
ReplyDeleteThank you, your comment made me so happy! Hope you will find this blog as useful in the future. Practice makes perfect, don't give up! :)
Deletewhat colours did you use for your flower? I'm loving the pattern but can't get a nice gradient with my colours!
ReplyDeleteIt's been a long time and I might be mistaking, but I think it is DMC 3865+738 for the middle part, and 3865+739+3013 for the lower part
DeleteI'm new to embroidery and I really love these miniature floral series because I can practice a lot of different stitches on a smaller scale so thank you so much for these!!!
ReplyDeleteThank you, I'm happy you like it! :)
DeleteThank you so much for this! I spent a few days working on this for my mom for her birthday :) I made a bookmark with it and got her a book to go with it. I hope she likes it. This was my third piece.
ReplyDelete