Last time we learned new hand embroidery stitches was way back in June! Time sure flies so fast. Let's practice something new this month and increase our stitch vocabulary with Basket stitch and Vandyke stitch.
Basket and Vandyke stitches are considered braid stitches. They are best for working thick lines and borders (preferably straight ones, although some gentle curves are also possible).
Basket Stitch How To
Basket stitch provides a solid filling to the line when it's worked, almost like satin stitch with no ground fabric peeking out. The difference is in the intersection of slanted stitches along the middle of the line, which might remind you of fishbone stitch.
Let's see how to work it!
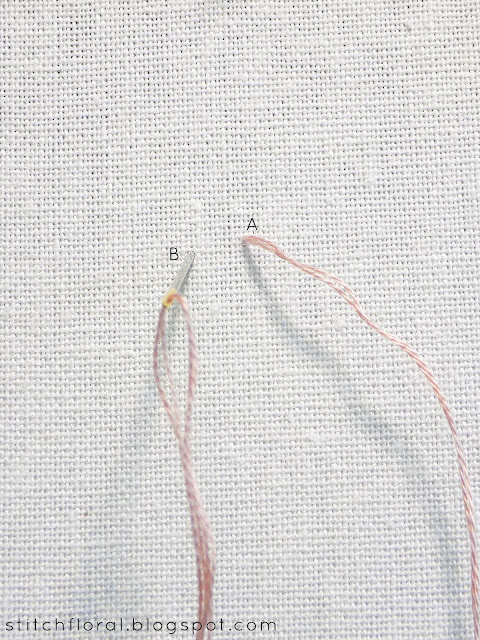
First, we make a stitch from point A, lying on top of one of the sides of the border, to point B, lying on the other side of the border, but a little lower than the top point.
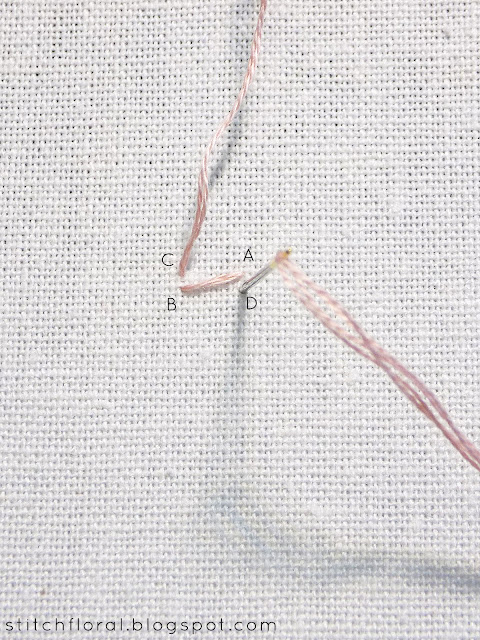
Then we bring the needle up at point C, lying on top, opposite to the point A, and make a stitch to point D, lying under point A opposite to B. Once again, C is opposite to A, D is opposite to B. We get a cross.
Then we start making parallel slanted stitches under the AB and CD ones, taking turns on one side after the other.
Stitches start right under each other, so there is no white space between them and weaving is very close.As a result, they lie on top of one another and the border becomes a little dimensional which, in my mind, always adds extra charm points :)
I worked this stitch using 2 strands of embroidery floss. The process is a little tedious, not going to lie, especially if the border you're going to work is quite long... Yeah, it's going to take a while to finish it, but it surely will look attractive and will be worth the effort.
Vandyke Stitch How To
I wonder which stitch it will remind you of? For me, it is cretan stitch. But only in appearance, because the process of working it is completely different. The resemblance lies in a braid that is formed as the “spine” in the middle.
Like the basket stitch, vandyke is used for working borders and thick lines. Also, it is possible to adapt it for a leaf shape thanks to the tip on the top.
It is not as solid though, so be prepared to the space between the stitches. If you use an evenweaved fabric like linen or cotton you can just skip a hole between the stitches.
Now, to the order of working it!
We make a stitch from point A to the point B, bringing the needle up at point C. The point B and C lie opposite one another, in the center of the line, on top of it. The point A lies on the edge of one of the sides, lower than B and C.
From the point C, we make a stitch to the point D which lies opposite to the point A. Like that we get a cross, wide at the base and narrow at the top.
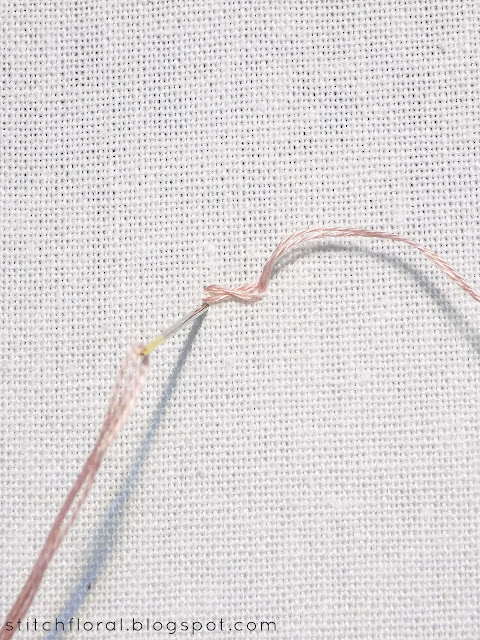
Next step is to bring the needle up to the front of the fabric under the point A (skip a hole to give some space between the stitches) and then slide the needle under the crossing of the first two stitches. You don't need to grab any fabric with your needle in this step. Also, to not snag on the thread you can slide the needle with the eye forward.
After that, complete the stitch by inserting the needle under the D point, under the previous stitch. Don't pull the thread too much, let it loose enough for the braid in the center to form in a pretty way.
Keep repeating the steps while working the vandyke stitch.
So here they are today's heroes!
Which one do you like the most? I must say I don't have a favorite, because I actually prefer a solid filling of the basket stitch more, but I really LOVE the braided spine of vandyke stitch, haha.
See you next time with another braid stitch lesson!


They both are nice design stitches. I haven't done either one yet.
ReplyDelete