Today let's take a look at two more braid stitches!
Meet ladder stitch and loop stitch. Both are braid stitches used for thick lines and borders, just like basket stitch and vandyke stitch we learned the last time. The post contains a lot of pictures because I wanted to make the process of working them as clear as possible, so be aware.
Ladder stitch
This is one fancy ladder with braids on the sides!
Truth be told, for me, the stitch that resembles a real ladder the most is open chain stitch. But this one looks really pretty.
By the way, the name “ladder stitch” is also widely used for the hidden stitch, but they are completely different, so don't confuse them.
Now let's see how to work ladder stitch.
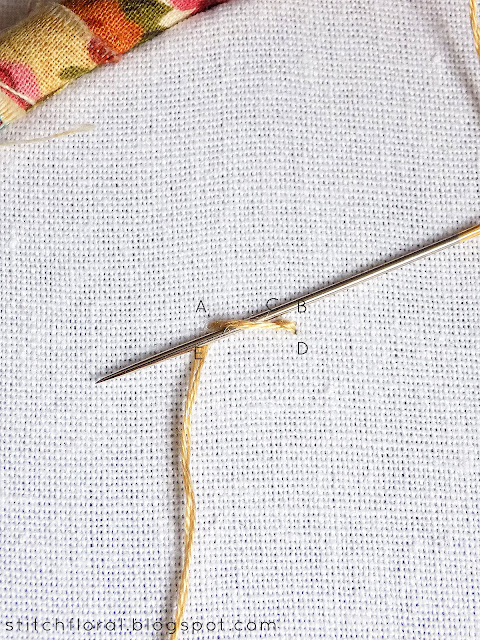
First, we make a horizontal stitch from A to B and bring the needle back to the front of the fabric at point C, which lies beside B.
From the point C, we insert the neede at point D, which is under B at a little distance, and bring it back up at E.
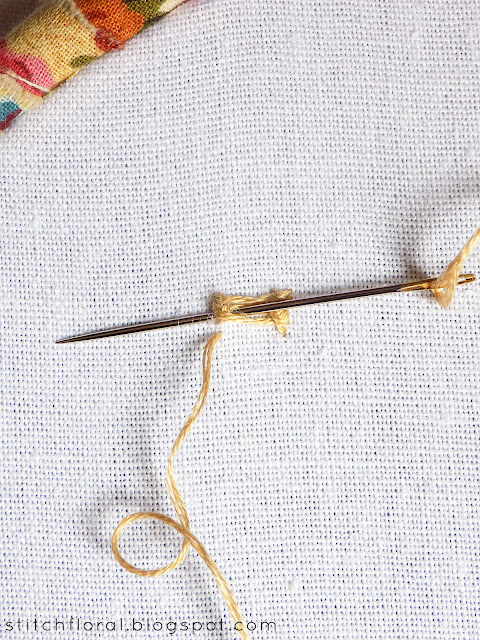
Now slide the needle under the first horizontal stitch from above.
And then slide the needle on the right side under the stitch and under the vertical C-D stitch. Under both! Do it from the right, sliding the needle under without grabbing the fabric.
The previous steps are only for the beginning. They are a little different from the main repetitive process which will start in the next step.
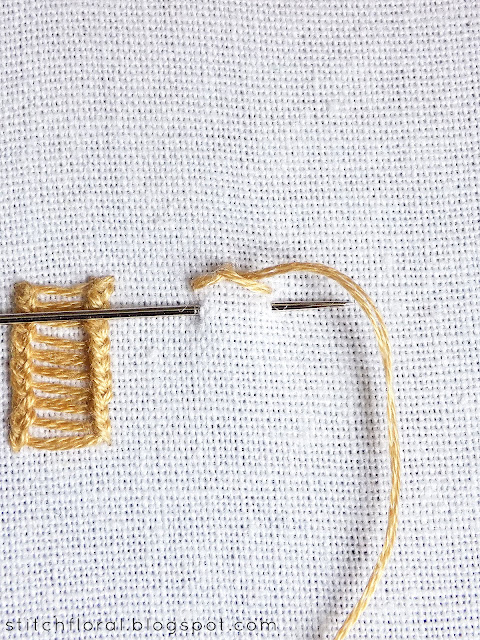
So now that the thread is peeking from under the stitch above, you insert the needle on the right edge and bring it up on the left side. This will result in a vertical (well, quite slanted actually) loop.
After you come up on the left, slide the needle under the horizontal stitch above and the previous vertical loop.
Look here closely, Under them both!
Then go to the right side and slide the needle under the horizontal stitch and the vertical loop again, slide from the right.
Insert the needle on the right side, below the last stitch, and come up on the left again.
Slide under the previous stitch and vertical loop from the right. And repeat repeat repeat.
Here's how it looks when finished. It's really pretty.
It looks complicated but once you try, it's not that hard and then the process just goes mechanically, Just be attentive to where you slide the needle. At least, that's what I struggled with the most when I learned it for the first time.
Loop stitch
Ooh, I love this one!
Reminds of vandyke stitch a little because there is also some space between the stitches and it forms a nice spine along the center. But still looks different, though, and I personally like this one better both in terms of appearance and working process.
Bring the needle up at point A which lies in the top center of the border. Insert the needle on the left side (at point B) and bring it back up on the right side (point C).
Then slide the needle under the previously made A-B stitch from above, tucking the thread under the needle. Don't forget! The needle goes over the free end of the thread.
And so the loop is formed and you can start a new stitch by inserting the needle on the left side and bringing it up on the right side again.
Slide the needle under the left part of the previous stitch from above, tucking the free end of thread under the needle.
If you're working the stitch horizontally (like me), then in this step you can do like this. Slide the needle under the previous stitch directing it upwards. The free end of thread stays on the right of the needle.
After you're done anchor the thread at the bottom center of the border.
Today's stitches are incredibly fine.
I love them both visually, but working the loop stitch is admittedly easier. Ladder stitch, though, is very charming and is worth the effort! Make sure to practice them both and add them to your Stitch Vocabulary! :)


These are beautiful! A little "fuller" and more of an embellishment, especially for something like a crazy quilt.
ReplyDeleteNice idea! :)
Delete