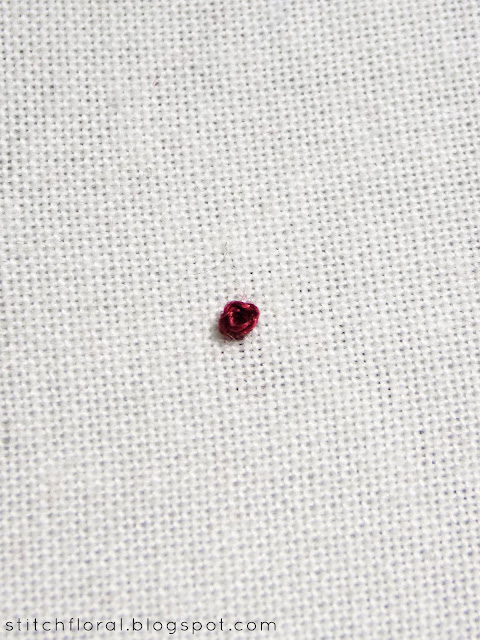
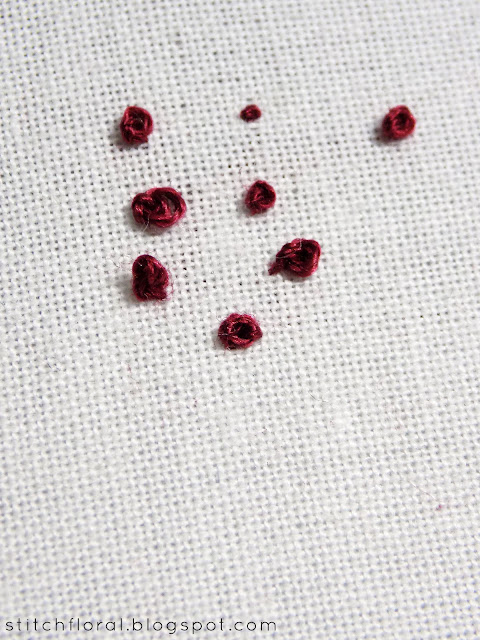
Okay, this turned out to be a whole 3-page essay, but stay with me, because here are some long time-brewing tips and tricks for correct French knots!
French knot is one of the essential stitches in hand embroidery. You can meet it in pretty much any needlework design as it's very common for working dots and textured filling. However, as easy as it seems, I've come across quite a number of complaints saying they just can't get it right.
There are actually possible replacements for French knots: colonial knots and beads. But in my mind, french knots are still way more versatile so it would be beneficial to know how to work them the right way.
And that's why we are here today :)
First of all, if you are new to French knots, here is the lesson on this stitch that I did before. I recommend checking it out and trying to work it before proceeding with the rest of the post. Today we will concentrate on the main factors of success and failure when it comes to French knots, and some extra tips on how to work it easier.
Related: Bullion stitch crash course
French knots tips & tricks
1. Starting without a knot
Let's start from zero. French knots, especially individual ones, can be a bit tricky to start and the most tempting is often to simply use a knot at the end of the thread. Easy and quick. However, if you want to avoid knots on the backside of your embroidery, there are a couple other ways to start your thread when working French knots.
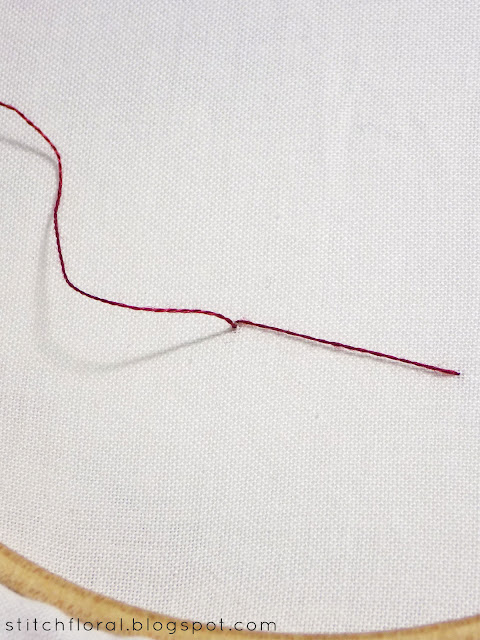
For 2 strands knots: take 1 strand of floss and fold it in half, then thread your needle with the two ends together. Then insert the needle at the point where French knot will be situated.
Pull the needle through but leave the loop on top. Then, come up through the fabric right next to the loop (not in the same hole, but next to it).
Slide your needle through the loop and pull the thread.
Now your thread is well secured...
...and you can make a French knot right on top.
For 1 strand knots, you can use a waste knot. It's when you make a knot at the end of the thread, and leave it on top of the fabric at a certain distance from where you start your stitching.
After you make your French knot, you can clip off the knot...
…and tie the ends.
2. Deciding the size
A common mistake when starting with French knots is thinking that the number of wraps decides the size. Which is not really true. The ideal is 1-3 wraps. Personally, I believe 1-2 wraps is the best. 3 wraps will make your knots rise a bit higher but they will still maintain the general round form. More than that will make French knots look a bit weird, to be honest.
So, if we go with 1-2 wraps, the only way to make your French knots bigger is to use more strands of floss in your needle.
You can see the chart above to see the difference.
3. Tension of wraps
This is also one of the crucial factors of success for your French knots. The thing is quite tricky to explain – it is more something to feel.
The wraps shouldn't be too tight or too lose. They must embrace the shaft of the needle comfortably and snug. Basically, they should be quite tight but loose enough just to let the needle slide down without any restraint.
If the needle is having difficulties to slide down, don't yank it! Instead, just rotate it like you would do with a screw!
I can be a hasty stitcher myself, especially when I have some plans and I think “Okay, I will go once I finish this area” which makes me hurry and yes, sometimes I don't even notice how I start yanking my needle down to work French knots faster. This won't do. I have to stop myself every time I catch myself doing it.
You can just wind the needle to the right, to the left, and it will slide down through the wraps without resistance.
That being said, if you aren't hurrying or anything, but you do meet resistance every time you work French knots, it can be a sign of two things: either you make your wraps too tight, or it's time to change your needle. Maybe its surface lost its sleekness, and in this case, it will be not very pleasant to work with because it will slide through the fabric holes with resistance and squeaky noises.
4. Insert the needle next to the starting point
After you wrapped the thread around the needle, you need to insert it right next to where the needle first came up. Not in the same hole.
If you insert the needle in the same hole, the knot will most probably sink down through this hole when you pull the thread. So if you had this problem before – knot disappearing when you pull your thread – you probably make this mistake.
In the picture above I skipped a hole before inserting the needle, but it's only to make it clearer in the picture that the needle goes in a different hole. In fact, I usually insert the needle right in the next hole.
Also, I've seen some opinions about the direction where you need to insert your needle, saying you can only insert it in front of the starting point (like in the picture above). And... I don't know, in my experience, I've been inserting the needle in all directions (in front, behind, to the side) and there hasn't been any difference and it certainly didn't damage my knots. So I wouldn't bother about that.
5. Hold your working thread
One of the crucial factors of success when working a French knot is to hold your working thread as you slide the needle down and pull the thread through.
I can't stress enough how important it is. And if you get sloppy, loopy knots, then that's probably the mistake you're doing.
Hold your working thread until the end. Start holding it when you just begin sliding the needle down...
… and keep holding it when there are few inches of it left on the surface of the fabric. Basically, hold it for as long as possible.
Then the wraps of the French knots stay nicely in place and the stitch looks fine.
6. Prevent thread tangling
Sometimes your working thread might tangle on itself and form a knot and if you hurry and pull the thread before noticing it, your French knot might actually be ruined.
You might think that if you hold the working end of your thread properly it's easy to avoid this problem. Alas, you will have to let go of it at some point, and if your thread tends to twist on itself, it can form a knot even in those milliseconds between the moment you let it go and it is being pulled down through the wraps.
You can read the article on how to prevent thread tangling to help with this problem. In short, if you notice that your thread starts going wavy and twisting, stroke it a couple times gently and let it rest on the surface of the fabric.
7. Know your weakness
Below you can see a simple chart that might help you to identify the mistake you might be doing.
Frankly speaking, I don't like being a “French knot police” and saying this one is nice, this one is not... I often allow myself loopy knots. There are situations where a bit of quirkiness is actually charming and only improves to the needlework, you know? The times when everything had to be perfect in hand embroidery and you would be judged for inaccurate stitches have passed a long time ago.
Having said that, there is a difference between a quirky knot and a failed knot. I guess we can all tell it?
8. Error correction
One of the most frustrating things about French knots is that it is impossible to unpick and rework them. You can only clip the thread off, take out the stitches and start a new thread.
That's why I will share a little trick on how to fix a failed knot.
Not every failed knot can be fixed this way, though. Only if one of your wraps got a bit too loose. So you can anchor it with a tiny stitch back in the place.
It won't be that noticeable in the bigger scale of your needlework, especially if the knot doesn't stand alone but in a group.
9. Practice, practice, practice!
This was obvious, wasn't it?
The more you practice something, the easier it is to get a hang of doing it the right way. So work your French knots until you become best friends with them.
And, trust me, this stitch is worth having as a best friend :)


I've always disliked the French knot, it never comes out pretty when I do them. I do Japanese embroidery and recently learned how to do the Japanese knot. I find that one so much easier and it always comes out pretty.
ReplyDeleteHm, Japanese knot? I've never met that. I know the Chinese Knot, I posted a lesson some time before... Japanese knot, however.. can't find anything :(
DeleteYou won't really find anything online as it's something taught when you learn Japanese embroidery. I did make a video you can see here https://www.youtube.com/watch?v=JqleVPec0U0&t=45s Your thread must have an S-twist for it to work.
DeleteThat's an interesting technique! Thank you for sharing :)
ReplyDeleteGreat job here on _______ I read a lot of blog posts, but I never heard a topic like this. I Love this topic you made about the blogger's bucket list. Very resourceful. French short stories for beginners
ReplyDeleteLove the blog post :) Keep them coming. Very resourceful. try https://childhood-stories.com/german/countries-in-german-and-continents-in-german/
ReplyDeleteLove the blogpost, keep them coming
ReplyDelete