Resurrecting stitch lessons from the dead :) Today let's talk about seed stitching!
With this lesson, I hope to start the topic of open filling in hand embroidery.
An open filling is when you fill a shape in a way that lets the background fabric to show through. Unlike satin stitch and long and short stitch – the most common ways of solid filling in hand embroidery that cover the fabric completely.
There are various kinds of open filling in hand embroidery, and, to be honest, I haven't tried all of them yet, so I will be exploring this side of needlework together with you :)
But this time we will speak just about seed stitching. Which is actually a great technique! I really love the texture it provides to embroidery while actually being a sort of “transparent” filling. It fills with color but at the same time, not completely, so it creates a lightness and airiness to the area.
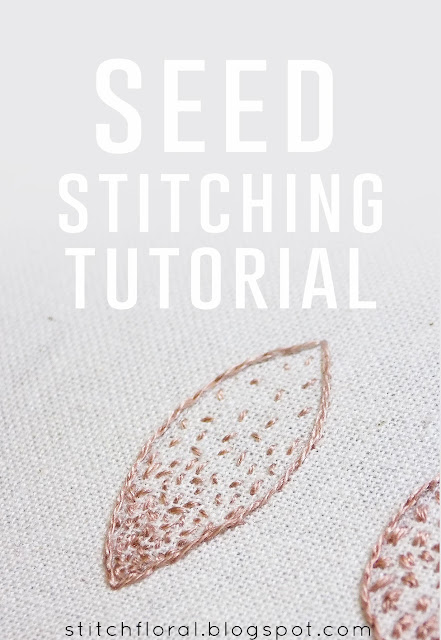
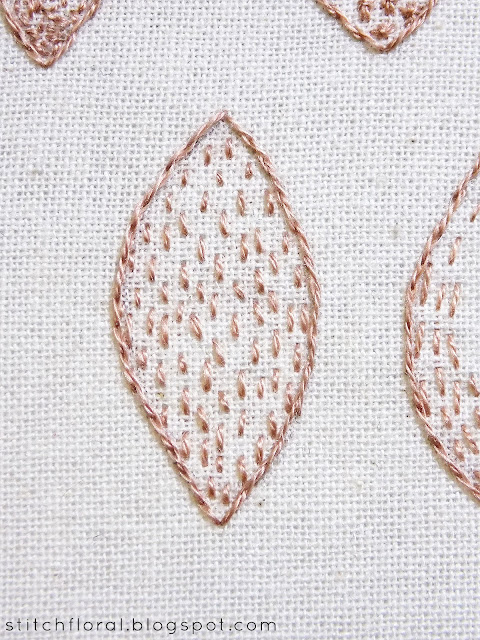
Here is an example of how seed stitching can be used in a project:
So, let's take a closer look at this technique.
How to seed stitch
Everything is very simple, actually!
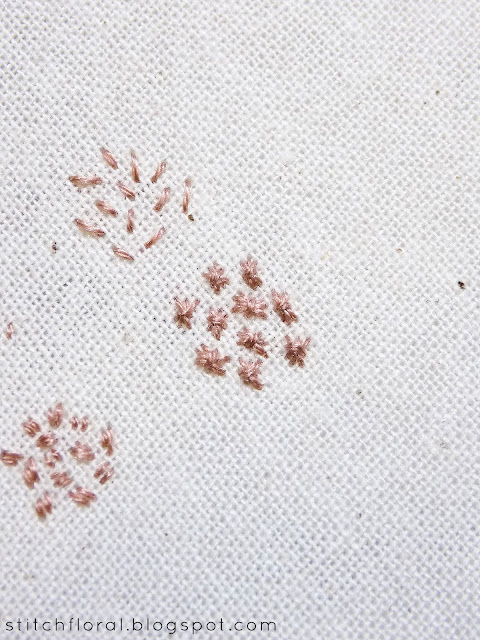
Just make several small stitches scattered around an area in a random order.
That's pretty much it! You can vary the direction of the stitches and their size.
You may also find some books and lessons calling this technique “powdering”. The comparison is pretty self-evident, isn't it? Especially is your seed stitching is as tiny as mine, haha. I swear I don't make it so tiny on purpose! It just comes out this way, for some reason.
There are also a couple of variations of seed stitching that you might find useful to know.
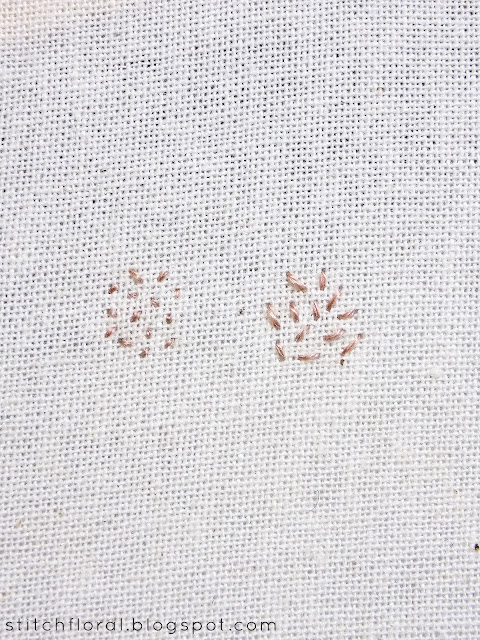
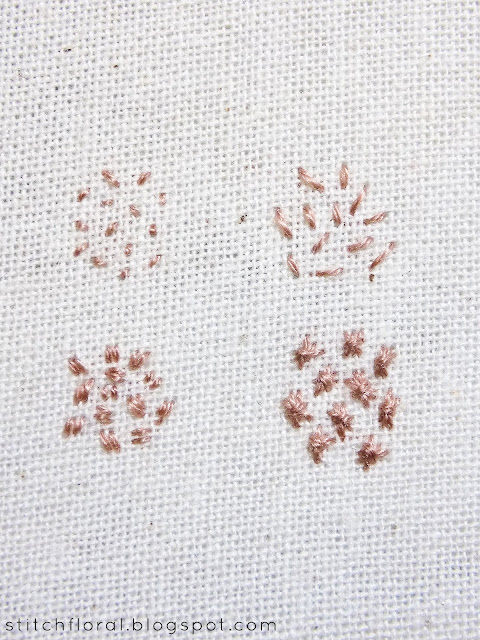
The first one is pair seeding.
Yes, in this variation you don't leave your little seed stitch lonely, instead, you make a couple of them.
Here's how the result would look like. As you see, now the color is a bit brighter than with the single seed stitch.
You may ask... “What if I just take 2 strands of floss and do single seed stitching?”
And you totally can do that! I believe, the difference will be still there, though. Because when you work pair seed stitching, there is still a bit of “air” between the stitches, you know?
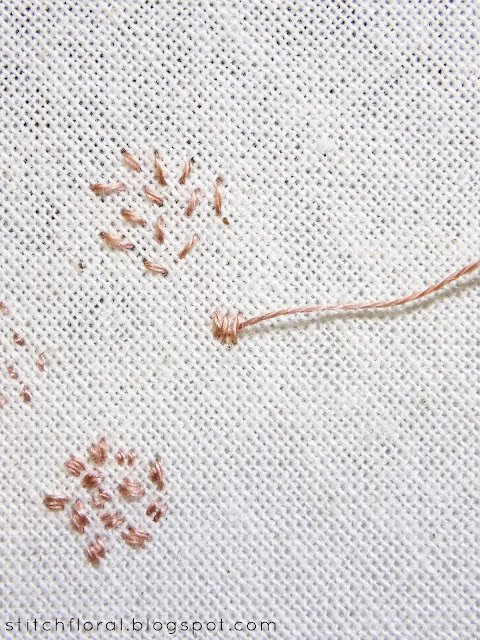
And the last variation: sheaf stitch.
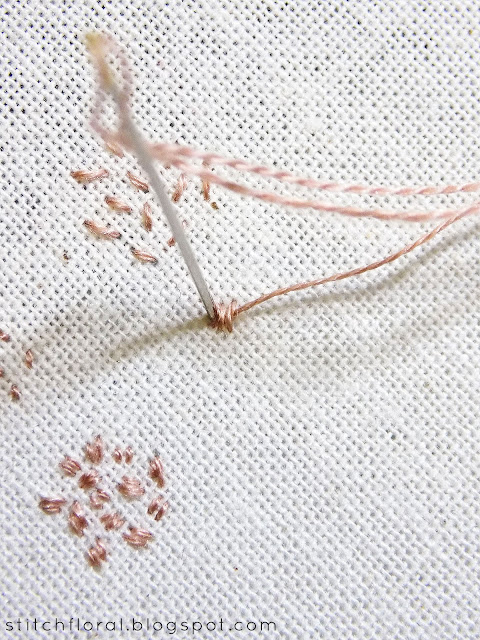
Sheaf stitch is a combination of 3 parallel stitches that are tied up together with another stitch.
Well, my sheaf stitches here are very random and imperfect in size and shape. But just so that you know – sheaf stitch is quite popular in counted work, for example, and can look much more organized.
So, here are our examples of seed stitching. You can see how from single seed stitch to the sheaf one, the weight of stitching becomes heavier and heavier.
And here comes the second topic of today: shading with seed stitch.
Shading with seed stitch
You probably know about shading techniques in pencil drawing. Sometimes you can shade by just applying different strength in your strokes, but sometimes you can use different patterns, dots, curves, etc.
Something like that can be done with seed stitching as well.
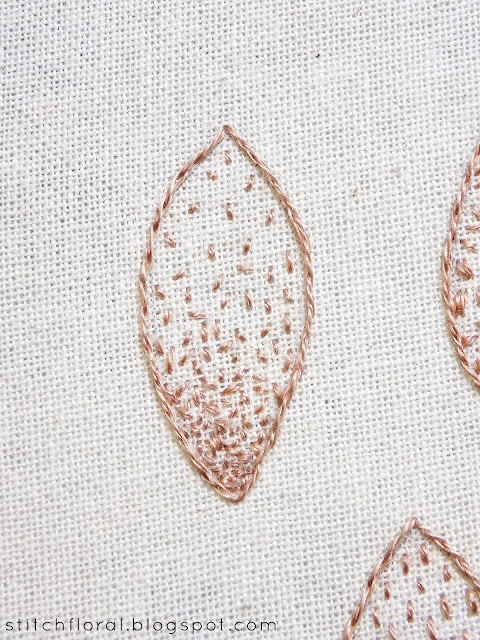
A common example of shading in seed stitching looks like this:
You scatter the stitches freely and far from each other at first and gradually increase the density. What I like to do in such cases, is I start with airy scattering and then make it a little denser and fill the shape like that till the end. And then I start moving from the bottom upwards in reverse direction, adding more stitches to my previous layer.
You can also use the variations of seed stitching for the shading. Start with single seed stitches, proceed with pair seed stitches and finish with sheaf stitches.
Or you can use the same single stitching with the same density, but with different colors. I used 3 colors here, and although the shading is not very evident in the picture, the idea is clear, right?
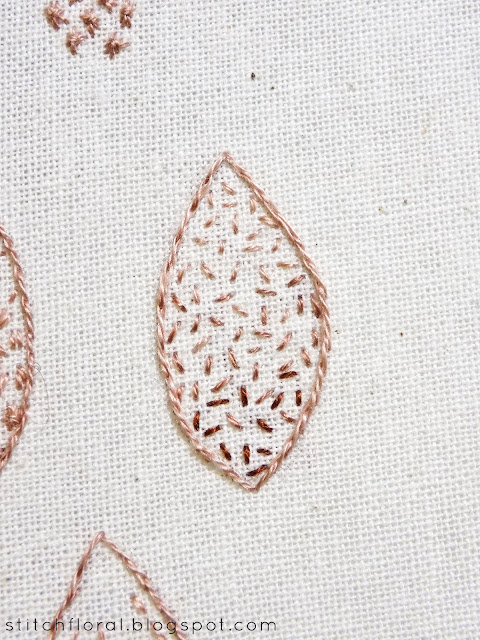
Now, this one is not really about shading but about the fact that you can have your seed stitches arranged in a certain direction. It might remind you of running stitch but this seeding is still more chaotic and random.
And now that we saw an example of an “organized” seed stitching, here is a way to utilize it for shading. Increase the density of the line at the bottom and leave more empty space at the top.
I wonder which one you like more? My favorite ones are number 1 and 5.
There are many more faces for this technique! Explore this stitch and try various methods of filling shapes, maybe you will get some new ideas :) And next time, we will take a look at another method of open filling!







Hey you!
ReplyDeleteI love what you’ve been doing lately. And I never thought to double up the seed stitch! I will use that in a future project inspired by a glimpse of Japanese sashiko:)
-C
Hi there! Oh, I'm glad it was helpful, good luck on your piece!
DeleteThis is very helpful and timely. I just found a clip art of pansies I want to embroider and it has shading on the petals. Thank you!
ReplyDeleteSeed stitch is here to save the day! :)
Delete