My October project that
I've mentioned earlier in this post is also appliqué-friendly
and, personally, I'm going to experiment a little in this field! So
I thought if anyone wants to try the same I should tell a bit more
about the methods of applique in advance.
Method 1
So,
the first thing you should remember is that the majority of fabrics tend
to fray on the edge.
And
because of this, if you just simply baste a cutout to the ground
fabric, eventually it will fray quite a lot even if at first it
doesn't look like it.
However,
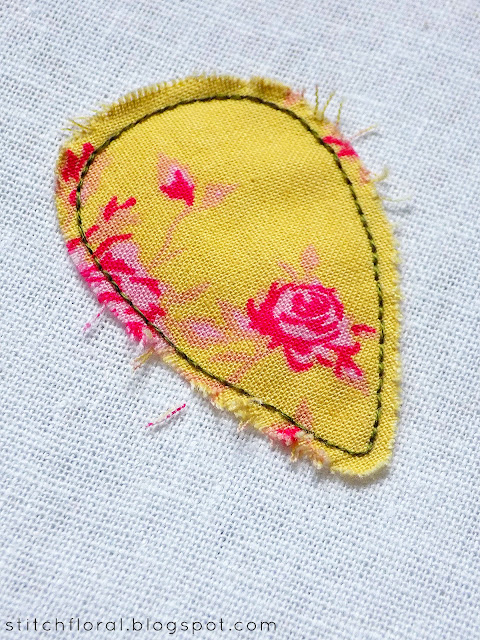
sometimes this kind of ragged and frazzled edge might be the desired
effect! Especially, for enthusiasts of rustic style. In such cases, this method is what you need.
And,
basically, all you need to do is just work back stitch along the
whole shape, stepping a little away from the edge.
Make
your stitches rather small so that all of the fibers are secured.
I'm
using quilting cotton in this example and it doesn't really fray
that much – I frayed it myself for this picture as
well as I could. However, if you use linen, for example, it is likely
to fray a lot easier and the fibers might pull apart right in front
of the stitches. In this case, your back stitching should be even
smaller.
Method 2
If
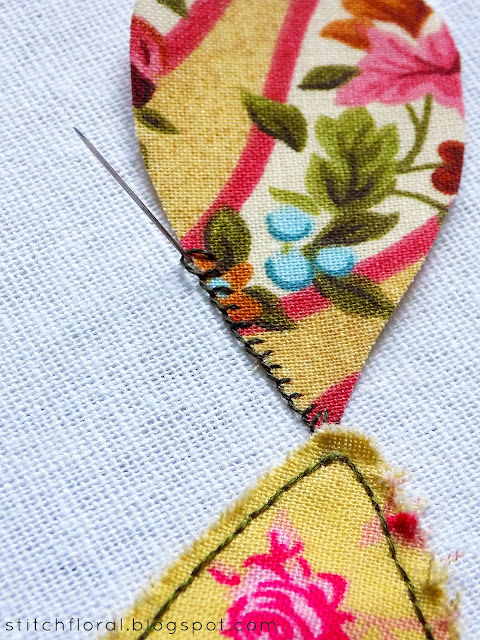
you don't want the edges to fray, you can work buttonhole (blanket) stitch around the shape. You can work it more densely,
of course, like I did in one of the examples in this post.
By
the way, I'm using a thread of contrasting color for all of
the appliqué methods in this article to make it more clear. Naturally,
you can use thread of a color similar to the appliqué cutout if you
don't want it to stand out too much.
Ah,
and this method is commonly used in felt applique!
Method 3
Now,
if you don't want any fraying to take place but also don't want to
work a border of buttonhole stitch around it, you can use a fusible
interfacing! :)
Instructions
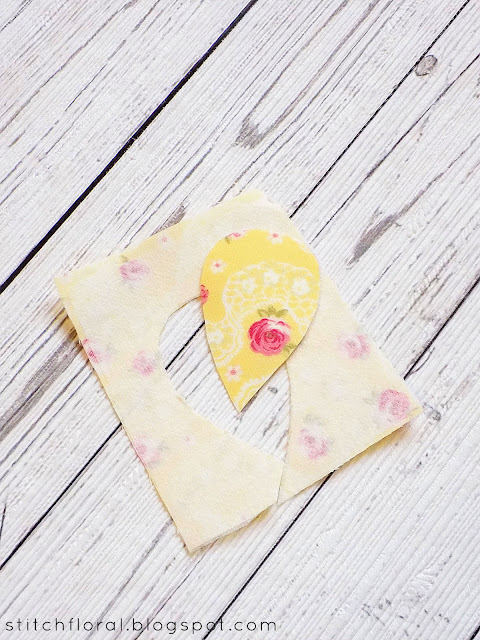
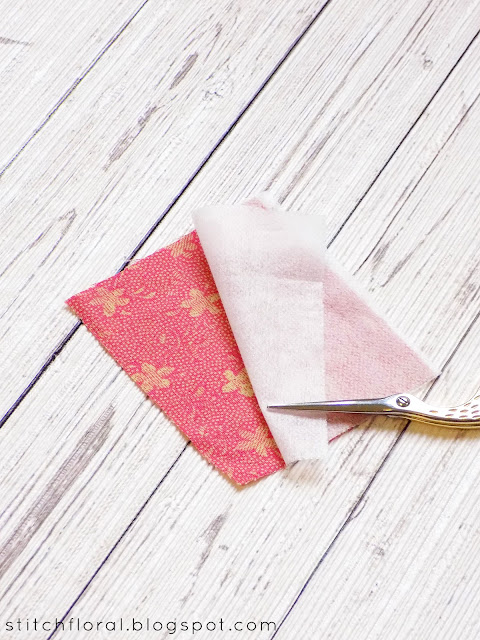
are easy: 1) cut a piece of interfacing material equal to the piece
of fabric you want to apply it too, 2) interfacing material has two
sides, one of which is adhesive. Put the interfacing piece with the
adhesive side up, and lay the fabric piece on top of it, with its
backside down and face up. In conclusion, the adhesive side should be
next to the backside of the fabric. 3) iron it thoroughly (settings
of heat are according to the type of fabric) staying for several
seconds in one place.
When
you have applied interfacing with the fabric, cut the shape out of
it.
The
thing is, the fibers are now glued from underneath so they are going
to hold together and are very unlikely to fray. It is almost like
paper. Well, unless you expose it some rough tugging like in a
washing machine or if you use it on everyday clothes
So,
what you will do now will depend on your artistic choice. If you want
it to look raw like it is, you can baste it down with tiny running stitches of similar color.
Or
you can use any decorative stitch, you can find many on the Stitch Library. I used french knots here :)
Method 4
This one is likely to look
a bit more dimensional, but there is like 0 chances for any fraying
to happen.
And again, we need
interfacing material (it will give a certain advantage but actually
you can use another fabric, I will mention it below).
BUT we need to put fabric
and interfacing material in a different manner now!
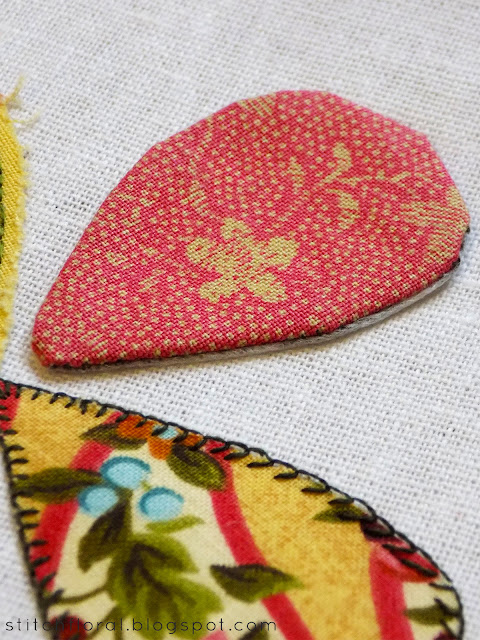
So, what we do is we put
fabric face up, and then we lay interfacing material with adhesive
side down. So, the face of the fabric and the adhesive side are
supposed to be looking at each other.
Then you can draw the
shape down and backs titch along the edge.
Cut the shape out with a
seam allowance and cut a slit in the interfacing material.
The turn it out. Now you
have a shape like this – face of the fabric up and adhesive side
down.
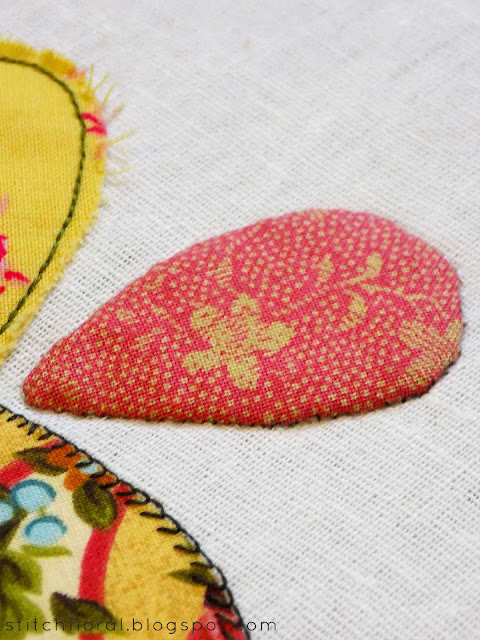
You can now place it where
you need on the ground fabric and iron it down.
If you want to secure it
even better, you can stitch a border of buttonhole stitch again, or
baste it down in any other way. Or you can work invisible stitch
like I did in this example.
Like I mentioned, this
method can be used with a different fabric instead of interfacing
material. Just skip the ironing part and baste the piece down in the
way you prefer the most :)
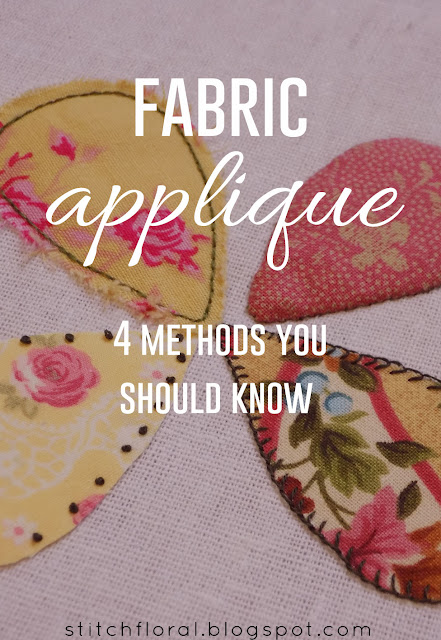
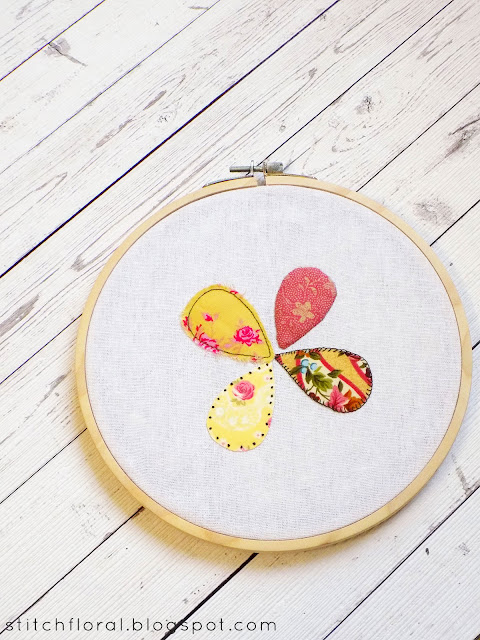
So, here are 4 methods for
your fabric appliqué! As for me, methods 2 and 3 are what I'm more
likely to use but in the end, it all depends on the situation.
Hope you find the method
you of your liking too and try some appliqué in your next project! :)









Hi, Amina! Have you tried doing needle-turn applique? I haven't used it but have a friend who does a lot of it. She turns the edge of the applique piece under a little at a time using the tip of the needle as she stitches it in place using what you describe as your invisible stitch. I personally like using your 4th method, easy and a nice clean finish. Love your site!
ReplyDeleteBarbara
Hi, Barbara! Yes, I do know this one! Thank you for mentioning it, it can be a good option for many stitchers.
DeletePersonally, I don't use it because I just can't keep the edges right, haha. Even in method 4 my edges are not perfect, and if I turned them down myself it would be a disaster! :D Cheering on your friend, though! Her works must be very pretty :)
Thank you for this valuable insight!
I can't keep it tidy either and it's just so fiddly that I get really frustrated! That's why I occasionally do raw edge but ususally do method 4 (but I often do the applique seams by machine and apply them to the ground fabric by hand). I haven't seen much applique on your site - are you planning something new?
DeleteBarbara
I played with applique a looong time ago but haven't done it ever since I started getting serious with embroidery so it's not present on my blog. But yes, I actually do want to try something in my next project, the next blog posts will be dedicated to that! ;)
ReplyDeleteThank you for sharing.
ReplyDeleteThank you for this excellent tutorial. The photos and instructions are super helpful!
ReplyDelete