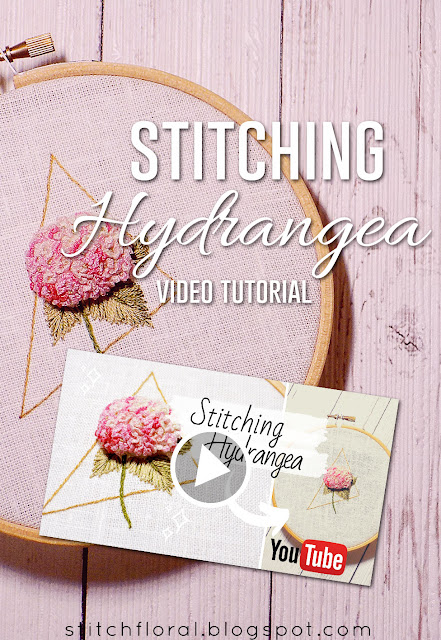
The art of hand
embroidery has a lot of tricks in its sleeves!
Today we are going
to learn how to stitch Hydrangea while maintaining its realistic
ball-like shape. For that, we need an extra piece of fabric and a LOT
of patience since all these flowers take some time to work, haha.
Stitches you will
need:
Cast-on stitch
(this project is PERFECT for practicing this stitch, since you're
going to make dozens of these small petals)
Watch the full video
on my channel and I will be very happy and encouraged if you like and
subscribe too :)


Hello Amina,
ReplyDeleteThe process is time consuming but the result is so realistic.
Your Hydrangea is so gorgeous! I love it! And what funny...it looks like the one I have in my tiny garden.
Thanks for sharing the tutorial
Have a nice day
Ghislaine in France
Hi, Ghislaine!
DeleteThank you for liking this project! Hope your Hydrangea is always healthy and happy :)
Bonjour Amina. Superbe hortensia aussi beau que le vrai!! quel fil utiliser pour cela? un dégradé? ou plusieurs? quelle grosseur?? parlé 8? 12. ou 5 (qui me parait trop gros .
ReplyDeleteMerci pour ce beau tuto!!!
Salut! Merci beaucoup :)
DeleteJ'ai utilisé de nombreux fils de différentes couleurs. J'ai utilisé une mouline de coton DMC, 1 brin de fil. Mais c'est comme ça que je préfère. Vous pouvez tester votre idée sur un morceau de tissu de rechange, peut-être qu'elle aura fière allure!