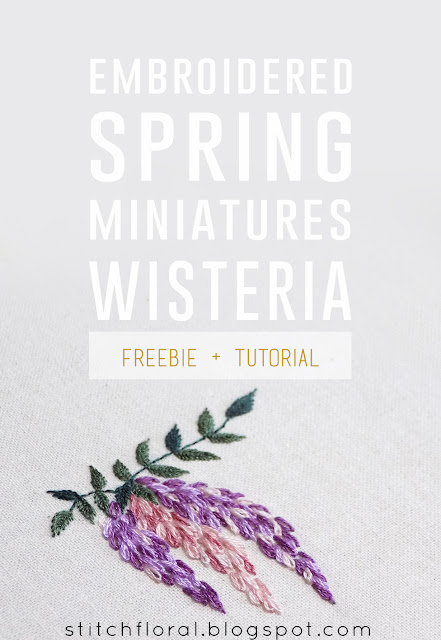
The last spring miniature is here! Today we are stitching lovely Wisteria. I hope we do justice to this beautiful flower :)
Working Wisteria wasn't the most difficult thing, but it had really worn me out! It's all because I couldn't decide for sure which stitches I would use here, so I tried with french knots first – didn't really like and picked them put – then tried with bullion knots – again I wasn't too fond of the result as it was too dimensional for my liking, so I picked it out – and lastly, I settled for lazy daisy and twisted chain stitches, and that's what left me satisfied.
The moral of this short story – don't be afraid to pick out your embroidery if you feel that something is not right. Trust your intuition! If I feel like something is off, but not sure what exactly, I put the work aside for a while taking glances at it from time to time until I decide what exactly is throwing me off and how to fix it.
Anyway! Time to remind you of all the tutorials from this series:
- Wisteria
Wisteria is not a complicated design to stitch (especially if you stick to the same stitches as me), so it is a nice way to finish the project after working more complicated Primrose and Tulip.
Hand Embroidery Wisteria Tutorial
1. This time we work the stem using back stitch. I wanted to use it because it has a bit of a similar look with the “spine” of fly stitched leaves. If you want, you can whip it to add a bit of texture or use any other line stitch for that matter.
2. Fly stitched leaves! I used just one strand of floss when I stitched them, If you want to make your job easier and quicker – go for 2 strands of floss. It will also be a bit more dimensional.
3. Now, wisteria is an incredibly beautiful plant, if you ask me, and I was really afraid to not do it justice... It was really difficult to find the most fitting stitches for this case. But although I didn't settle for neither french knots nor bullion knots, that doesn't mean you can't use them!
As for me, I decided to go for detached twisted chain stitches....
4. ...and lazy daisy stitches. In my case, it was just a spontaneous mix, no real strategy or pattern – I just scattered them randomly.
5. As for the colors, I used 3 for each of the limbs. The lightest shade was used on all of them, so it united them a bit despite different palette between the center and the sides.
That's all. Here's the tutorial:
Here's my attempt at bullion knots for this miniature, if anyone's curious. It was just too dimensional for me compared to rather flat leaves.
And thus the series come to an end! I hope you enjoyed it as much as I did! Such lighthearted practice is what many of us crave for, isn't it?
Which flower did you like most of all? :)


Thank you for the freebie and tutorials, i really love your blog. Can you do sunflowers next?
ReplyDeleteThank you! Maybe some day, I can't promise anything, sorry!
Deletehelo sis amii, i'm from indonesia , thankyou for tutorial and pattern, i'm very gratfull and love your blog.
ReplyDeleteA beautiful selection of simple flowers to introduce people to embroidery stitches, plus little tutorials. Great job!
ReplyDelete