Plush fabric and snowballs: isn't that the perfect combo? :)
So, I don't remember exactly how I got this idea, but it started with the wish to create some ornament and then progressed into wanting something fluffy, and cozy, and cute. And here we are. With plush fabric decorative snowballs!
The tutorial will contain a lot of pictures – it is a warning for those of you with data sensitive devices.
The number of images here might give you the wrong idea that the project is too difficult. But in all honesty, it is quite easy (and I tried to make this tutorial as detailed as possible) and doesn't require much time. It took me a couple of hours for one ball but keep in mind that I was taking pictures of the process which is a tedious work.
Needless to say, you can tweak this tutorial to any of your other ideas. For example, you can make a snowball garland instead of just ornaments on a tree, or use the balls for an in-home snowball fight.
I can imagine it to be a lot of fun for kids to play a snowball fight at home.
Who am I kidding, I've actually made a bigger plush ball and have been hitting my brother with it in the back while he's sitting at his desk for the last couple of days. It bounces right back into my hands and I can't stop! It is fun. For me, not so much for my brother, haha.
So, yeah, make it fun!
You will find the template at the end of the post for both sizes.
Materials & Tools you need:
- scissors (for the paper to cut out the template, for fabric and embroidery);
- thread for sewing;
- needle;
- plush fabric;
- pins;
- pencil for transferring the template to the fabric;
- stuffing material;
- pretty thread and a bead for a loop on top (optional).
Also, be aware that the fluff frays a LOT from the fabric. Not really the “base” of the fabric, but exactly the fluff: it will be everywhere. So prepare your working space accordingly.
DIY plush snowball ornament tutorial
1. Outline the template x6 on the fabric. We aren't going to need a sewing allowance so you can place them closer to each other.
2. After you cut the shapes out, take 2 of them and put them face to face. You can pin them together to keep in place.
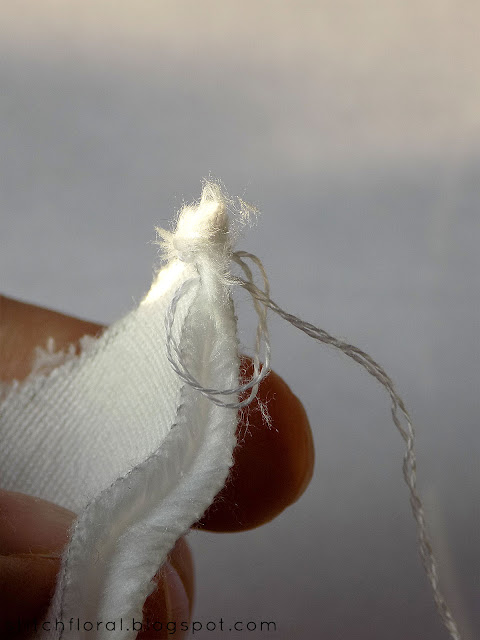
3. Now we are going to sew the two sides together using buttonhole stitch. Make a knot at the end of the thread and pierce both of the shapes through near the top.
Repeat the action, piercing through the same point.
Now take a step to the side and pierce the shapes again, tucking the working thread under the needle point that comes out from the other end. Remember: the thread goes under the needle.
When you pull the needle through the thread is inside the loop.
Repeat the action.
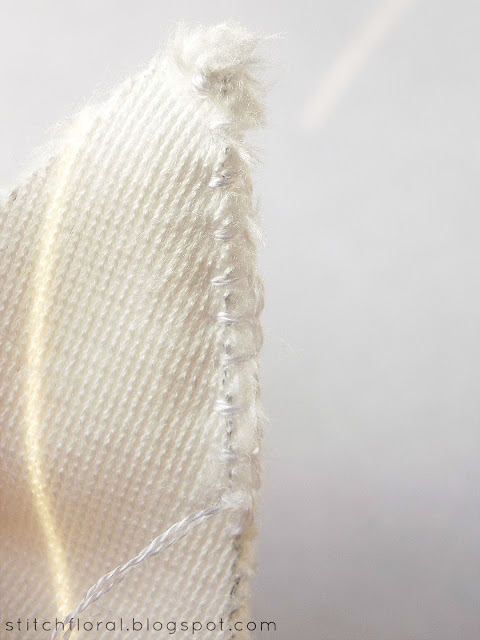
After a while, that's how the edges are going to look like. Because plush fabric doesn't fray that much (except for the fluff), you can make your stitches quite close to the edge, especially if your needle is thin.
Sew 3 pairs of shapes together like that and then sew them all together one by one. Or you can sew them 1+1+1 and then 3+3. Whatever is more preferable to you.
When you are sewing two last sides together, leave an opening.
4. Turn the ball right side out and check if everything is okay.
5. For a shiny loop, you can use metallic thread.
Tie the ends together 2-3 times on the inside to secure the thread.
6. Now you can stuff the ball. Be generous with the stuffing and make sure to spread it evenly in all directions.
7. When you deem that the stuffing is enough, close the opening using the invisible seam.
The fluff can get in your way so make sure you grab enough fabric in your stitches here.
In case you don't know how to finish invisible stitch:
Squeeze the ball and pierce it through so that the needle comes out somewhere away from where the last stitch happened.
Then trim this tail. Be careful to not trim the plush fluff :)
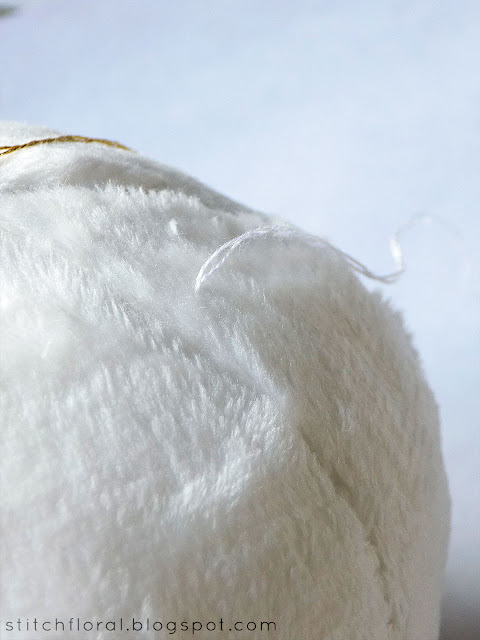
Then squeeze the ball a couple times again and the thread tail will sink and stay hidden inside of the ball.
8. Additionally, you can add a bead, sewing or gluing it down.
So, that's how you can make a fluffy ball!
I actually really like just holding it. Plush is so addictive, it is seriously hard to let it out of the hands, so I can just sit and squeeze the bigger ball, haha. Yeah, so one more purpose for the ball could be relaxing your nerves :)
Download the template to make your own one. This PDF file contains a template for a smaller ball with 6 sides and a bigger one with 4 sides.
I'm actually working on one more project for embroidered ornaments. They are easier to make and will have pretty floral motifs (you can see a sneak peek on my Instagram). Stay tuned for some news on this one!


I love this fluffy ball...thanksfor sharing this fabulous idea....
ReplyDeleteRight? so fluffy! I'm happy you liked :)
Delete