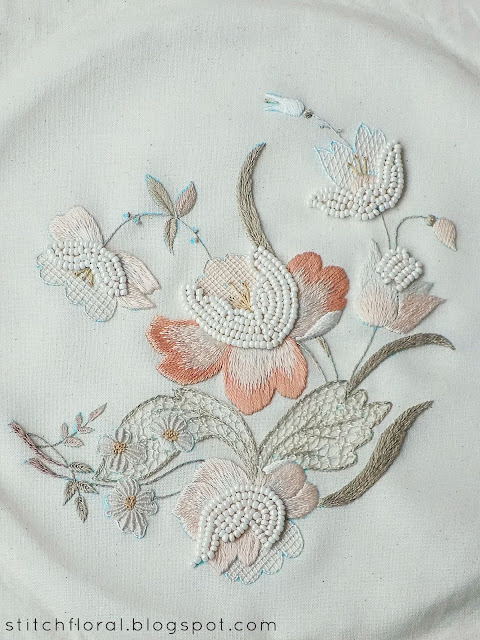
“Fall wedding” is finally complete! Enjoy the gallery :)
I didn't really expect to finish this week actually, but a sudden outburst of productivity made it happen and I'm happy to share the result!
Most of the project details are already familiar to you from the last parts so this post will be rather short on the text side but will have more pictures (warning you in case your device is data sensitive).
Also, I have to apologize because the pictures are not of the best quality. The weather is really moody lately, it's very cloudy and without a nice natural lighting, my camera produces rather poor results. That's also the reason that the colors are a bit incorrect in the pictures and don't reflect the reality.
The previous parts of this project:
Here's the final look of the smaller flowers. Ribbed spider web stitch is used in the petals but I wasn't satisfied with how vague the shape of the petals looked so I added a simple stem stitch outline. The center is filled with french knots. Love the texture!
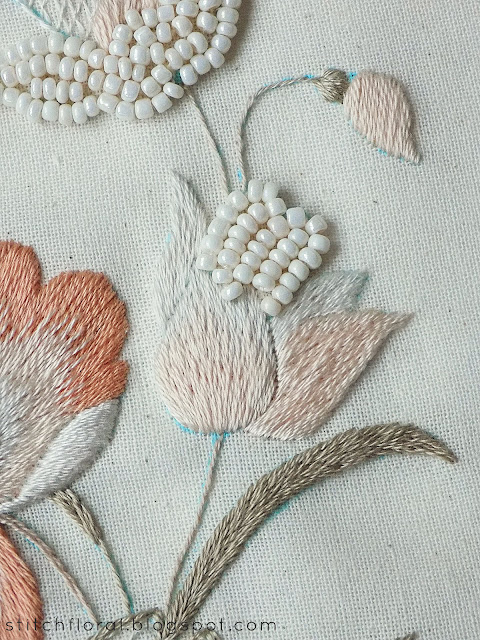
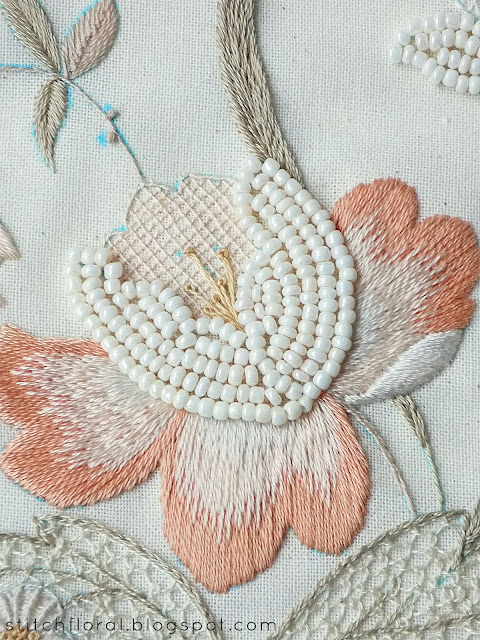
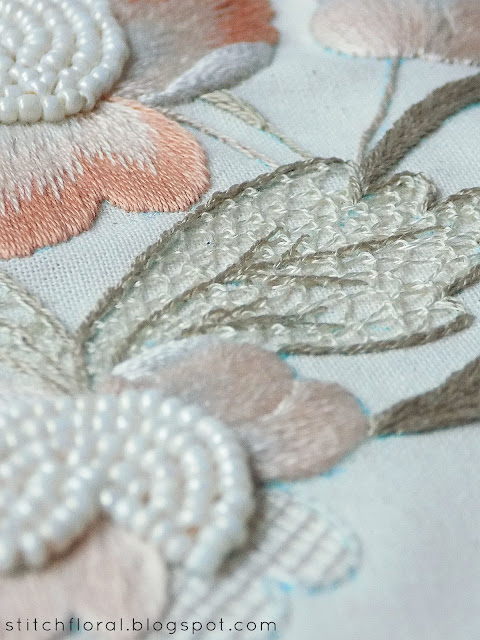
The bigger flowers are all following a similar scheme of having a beaded area, trellis area in the back and long and short stitched petals at the front. The turnovers in the petals are worked in padded satin stitch so that they rise a bit over the other petals.
In the previous part, I said that I might rework these leaves and fill them with a solid color before working a detached buttonhole over it. However, I later decided to just add an outline of the darker green color. I tried on one of the leaves, and, indeed, it was pretty much enough to make the leaves' shapes more defined and not disappear in the background. Leaving the detached buttonhole net on bare fabric helped to preserve some “airiness” in this place.
Also, I just like how the narrow leaf on the right, which is worked in solid color, actually disappears behind the transparent leaf, haha.
Anyway, the trellis together with detached buttonhole stitch opposes the solid color filling in this project so I think there's a good balance.
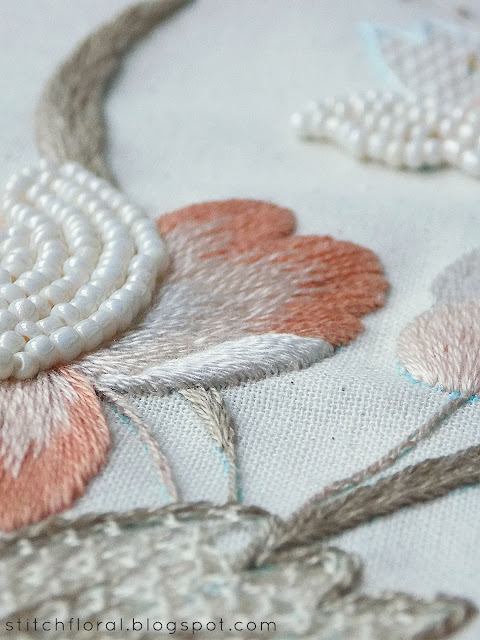
And here are some accidental but quality “dainty” shots, let's appreciate the aesthetics, hehe.
By the way, after all of this, I still have a lot of beads left. This work totally didn't help “getting rid” of my old stack, huh. More like, I spent just about a half of that little bottle I showed in the first part of the project. I guess I will have to find new ways of using the beads, hm :)




Hello Amina, Your project has turned out so beautiful! I either did not get this post or missed it, that is why I am so late in replying. I am truly enjoying this project and trying new stitches with your images as guides and your tutorials also. Thank you so much for sharing this project, your lovely pictures and finished project. What do you plan on doing with it. If I get mine finished in time, I want to make my Mother a pillow for Christmas. I hope also that you have a fabulous Happy Thanksgiving!
ReplyDeleteOh, I'm so happy you enjoyed this project as well! Mine is waiting in a drawer to be framed, haha. I got engrossed into new projects so much that I totally forgot about it. But I'm happy I worked it, it was a great practice and gave me ideas for the new stitches lessons here :) Hope you pillow turned out great!
Delete