Let's continue making our embroidery mini-journal!
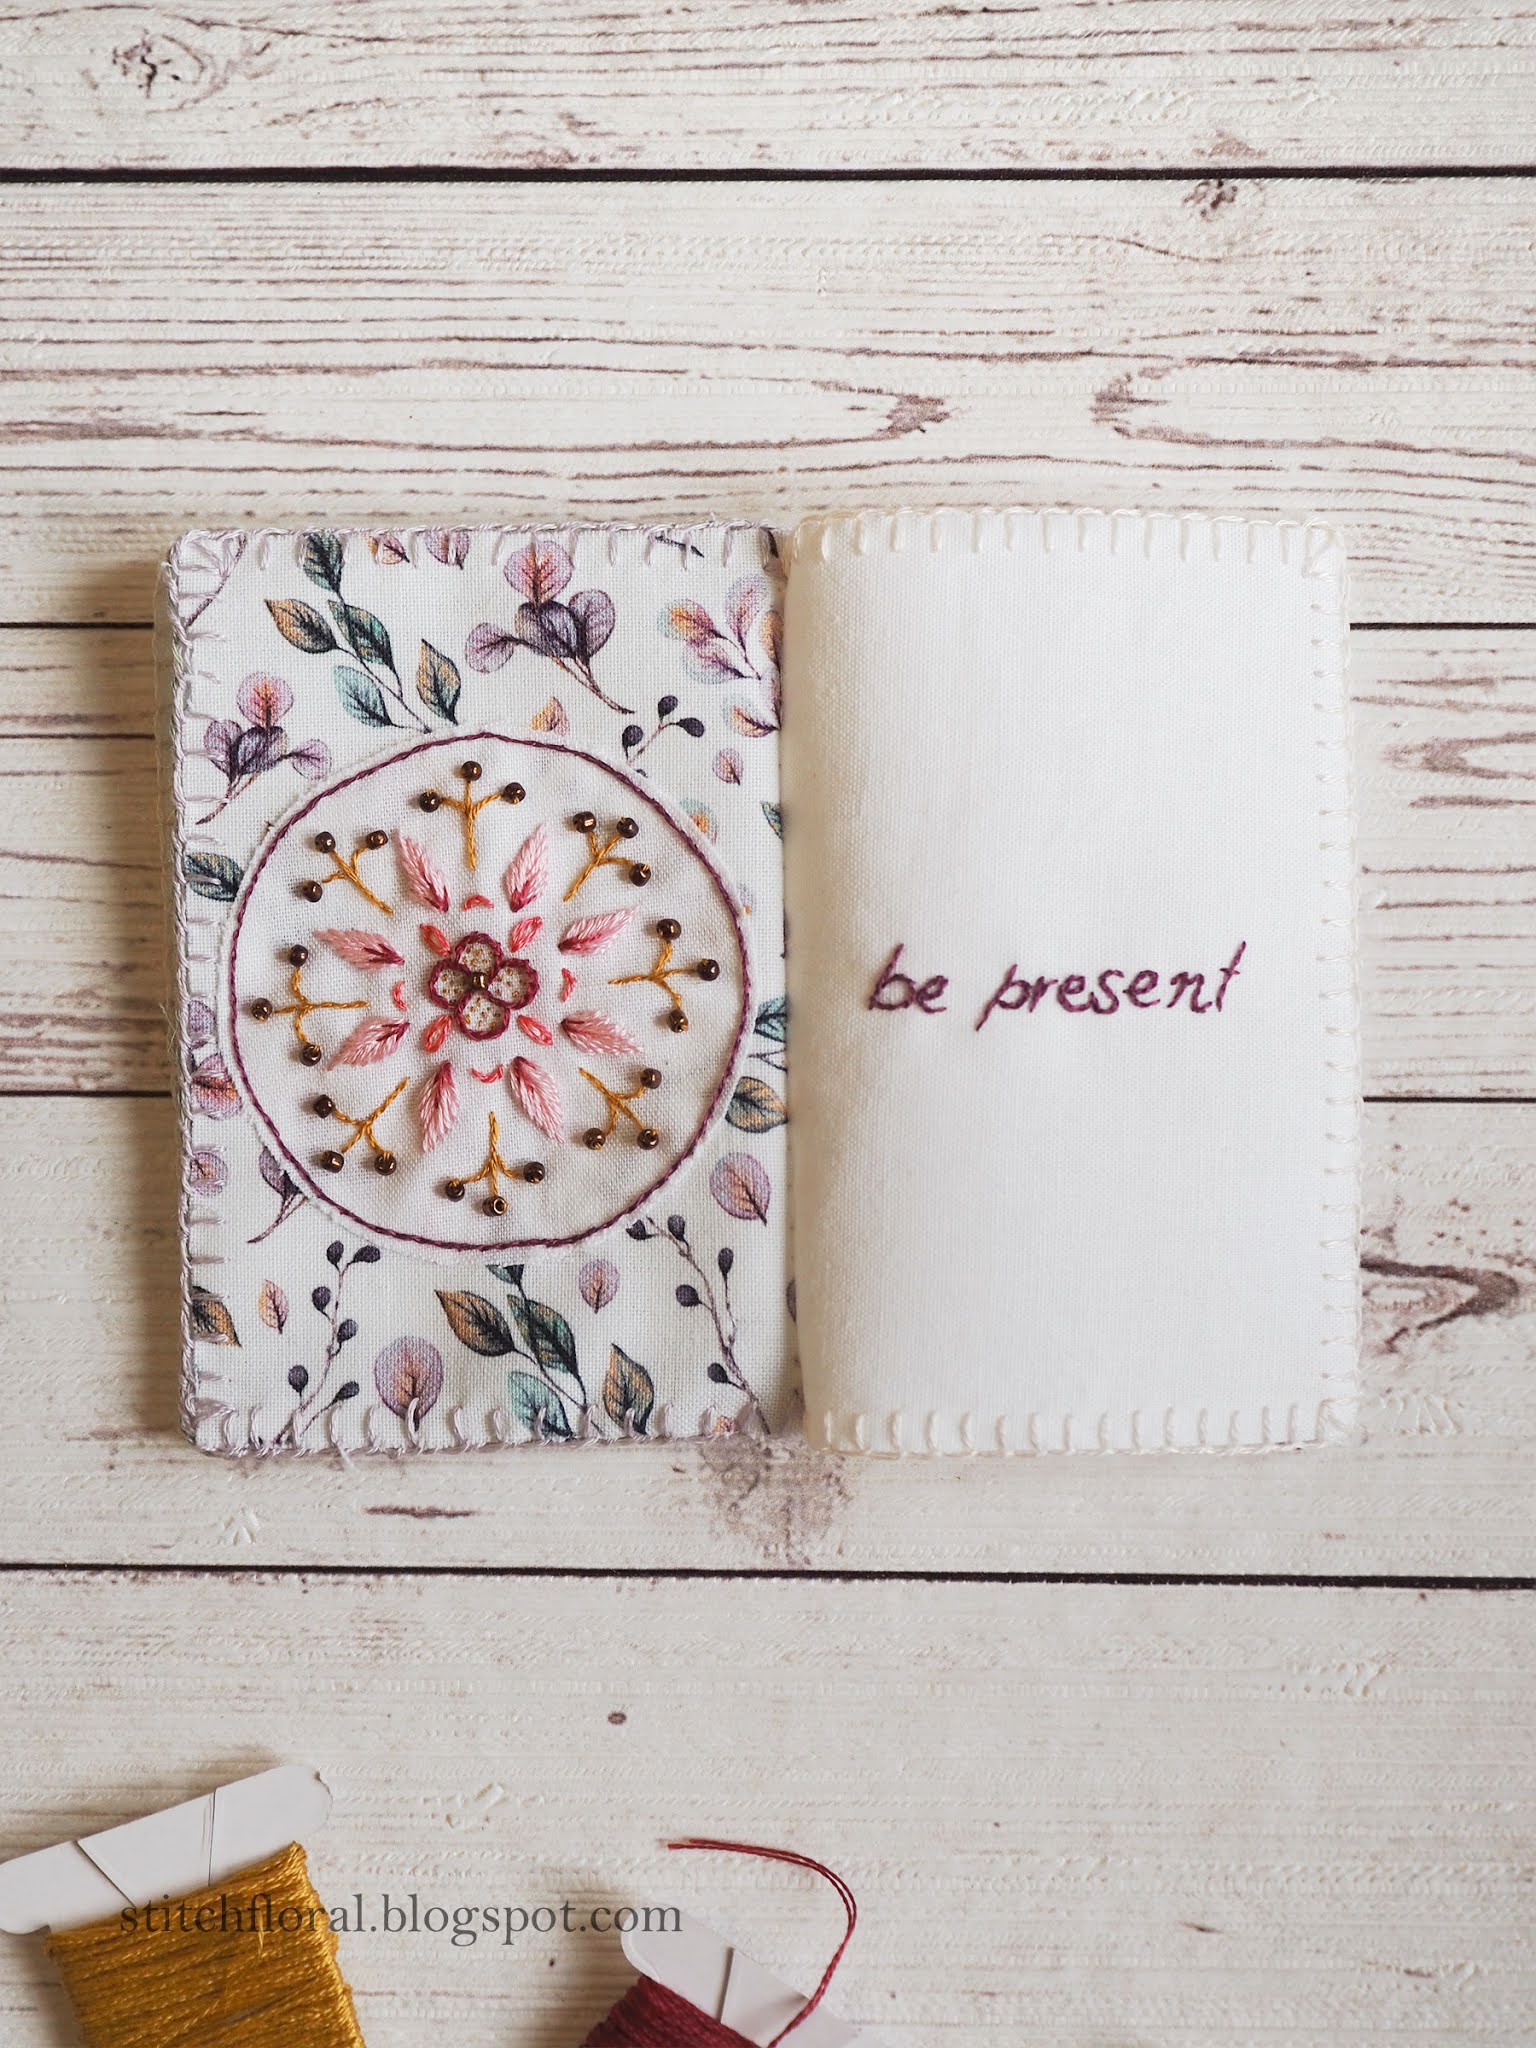
I decided to work a tiny mandala this time, since it's one of my favorite designs from the final project template in the course :)
After stitching the mandala, I cut it out in a circle shape, with some allowance, and I used split back stitch around the motif to attach it to the background as an applique. To be honest, I worked it without outlining anything with pencil or marker, so the shape of this circle might be a little quirky, haha.
And then I completed the spread with “be present” phrase on a plain white background to balance the “business” of the left page out.
What do you think? :)
Not to be that person, but I really love this spread! :D
Mini mandala tutorial
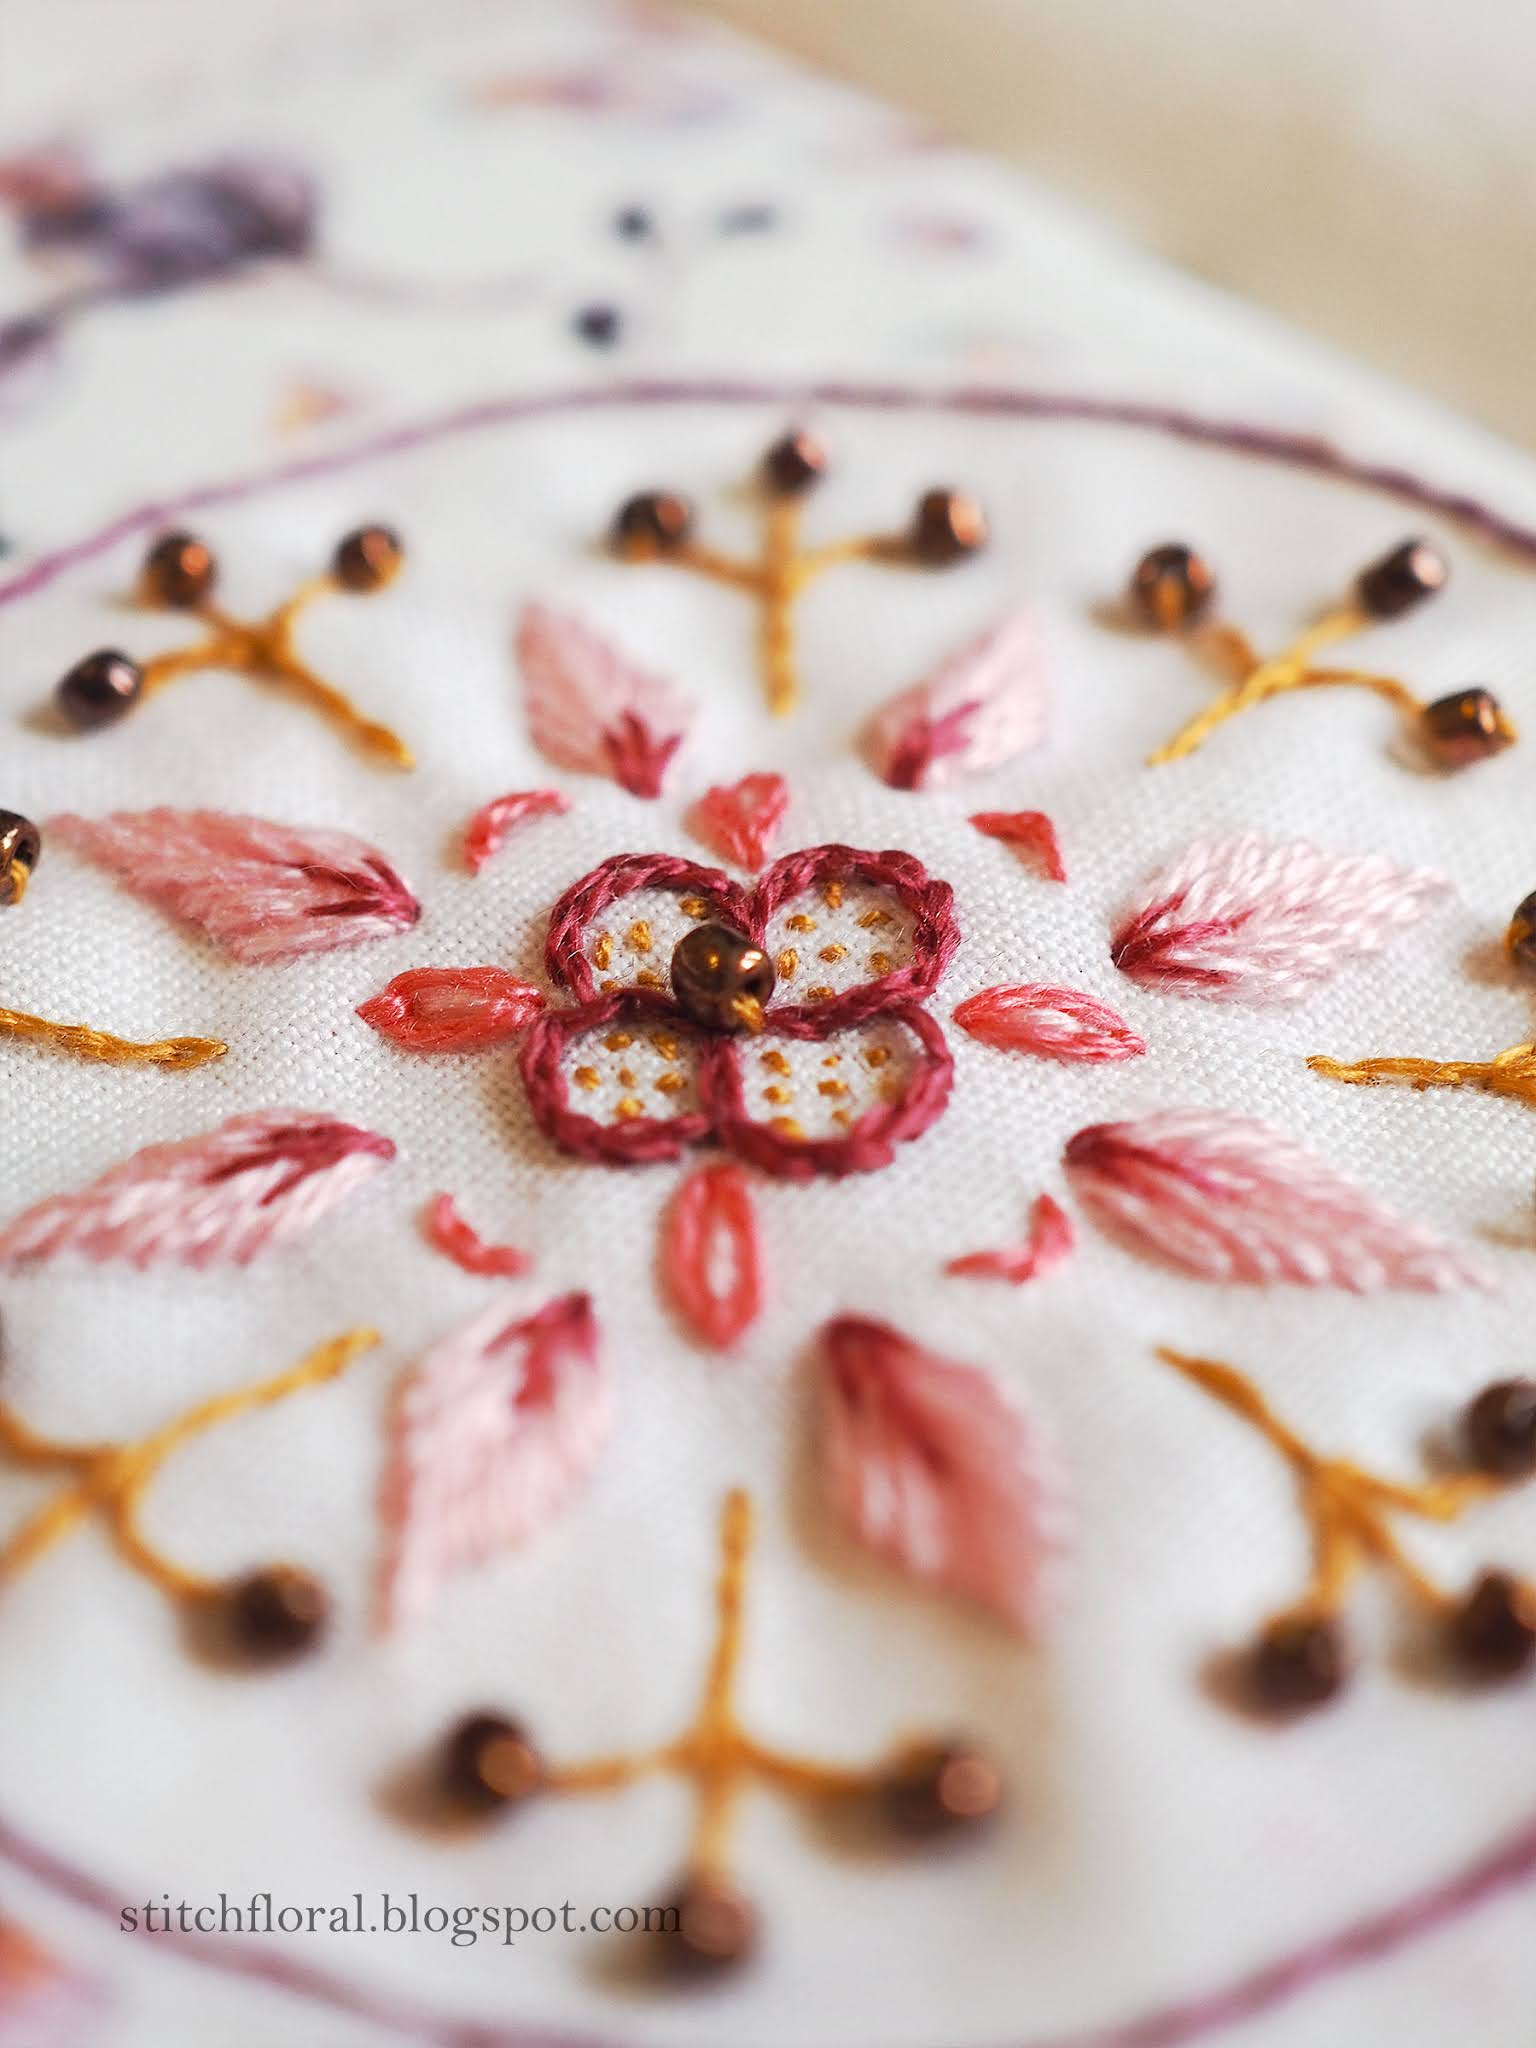
Take 2 strands of thread and work split back stitch to outline the central element.
Add a bead to the center (you can also substitute all the beads with french knots).
Sprinkle some seed stitch inside the central element. It's going ot be really tiny, so make sure to use your glasses or magnifying lense.
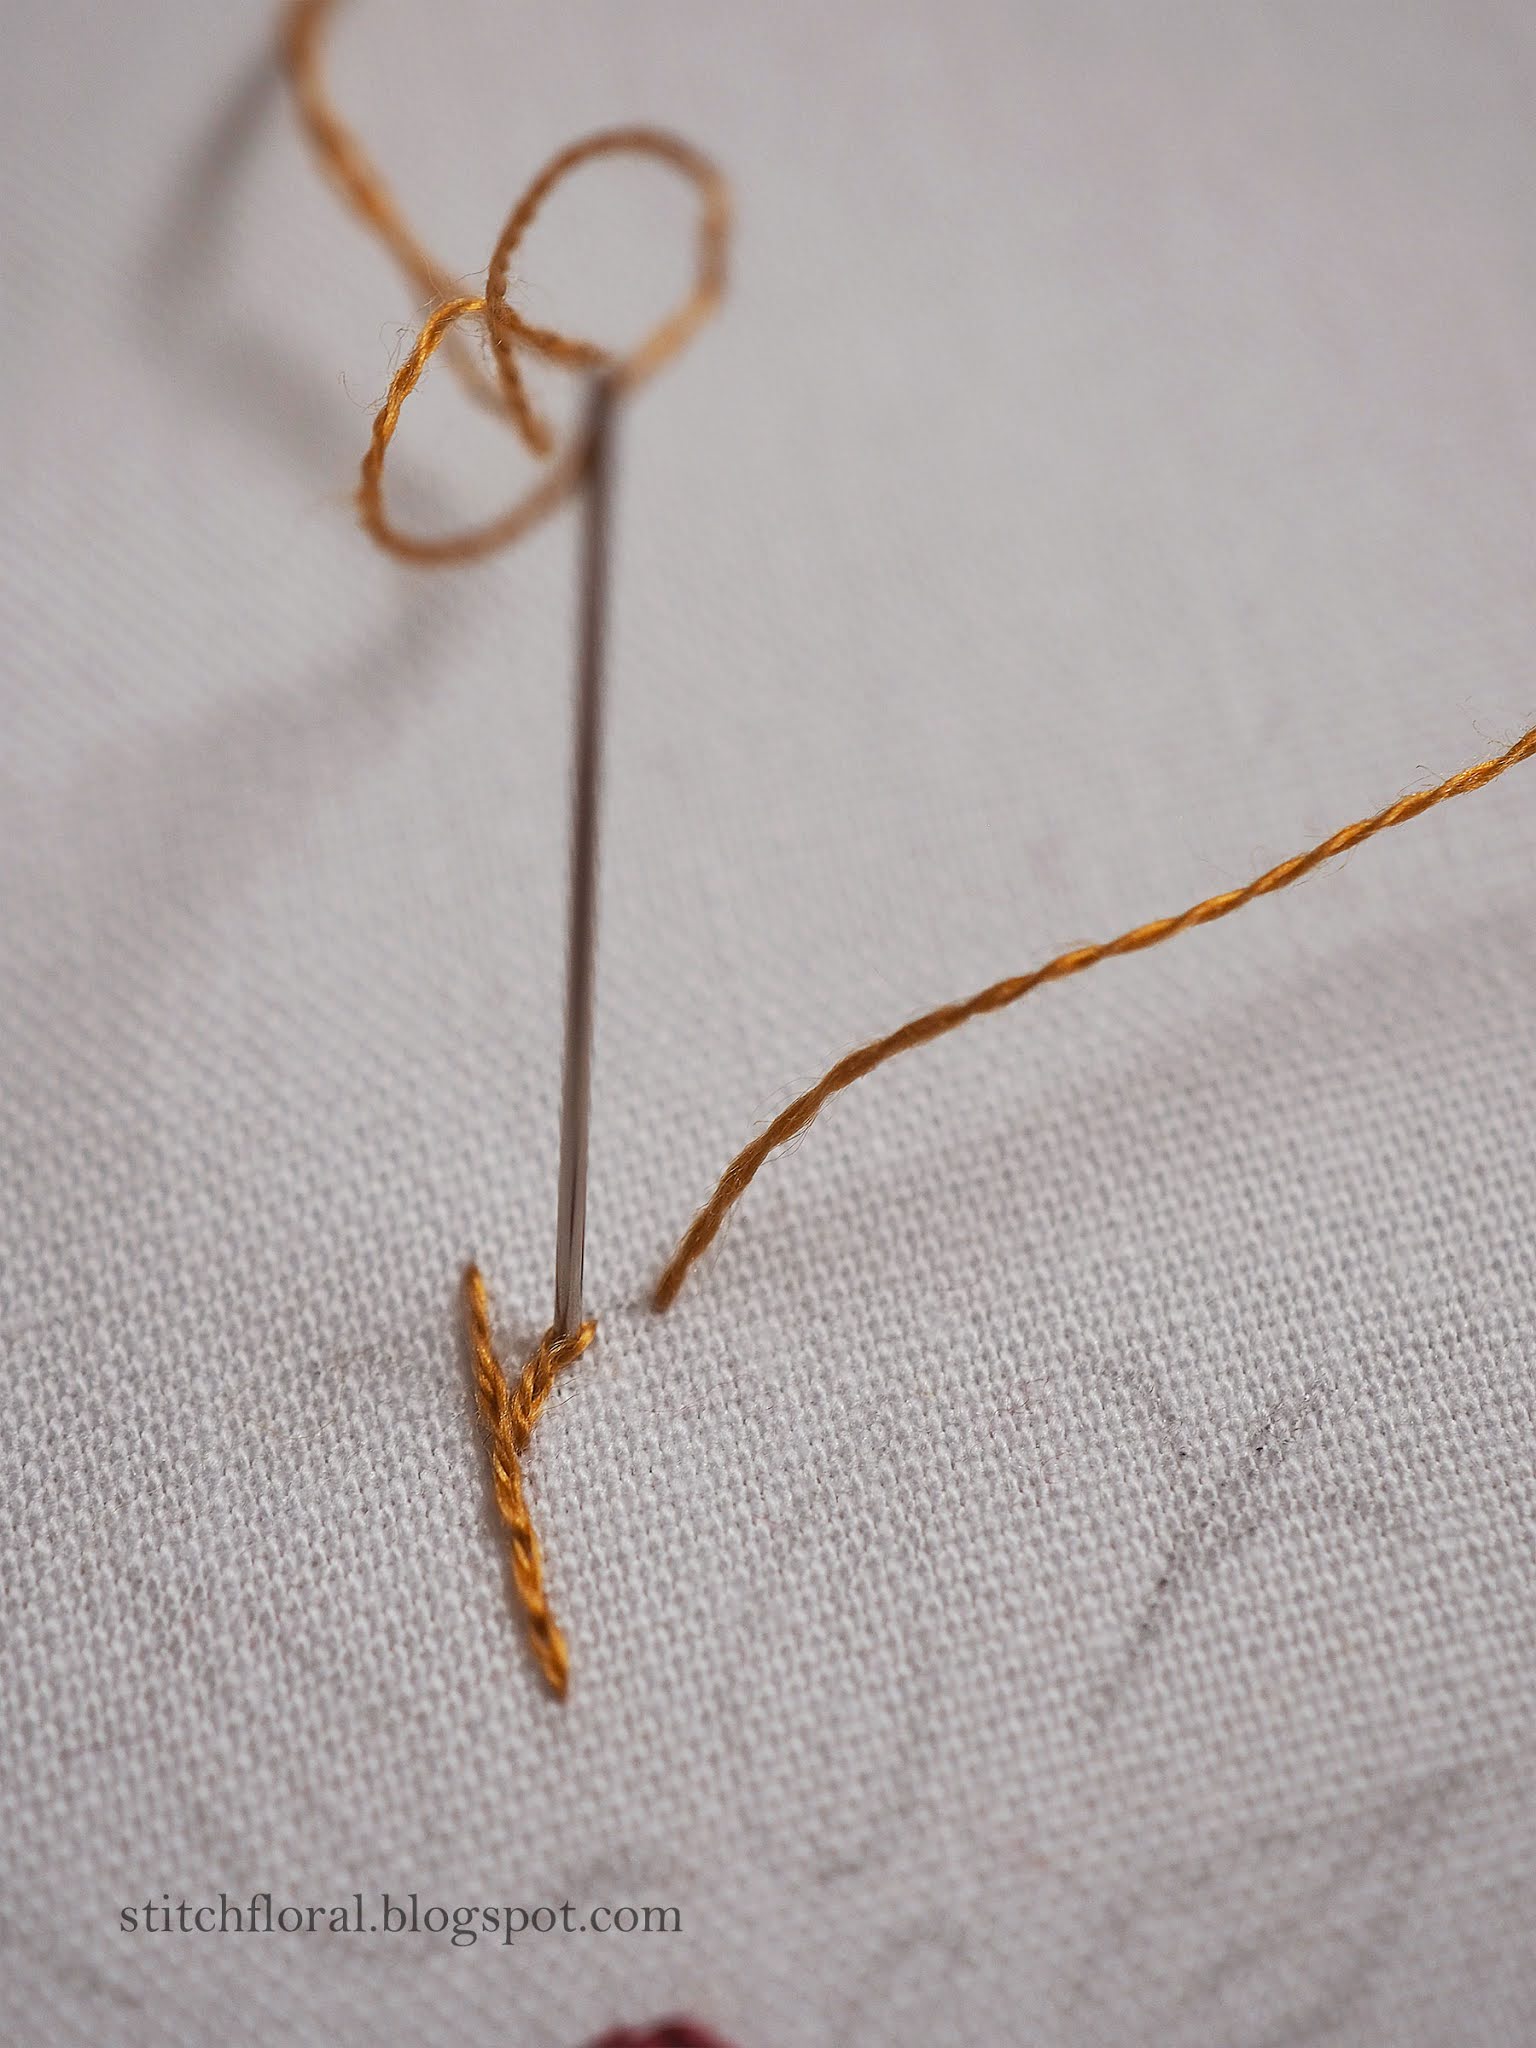
Then work the outer “branches” with split back stitch in 1 strand of thread...
… and add beads to its ends.
Work the leaf shapes with fishbone stitch, making diagonal stitches that cross in their bottom ends (I used 2 strands of thread)
Then I worked the tiny drop-like shapes with lazy daisy stitch in 2 strands of thread and worked the crescent shapes in the same color with split back stitch.
And that's all! I just added a bit of accent to the leaf shapes at the bottom and called it a day.
A very quick process that you can complete in a couple of hours! Good luck for the giveaway!


Hi Amina, what a lovely idea, so delicate and poetic!
ReplyDeleteThanks for sharing
Thank you, meli! I'm happy you like it
DeleteGreat work, keep it up!
ReplyDeleteThanks :)
DeleteHola Amina! Me encanto la idea!
ReplyDelete❤❤❤
Delete