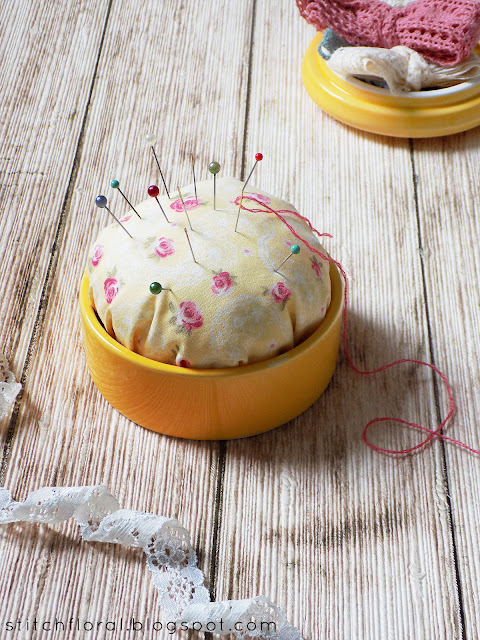
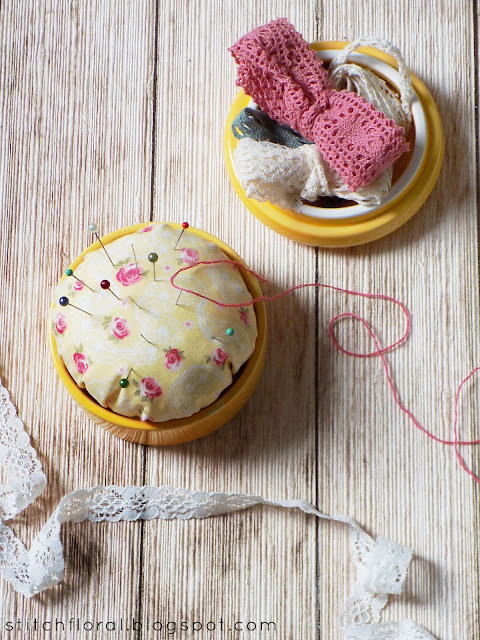
Easy and quick pin cushion
to make when you're short on time or simply feel like taking it easy
:)
Earlier we already learned
how to make a biscornu pin cushion. It has a quirky zig-zag shape
that makes its appearance especially fun and amusing. However, it
requires some stitching and preparation... and sometimes we want to
skip those parts, don't we? Well, here is an alternative!
These round pincushions
can be made in literally 30 minutes!
What you need:
-A big round fabric
cut-out
-Cardboard circle for the
base
-A fabric cut-out the same
size and shape as the cardboard circle
-Stuffing
-Needle
-Thread of matching color
-Scissors for thread, you
won't use them for anything else.
Now, for a pincushion
with a diameter of 9 cm, I used a fabric cut out of 20 cm. The cardboard
circle (and its fabric twin) had a diameter of 6,2 cm. The cardboard
circle will serve as the bottom of the pincushion so that it doesn't
look like a ball but can sit flat on a surface. However, usually,
stuffing still goes over the edge, so to say, so the actual width of
the pincushion is bigger than that of the cardboard base. Does it
make sense?
Basically, expect the
pin cushion to be slightly wider than the cardboard shape :)
Now, let's start!
DIY easy pin cushion tutorial
1) Take thread of matching
color, and start basting the edge of the big fabric circle from the
backside. Basting is a loose running stitch, in case you are
confused. You can work it by impaling fabric onto the needle like in
the picture above, making it look like an accordion.
2) Baste around the whole
circle and come back to the place where you started.
3) Now pull the thread
gently, so that the fabric gathers and shapes itself into something
resembling a bag. While pulling the thread, spread all the creases
evenly as much as you can. Sometimes, they gather more on one side and it is better to avoid that.
4) Put the stuffing
material inside the shape. Test how full and spongy it is and check whether
you need to add some more. Then put the cardboard piece inside and
pull the thread harder.
5) At this point, you can
glue the fabric to the cardboard if you weel like it. But since we
are making a super easy pin cushion without any extra instruments,
and also, because holding thread with one hand while gluing with the
other seems a bit more troublesome, I will show you how to do it all
only with thread.
6) Pull the thread as much
as you can, so that the cardboard is covered, or almost covered, and
then stitch down the edges to each other. It is easy, you just pierce
through one edge, pierce the opposite edge, pull the thread, then
take a step to either direction, pierce one edge, etc. Connect the
opposite sides until all of the creases are secured. Don't forget to
secure your thread too! Make a couple of tiny stitches before cutting
off the end of the thread.
7) Now you can take the
smaller fabric circle, put it over the bottom of the pin cushion and
stitch it down. I used herringbone stitch here.
8) The final look of the
pin cushion from the bottom and...
...from the top :)
Yes, it's THAT easy!
You can use it just
as it is. Since it has a flat bottom, you can put on your working
desk and it is unlikely for it to roll over. I prefer putting it in a
small porcelain candle holder. You can also put a cushion like this
into a mug, decorative storage can, a pretty creamer, etc.! :)


Looks nice and easy. I will try it
ReplyDeleteThanks Amina - although I resist anything that has hand sewing this is too cute to pass up - I will find some small ceramic containers then, as you did, match the material to them
ReplyDeleteIf you're going to put it into a container then you could glue it in and not need to do the more time consuming step of sewing on the small circle (step 7). A lid off a jar which would otherwise go into recycling would be one possibility for this.
ReplyDeleteI thought I might double the bottom circle and enclose a small magnet circle inside. It would help to contain it in the jar lid...or attach to my sewing machine. If I drop a pin, I could use the bottom of the pin cushion to pick it up easier than my fingers.
ReplyDelete