Today's tutorial is VERY
beginners-friendly! So if you are still a little nervous to take up
stitching, this little project would be a great start :)
It is also not tied up to
a pattern. On the contrary, you can build this starry sky yourself in
a way that you like the most. Or use any of these stars as a doodley
motif in another project.
And if you are a beginner
and want to know the basics first, you can start with the following
posts: how to start thread, how to end thread and
others in the “Guide to embroidery” tag!
And without further ado,
let's start. There will be lots of pictures ahead!
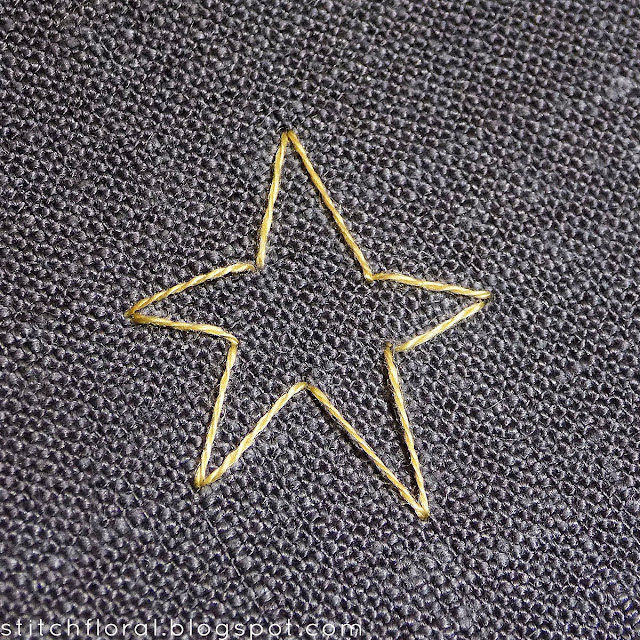
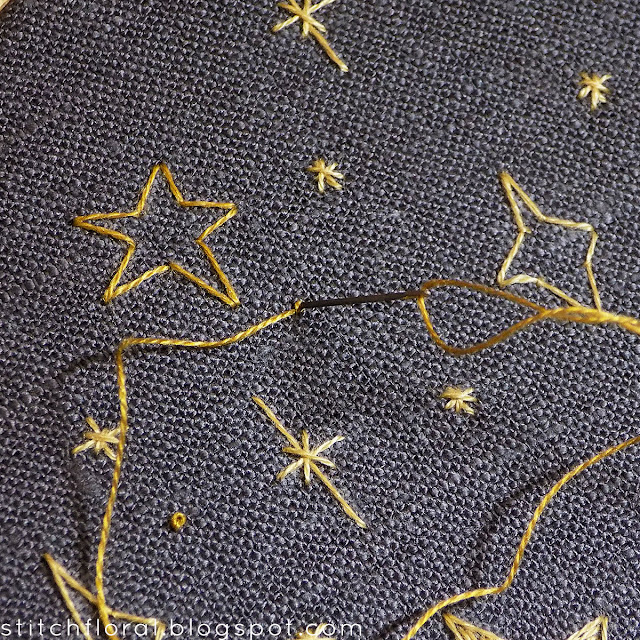
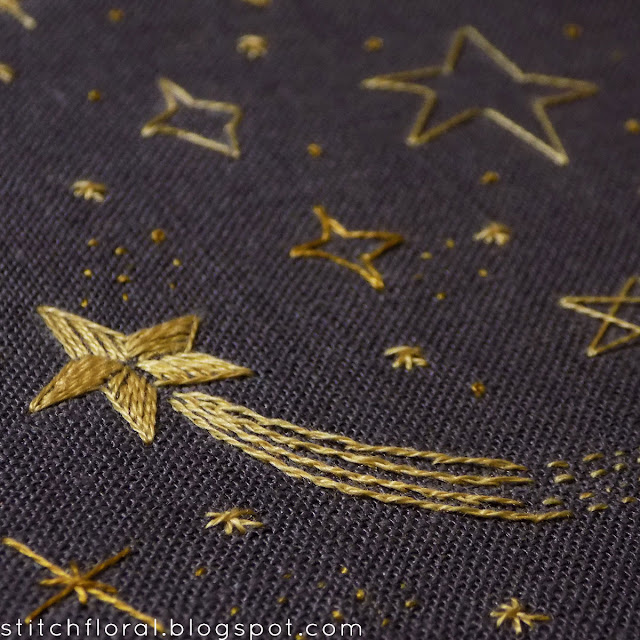
So, the first star is this easy 5-point star. I quickly doodled it up on the fabric with a
chalk pencil. And to work it you just need to make straight stitches
for all of the edges.
As easy as it can be. And
it looks kind of cute, doesn't it? :)
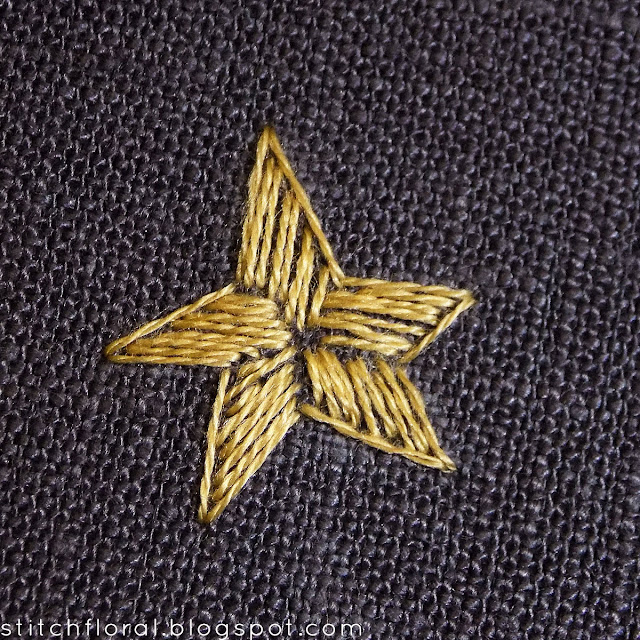
Now, if you want to fill
it in, you can do that with parallel stitches slanted in the same
angle as one of the edges.
You can place these
stitches as densely as you want. In my case, I decided to take it
easy and leave some space between them.
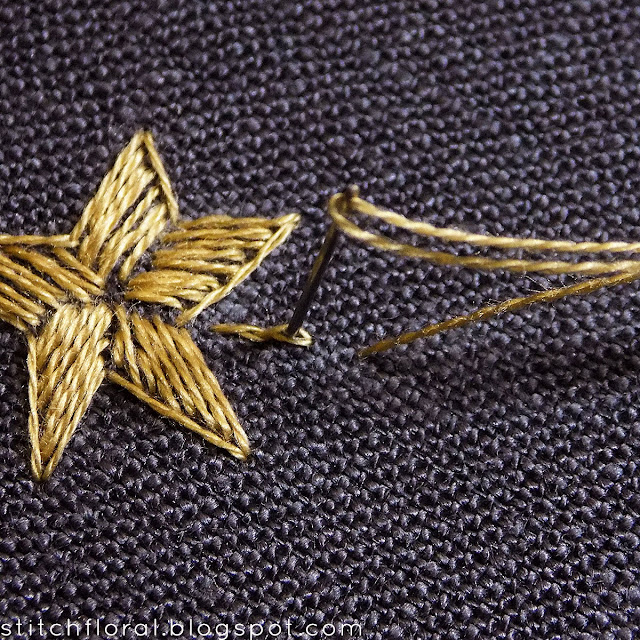
If you want to add an
extra “tail” to the star to show that it is moving, you can use
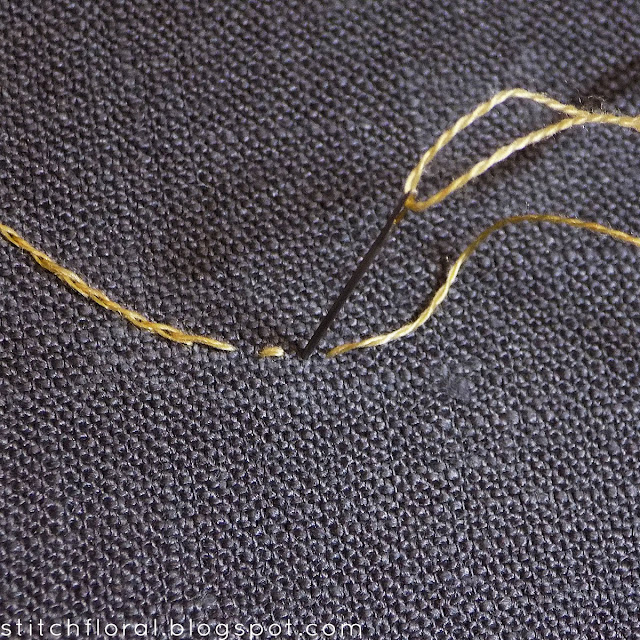
one of the line stitches to do that. I used split back stitch here when you come up through the fabric a step down the
line and then insert the needle in the previous stitch.
Alternative stitches that
you can use for these lines: stem stitch, back stitch
and regular split stitch.
At the end of the tail, the
lines interrupt so you can leave some space between these tiny
stitches. I'm actually still moving in a “back stitch” way here,
moving backward, but you can work it as a running stitch.
Falling stars, falling
stars everywhere. And we have a rising star! :)
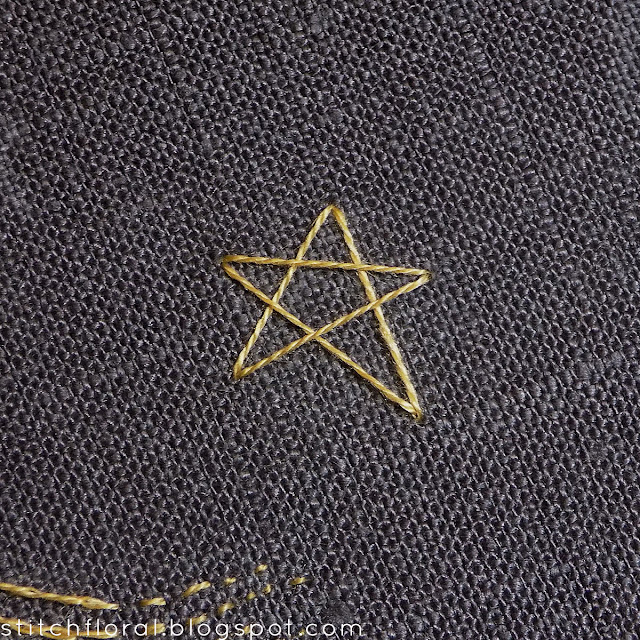
Another easy way to stitch
a pentagonal star is to make longer stitches connecting the five
points.
The finished one!
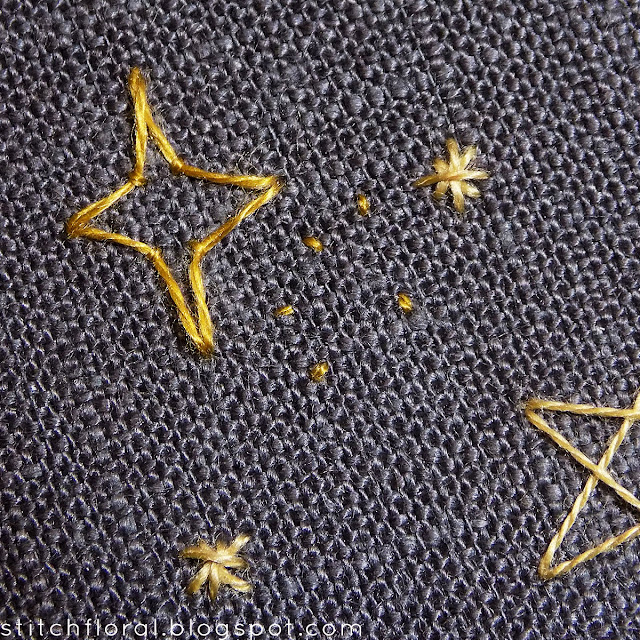
There are also 4-pointed
stars with soft, bending sides. They are easy to work too, we just
need to use fly stitch technique.
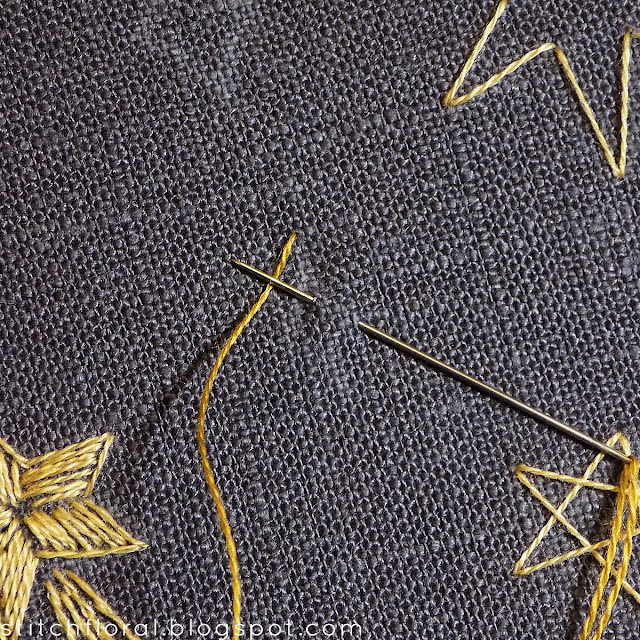
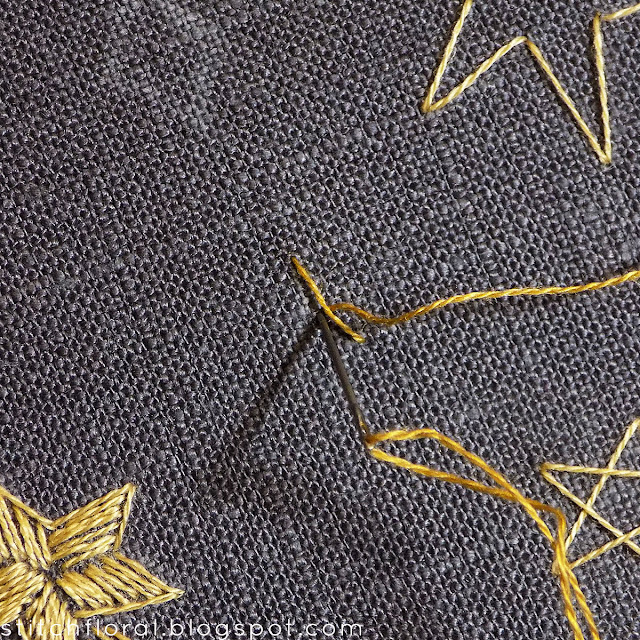
Make a stitch at one of
the peaks and end it in another peak, then come up through the fabric
in between these two points while tucking the working end of the thread
under the needle tip.
Pull the needle through
and anchor the stitch.
Repeat for the other sides
to get a star like this :)
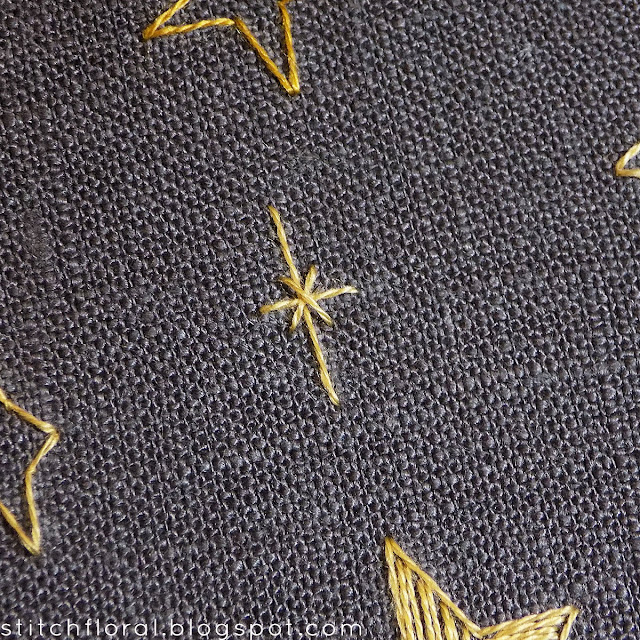
Now, a criss-cross star!
Make a vertical stitch, cross it with a horizontal one, and then add
two diagonal stitches.
Doesn't it remind you of the northern star?
In fact, you don't have to
make the first two stitches so long, If you make all of the stitches
approximately the same length, it will look very cute too!
Lastly, you may want to
add just little dot-like stars, which are also a very pretty way to
work starry skies. For that, you can use french knots. For a
very small dot use 1 strand of thread and 1 wrap around the needle.
For bigger knots, you can make 2 wraps (3 wraps is usually too much),
and the more strands you use, the more dimensional will be the knots.
And if you want to create
a scattering of little stars, use seed stitch. You can grab even
just 1 fiber of fabric with your thread if you want to make these little guys extra
tiny.
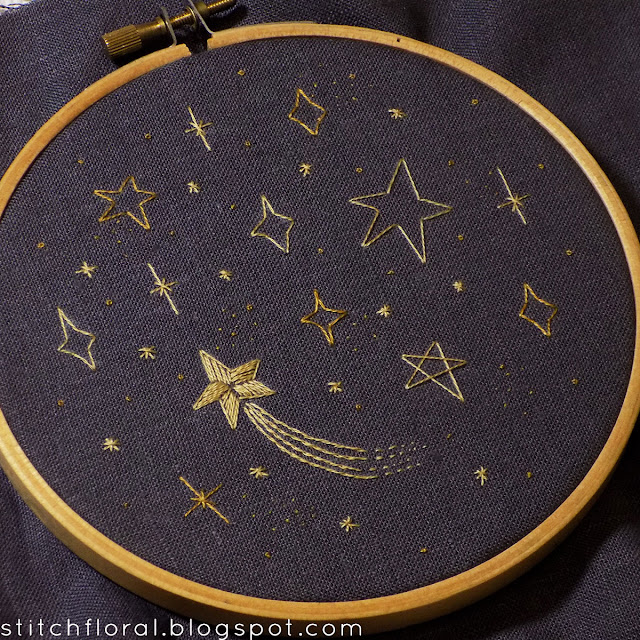
And that's about that! Now you can make your own starry sky using these tutorials. Isn't that one of the easiest ways to make a decorative hoop for your home? :)









What a fun little project!
ReplyDeleteThank you, Barbara! :)
DeleteThese are absolutely so cute!! I just found your blog as a beginner and I can't wait to try this today!!
ReplyDeleteI'm so happy you liked it! :)
DeleteIma looking to do some star embroidery work on a pair of high top sneakers. Thanks for your blog.
ReplyDeleteThank you for reading :)
DeleteThis is so pretty! Thanks for the tutorial. What DMC thread would you recommend?
ReplyDeleteThank you! My favorite colors for "golden" look are DMC 3828, 680, 422
DeleteLove this!! I'm using this as inspo for a valentine's gift. Do you think this kind of design calls for use of a stabilizer?? Looking to use it on a shirt. Thanks!
ReplyDeleteWow, What an Outstanding post. I found this too much informatics. It is what I was seeking for. I would like to recommend you that please keep sharing such type of info.If possible, Thanks. website
ReplyDeleteVisit Now
ReplyDeleteMust Visit
ReplyDeleteoutstanding work and blog Mod Bussid
ReplyDeletehttps://mobisoftinfotech.com/products/online-pharmacy-app-development-solution
ReplyDeletehttps://mobisoftinfotech.com/products/nemt-dispatch-software-solution
https://mobisoftinfotech.com/industry/healthcare-software-development
This hand stich star is really amazing, it's really look soo great, thanks for share it this time to get this opportunity MBBS Scholarship in China for more details.
ReplyDeleteI am glad you take pride in what you write. This makes you stand way out from many other writers that push poorly written content. thanks for share it this time to avail this Wedding and Prom Limo Services in Detroit for more details.
ReplyDelete