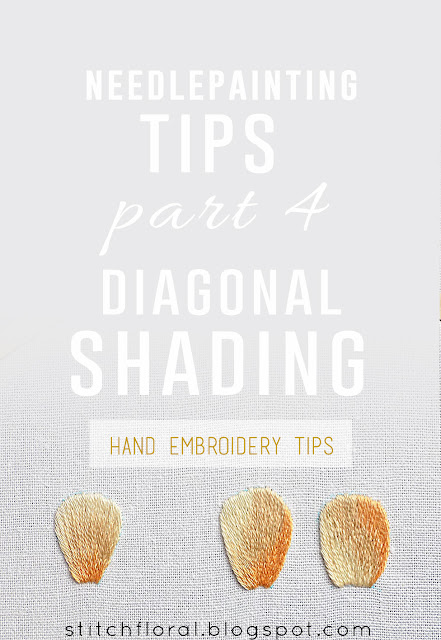
Continuing the series of needlepainting tips posts! Today we are going to look at the process of diagonal shading.
Usually, in diagrams and tutorials, you can see the basic horizontal shading made in several rows. When I was preparing the long and short stitch lesson I also used this simple method of shading, because, well, it is the most common way of demonstrating how this technique works.
But when we were working the Magnolia design for our stitch along, it dawned on me that more complicated needlepainting designs have a different pattern of long and short stitching. And it may not be very obvious for beginners how to work it.
The main trouble, in this case, is the order of work. Where do you start your shading? How do you proceed? Do you complete the first row in several colors and then follow with the next row several colors again? Or you work it vertically?
It can be pretty confusing at first so I decided to break it down step by step for you.
Today we will look at diagonal shading in detail.
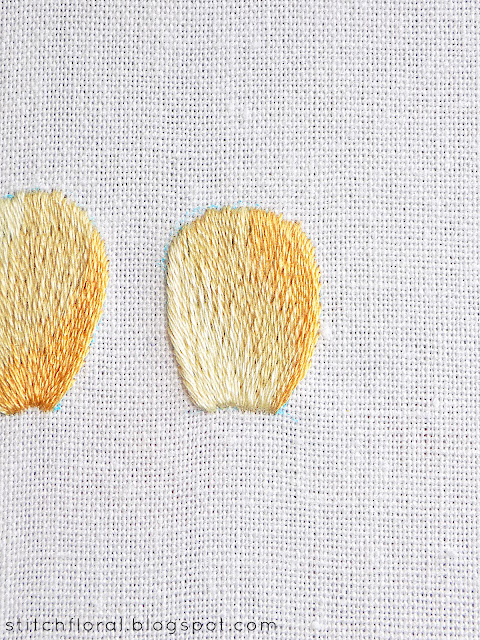
I sketched this shapes on the fabric and marked diagonal spots where the colors will be placed.
Example 1
I believe it's more convenient to start with the left corner where the spot of color is the smallest (1). You can work the first row of stitches that will cover the spot and then add stitches for the second and third row in the same color (2&3), depending on how long this spot is.
Try to let your stitches go over the line and make this spot of color actually bigger than in the pattern because we need larger space to increase the difference between long and short stitches (the same goes for any spot of color).
When it comes to the next color, work its part of the first row (4).
Then you can work this spot of color vertically, row by row. But as for me, I prefer to work it over the previous color first, creating this sort of a ladder (5). And then working the rest of the spot in long and short stitches (6).
For the last color, again, you can work the rest of the first row and, personally, I like to work the edge (7) before laying the color to the rest of the spot (8).
I hope the colors allow the layers to be distinct enough for you to see the stitches and how they are placed here.
So that was the first example. Shall we try another one?
Example 2
The process is pretty much the same, so I skipped some details.
We work the smallest spot in the corner first (1). This time only one row of stitches was enough for me, I just made them a bit longer.
With the next color, I worked its corresponding part of the first row (2) before going deeper and laying more stitches vertically to cover this spot (3). Lastly, the lightest color was worked in the same way as was described for the first example (4).
So here are two examples of diagonal shading in long and short stitch.
You can, of course, go row by row, working the first row of stitches in 3 colors first, then working the second row of stitches moving the colors to the side to create diagonal spots, and so on. But, I find it a bit more tiresome to switch the colors again and again. So I prefer working the spots one color by one.
Actually, this topic is not over. Later let's look at other examples of shading in spots and patches because the possibilities of placing colors and the order of working such patterns are many!
And now take a piece of fabric, draw some random figures and practice diagonal shading yourself!
Practice makes perfect :)


You do beautiful work and I've only found part 4 so what would help me understand better would be to know how many different color I would be using.
ReplyDeleteIn this example, I used 3 colors. But these posts are just series of tips, it's not a one project that is divided into parts :)
DeleteMasha Allah, your work is very beautiful.
ReplyDeletejazakillah khairan!
Delete