Here are some ideas on how
to work quotes and monograms in hand embroidery!
I don't embroider quotes
and phrases that often but there are some universal tips that you can
use for that *wink wink*.
Handwriting style
Handwriting can be
elegant, sometimes quirky and at times sharp and rash. But either
way, you will most probably need to work a fine line and your stitch
should flexible enough to be able to bend in tight curves.
So, from the family of line stitches, I would recommend stem stitch, split stitch, back stitch and chain stitch. Split back stitch will work too.
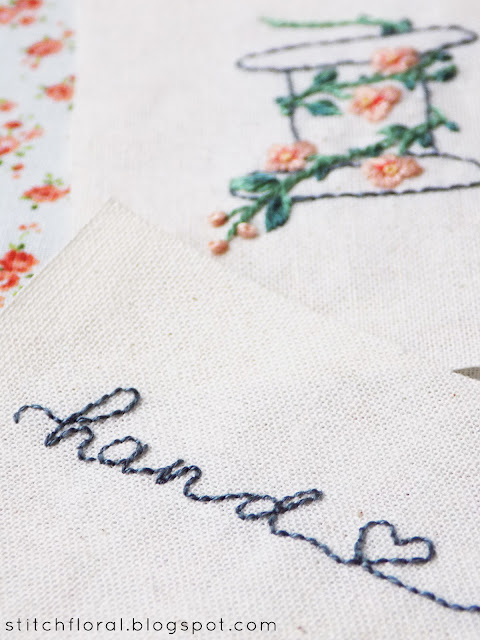
Here I used back stitch
with 1 strand of floss in the needle. This stitch is flexible enough
to be worked in curves and swooshes and the line it creates is thin
and delicate. I used cotton as the ground fabric in the picture
above, it has a very tight weaving so the stitches stand out one from
another quite clearly. But if you use a softer fabric like linen, it
will be easier to create a smooth line and it will be more difficult
to tell individual stitches apart.
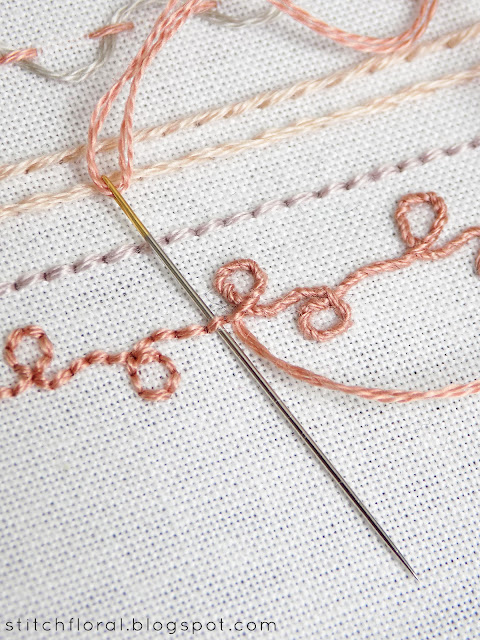
Also, you can whip back stitch like in the picture above. It will hide the individual
stitches and make the line completely undivided.
If you choose chain stitch
for working the lettering, make sure to check out these tips for better chain stitch. They include recommendations on edges,
corners and seamless joining of two lines :)
Bold lettering
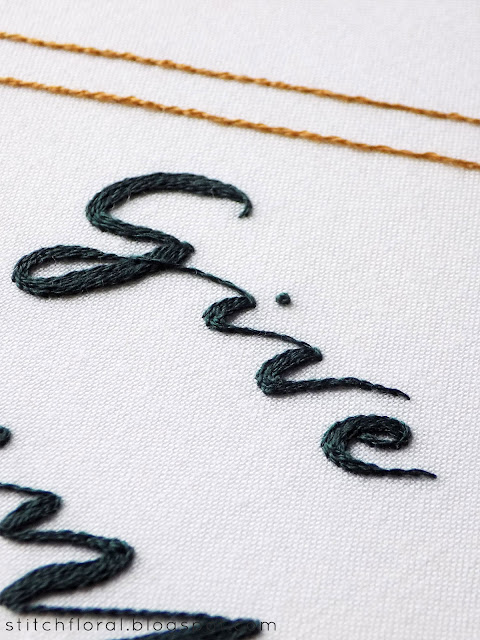
Quotes and phrases in this
style can be worked in satin stitch like in the picture above.
I used 2 strands of floss, made an outline in back stitch and then
covered with satin stitch – it created some volume. If you want to
make the letters even more dimensional, try padded satin stitch.
By the way, the design in this example is available as a freebie!
Also, here is a monogram I
worked a couple years ago in satin stitch. Here I used only 1 of
floss, so it wasn't as dimensional, but thanks to that it fits nicely
under glass in a frame, haha. It was a present for my Mom :)
Calligraphy
This writing style usually
combines bold and fine parts in letters. However, working these
elements separately in different ways (like back stitch for fine
lines and satin stitch for bold parts) is risky and doesn't really
guarantee a nice result... pulling it off would be rather
challenging.
There are other good
alternatives though!
Here stem stitch is used
for both fine lines and the filling. You can work the outline of the
letters in this stitch first, and then fill the bold parts with
parallel lines of stem stitch. These quotes are available as PDF tutorials in my Etsy store.
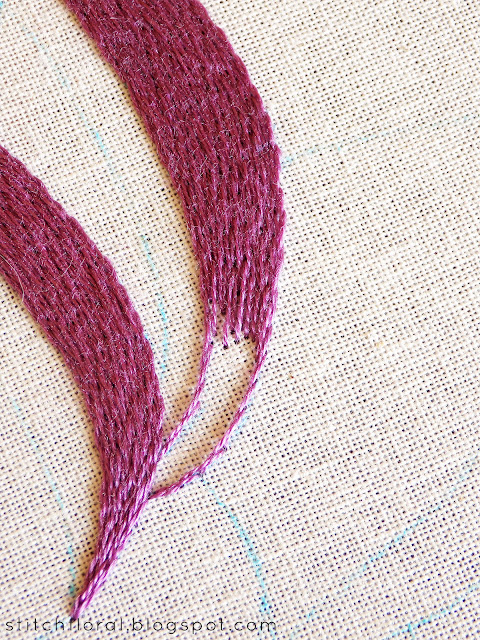
Another way to fill the
bold part is to use long and short stitch. I don't really have an
example of a letter worked like this, but the example above is quite
close to how it would look like. Read the tutorial for this technique
to use it correctly, and as for the finer lines, you can use stem
stitch with it too.
I stated the options for
fine stitching with 1 strand of floss of thread. However, you can
actually work calligraphy with back stitch, and this choice is quite
popular nowadays. Outline the letters with back stitch in 2 and more
strands of floss, and then fill the bold parts with parallel lines.
Lastly, for dots in
letters like i you
can use french knots,
and
for circumflex you can use fly stitch.
Hope
this adds some inspiration for the next project! If you have any
extra ideas, leave in the comments below! :)


Love your blog, thank you 💐
ReplyDeleteMy pleasure :)
DeleteThanks for joining your blog i love embroidery also want to start black work and would love to attend classes. I live in Johannesburg south africa lovr miems
ReplyDeleteThank you for reading my blog! Black work is amazing, hope you find classes in your city! :)
DeleteWhat font do you use for the bold lettering "GRACE" design?
ReplyDeleteI don't remember, sorry! I made that freebie 3 years ago
Delete