Since all the basic
stitches are already covered in the Stitch Library, it is time go
over some variations and derivatives! Today, in particular, I would
like to speak about some feather stitch variations :)
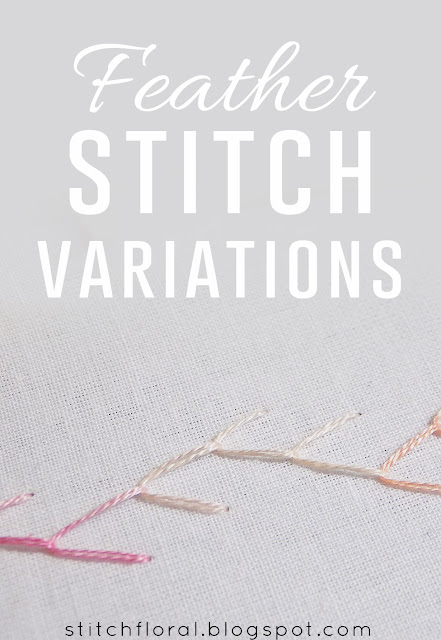
If you forgot how the
basic Feather stitch looks like, take a glance at the picture above.
And if you need to refresh in your memory how to work it, read this
post first: Feather stitch tutorial.
By
the way, we already talked about some variations before! They are
just a bit more complicated than the ones I'm going to mention today but totally worth your attention! Read about Feathered chain stitch and Double chain stitch. Even though they both are
often included in the chain stitch family, they are also close
relatives with feather stitch.
The
stitches from today are simple and quick to work, so take a hoop with
a spare piece of fabric that you can use for training and let's
start!
Single feather stitch
This
one is super simple!
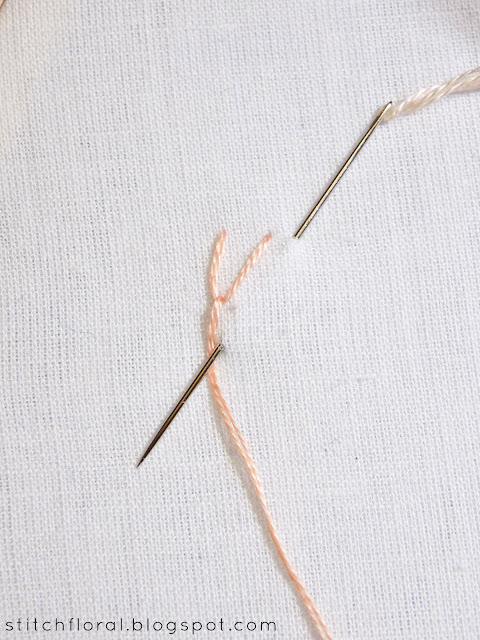
Make
the first feather stitch. Bring the needle at the starting point of
your future feather stitch line, insert the needle opposite to the
starting point and bring it out on the same line as the first point
where the needle emerged. Make sure to tuck the working end of thread
under the needle.
Now
repeat the previous steps right below. You can see the “backbone”
forming on the left with “spikes” to the right.
This
is how it looks finished. If you want to make a really neat feather
stitch, it is better to make the “backbone” line. However, with
the line on the left where the ending points of “spikes” are
situated, marking should be more thoughtful, because the stitches
will not cover it. So, either mark the points or use an erasable
marker.
Single
feather stitch may look a little poor to you, but imagine adding some
french knots and lazy daisies to it as little
decorations or you can work a mirrored line of single feather stitch
to the left or to the right. It will create an interesting base for a
border :)
Double feather stitch
If
you ever wonder why double chain stitch is called as it is,
despite more resemblance to the fly stitch and feather stitch,
then maybe it's because the name “double feather stitch” is
already occupied.
Well,
can't say I know for sure, that's just my wild guess! I just like
sometimes to think about stitches' names and origin :)
Anyway,
how do you work double feather stitch?
Make
the first stitch and then make the second one below it. To align the
stitches better, bring the needle up on the same line as the top
right point of the stitch above.
Take
one more step in the same way. Align the bottom point with the top
right point of the stitch above.
Now
move to the left and make two new stitches there before returning to
the right.
This
is how the finished double feather stitch looks like. If you want
complete alignment and precision, better to mark 5 vertical lines to
follow. But sometimes you might want to freestyle and it's totally
cool too!
Madenhair
Lastly,
madenhair stitch! If you like geometric patterns you will love this
one :)
Make
the first stitch as in the picture above with the first point and the
bottom points aligned. Then move slightly to the side, inserting the
needle a step further to the right and bring it out below the bottom
point of the previous stitch.
Repeat
the step. It creates new bigger loops enveloping the neighboring ones
which creates a peculiar pattern.
Do
the same on the other side.
This
is the kind of look it creates. Totally something you can use when
you need a geometric border. Or you can set french knots at the ends
of the stitches, possibly adding any other decorative stitches – it
will be fun!
So,
here are some variations that you can use in your next projects! Have
fun and check Stitch Library for new stitches :)


No comments
Write what you think! ❤
Note: Only a member of this blog may post a comment.